Timeline 29 June to 21 September 2014
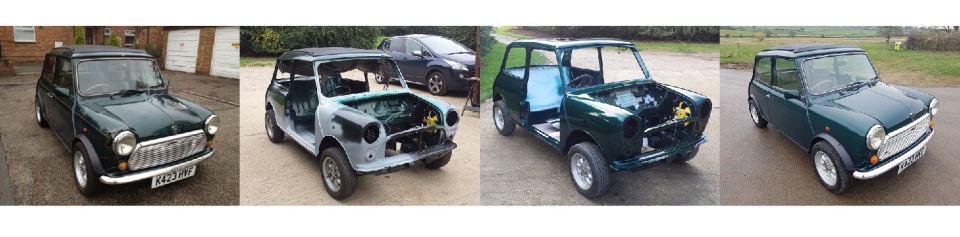
This is a continuation of the work done to Sasha.
Sunday, 29 June 2014
Abi starts the day by stripping everything from the bulkhead, while I continue working on other things.
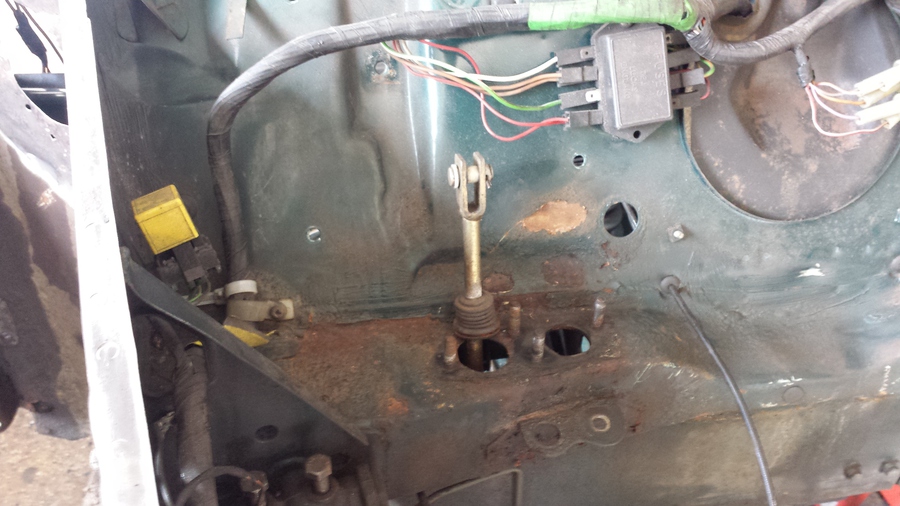
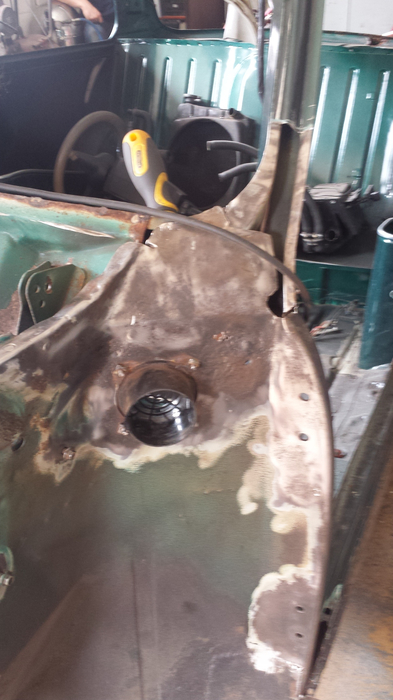
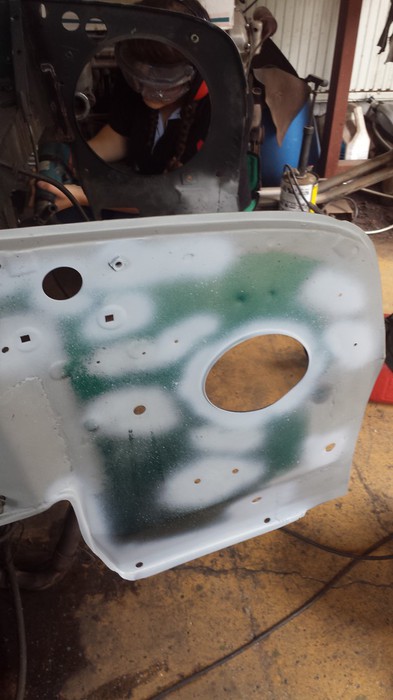
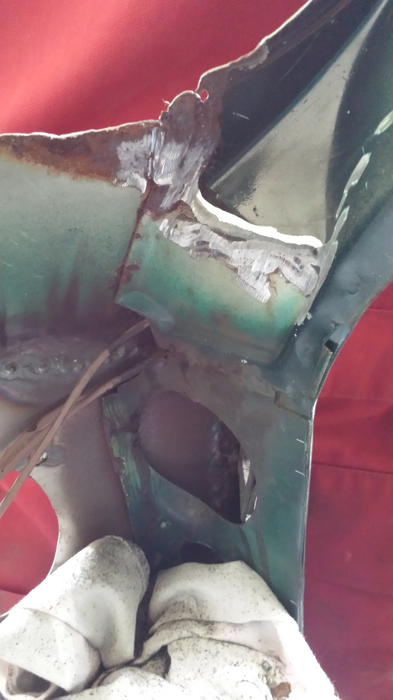
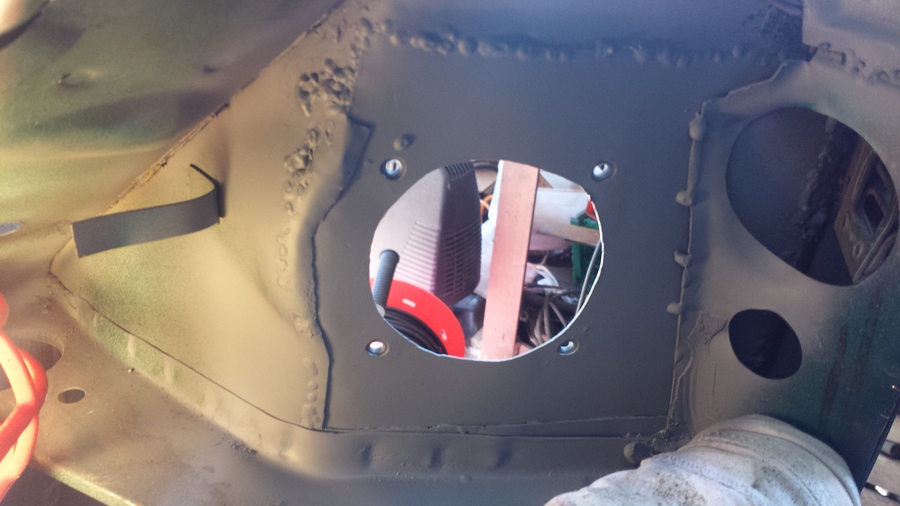
I continue to clean up round the fresh air vent on the drivers’ side, this is going to need some repair work. It takes me quite a while to get the fresh air vent off as the screws are rusted in, I end up cutting them off with the grinder, this has the effect of melting the plastic of the vent, but I eventually get it off without too much damage. I get the whole area cleaned up with a wire brush in the grinder.
You can see the extent of the rust in the picture.
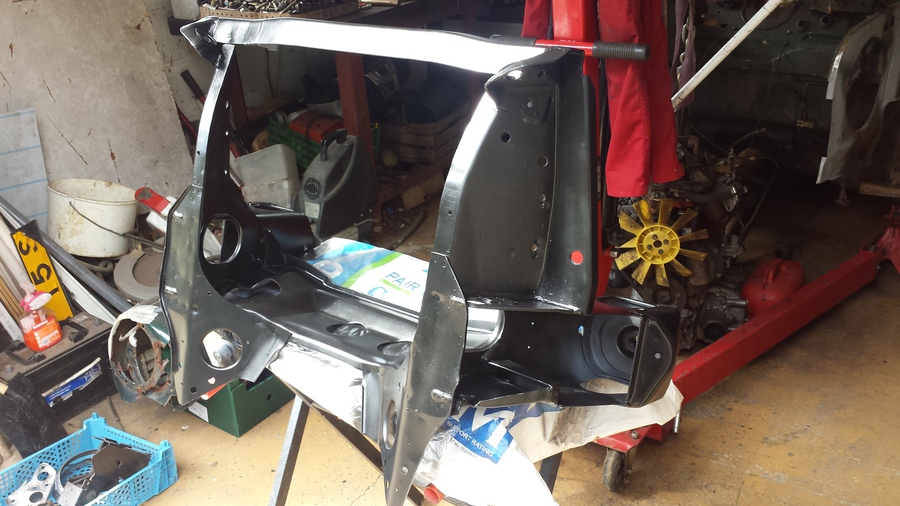
While I have been working on the inner wings Abi has been working hard on the front sub frame, it now has a good satin black finish.
Thursday, 3 July 2014
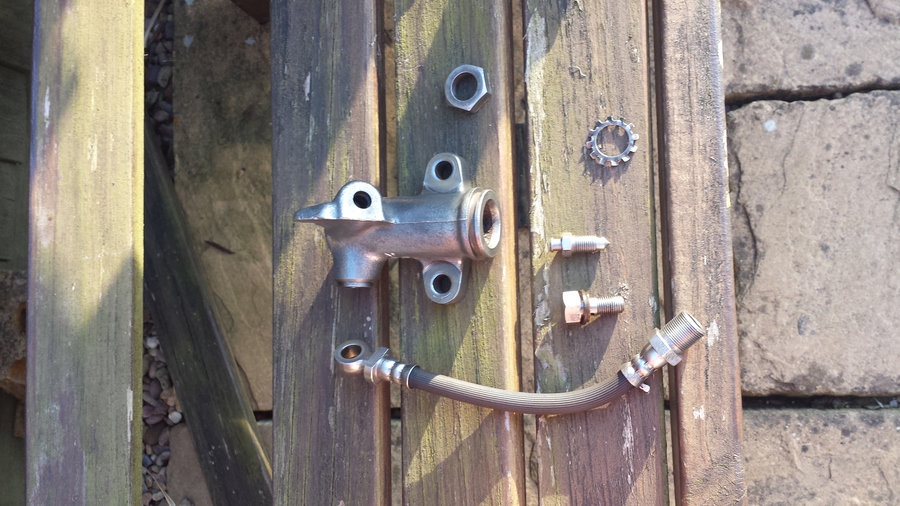
This evening I have some time so I decide to clean up some parts, the clutch slave cylinder gets washed off in petrol, cleaned up with a wire brush in the bench grinder. The fittings on the hose and bolts and washers are cleaned up as well, although I might replace the bolts and washers with stainless steel.
Next the clutch slave cylinder gets masked and primed.
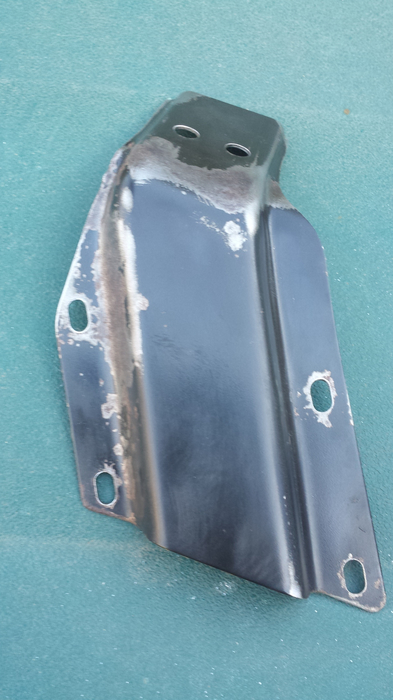
This part is the shield that goes over the fuel lines at the bottom of the bulkhead, this had been the source of a constant rattle. There was only one nut holding it to Sasha, I have had quite a time getting hold of replacements. It turns out that the same nuts are also used to hold the heat shield for the CAT and exhaust in place. I eventually managed to get some from Mini Sport. I degrease the shield and clean it up with a wire brush in the bench grinder.
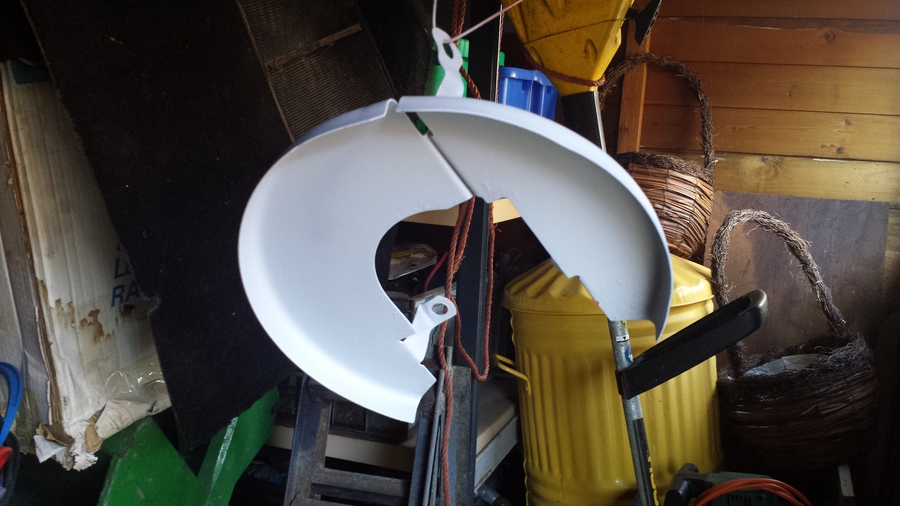
The next job tonight is to primer the front brake disc stone guards, these are in reasonable condition given the cars age and mileage. In the past I have just left these off as the mounting points rust through and then they rattle.
Out with the satin black to paint the bracket that goes under the two master cylinders and forms the other half of the rear top engine tie bar fixing and the blanking plate that covers the hole in the bulkhead for left hand drive models.
Saturday, 5 July 2014
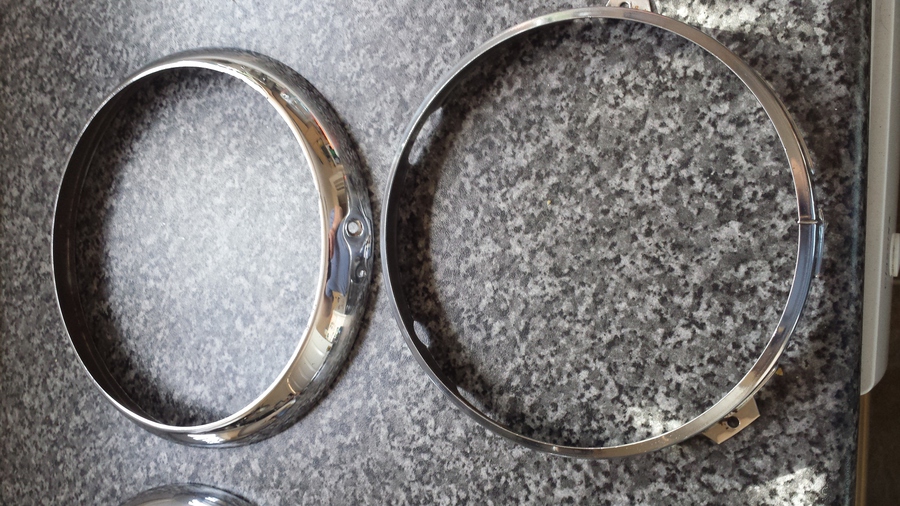
I don’t generally work on Sasha stuff on a Saturday as I usually reserve this day for spending time with my wife Frances and jobs round the house, but with the house jobs complete I work on some chrome pieces that we picked up from Darren. The original items from Sasha are too badly rusted to re-use so thanks Darren. I clean and polish the headlamp rings and headlamp retaining ring using a polishing mop and compound in my old Bosch drill, I must get the adapter so I can use the polishing mops on my bench grinder.
The fuel line shield is now painted and ready to be re-fitted.
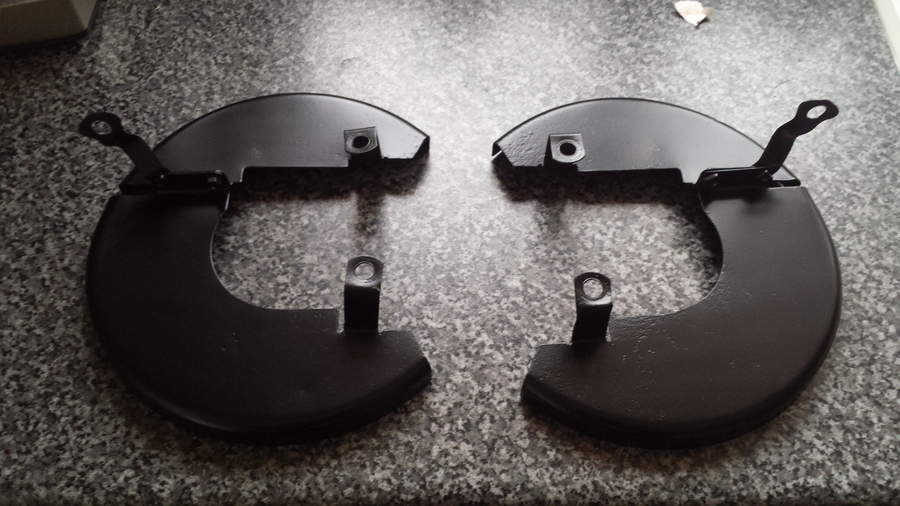
The front brake disc stone guards are painted satin black and are now ready to be re-fitted.
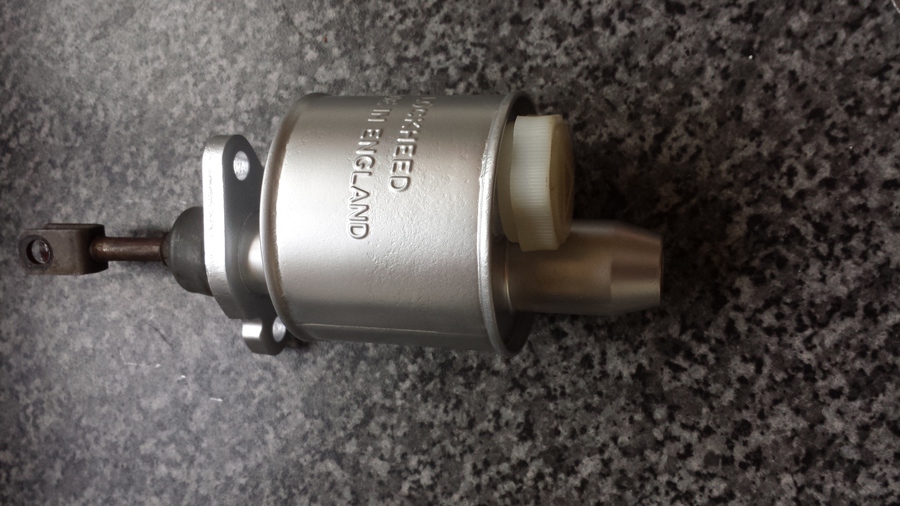
I know that the clutch master cylinder should have a cadmium finish but I don’t have any so I have done this one in silver.
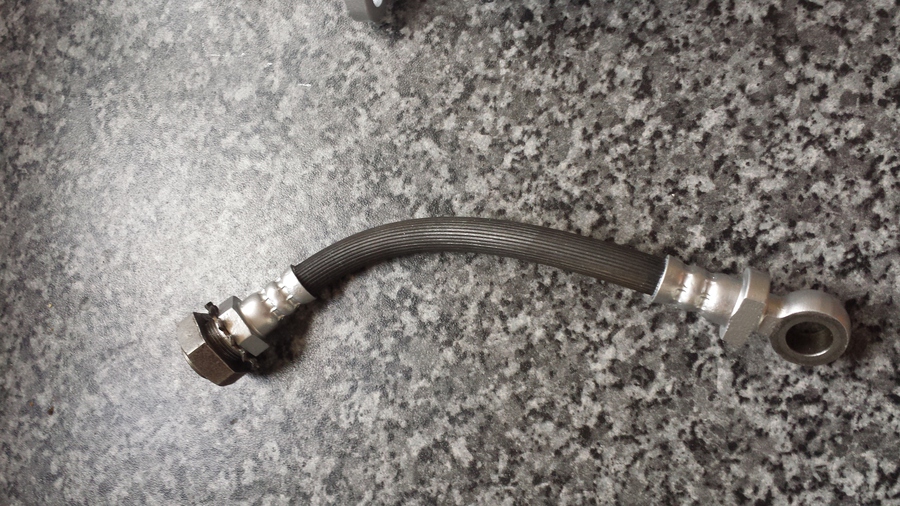
The fittings on the clutch hydraulic hose I also finish in silver.
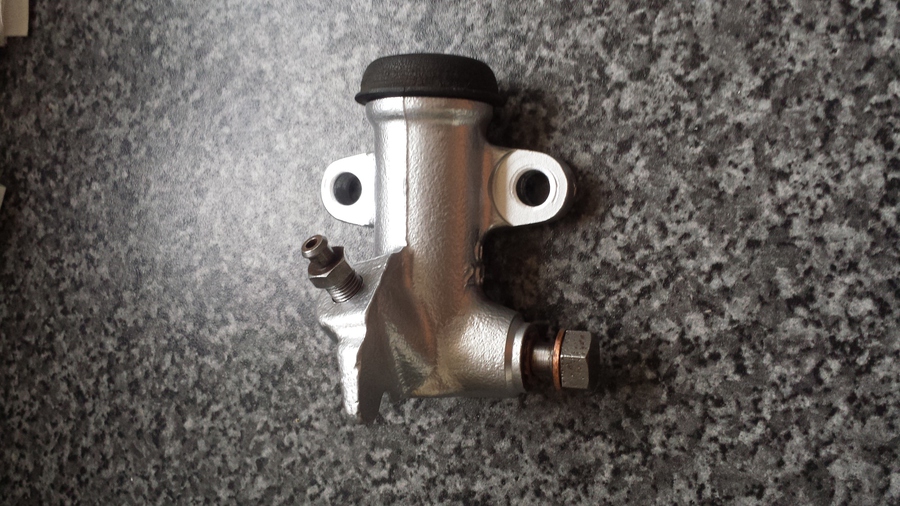
The clutch slave cylinder I also re-finish in silver.
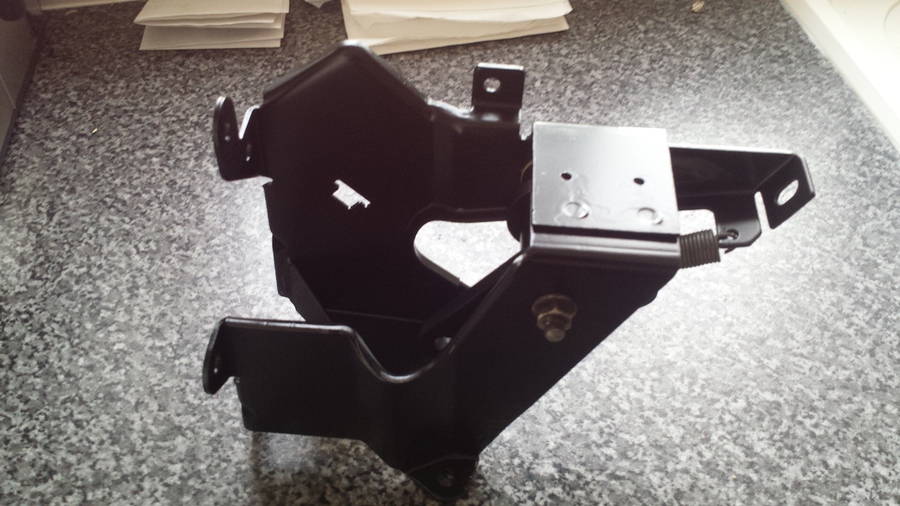
The bracket for the brake servo has been cleaned and re-finished in satin black, I wasn’t able to re-grease the shaft as the grease pot has been taken over to the workshop, I’ll have to remember to do this later before it is re-fitted or it will cause excess wear to the plastic bushes.
Sunday, 6 July 2014
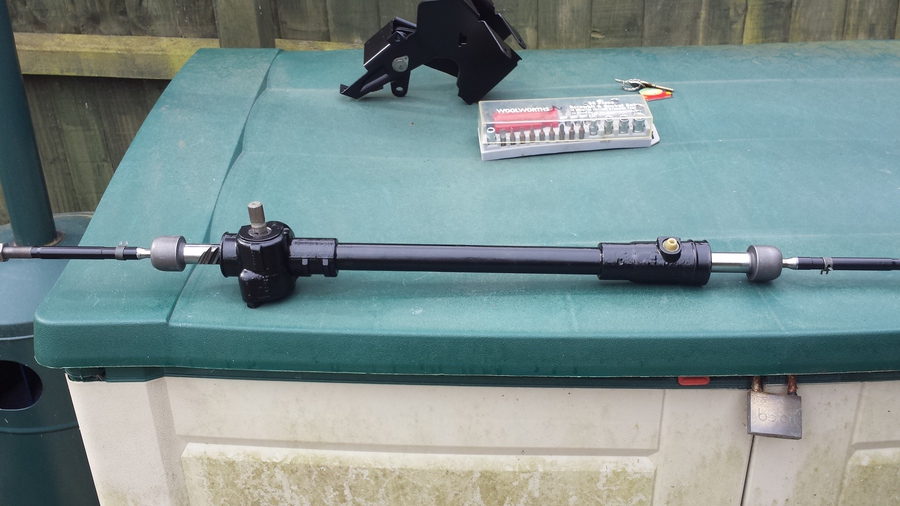
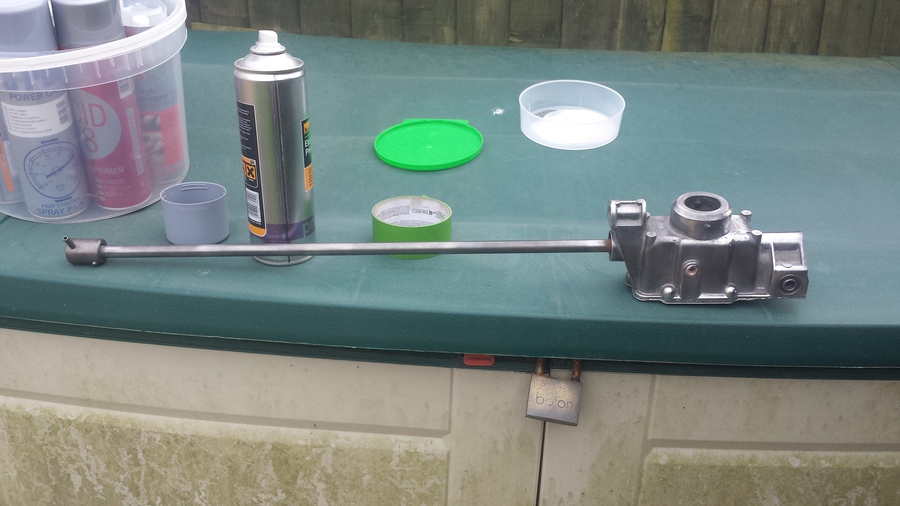
Load the car this morning with all the parts that have been re-finished, including the steering rack. The steering rack has been cleaned and re-painted, when I get it back to the workshop I will grease the ball joints, centre the rack, oil it and put the new gaiters on.
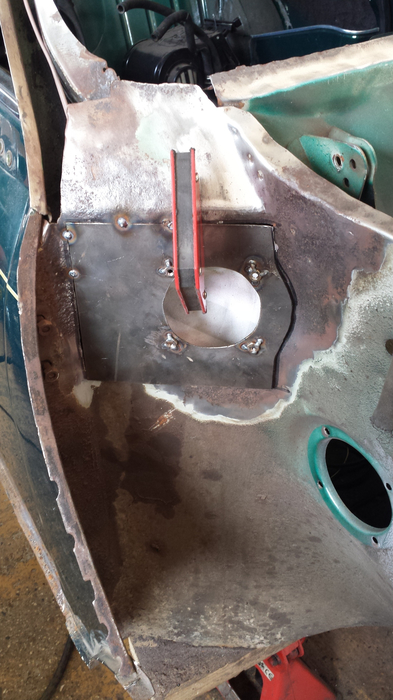
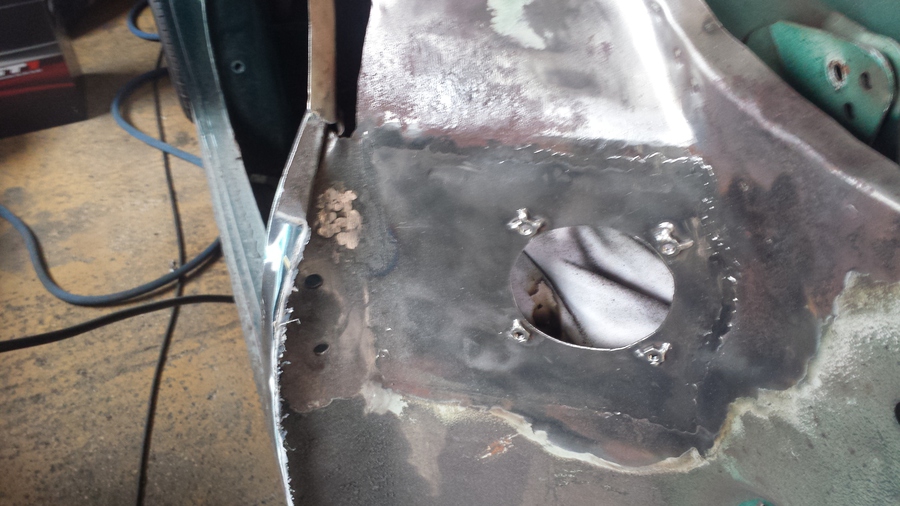
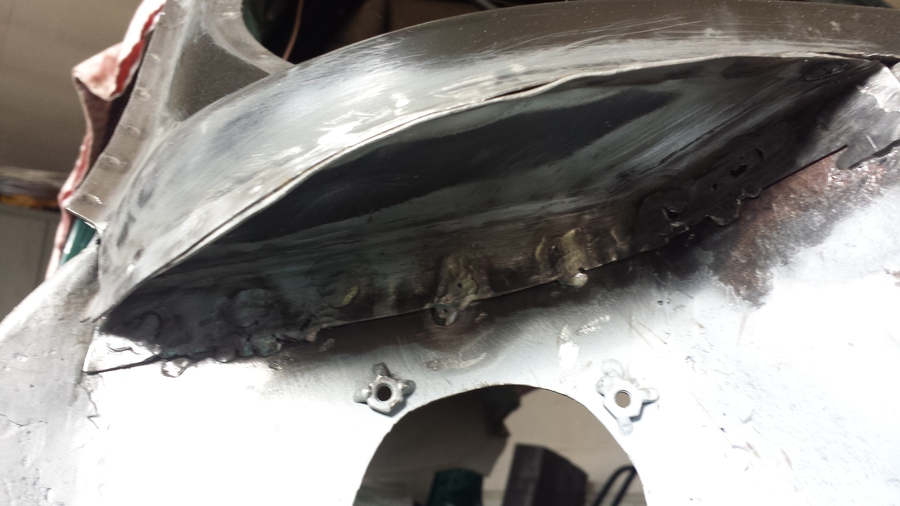
I make a plate to repair the drivers’ side fresh air vent, I start with a piece of cornflake packet and cut to size with scissors. I then transfer the pattern to metal and cut it out, I then mark where the holes need to be then drill out the 4 small holes for the plastic vent mounted in the inner wing and cut the larger hole by drilling a hole large enough to insert the jigsaw blade, then cut the large centre hole with the jigsaw. I test fit the plastic face vent, then with the plastic vent out of the way I weld on some captive nuts ready for final fitting.
I test fit the panel, make any adjustments, hold it in place with my magnetic welding clamp, then tack it in place.
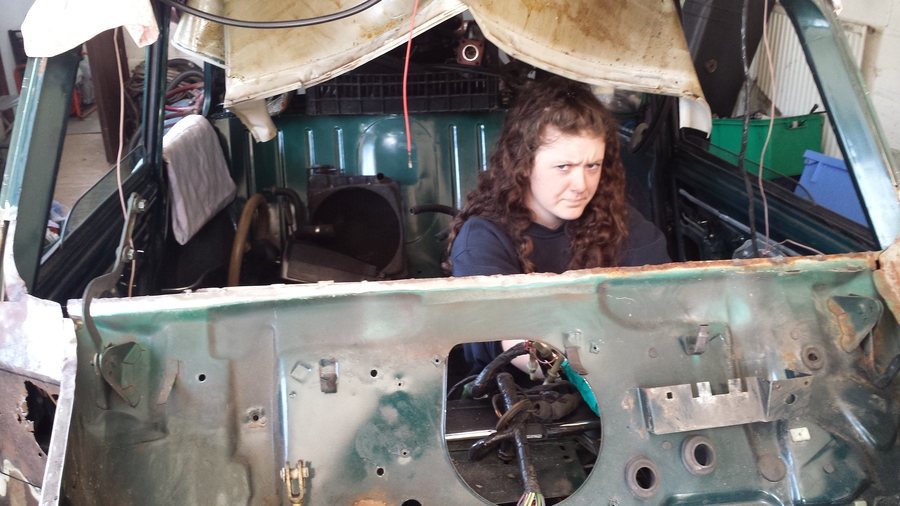
While I am busy with the fresh air vent Abi is removing the last of the dash trim pieces and moving the wiring loom out of the way.
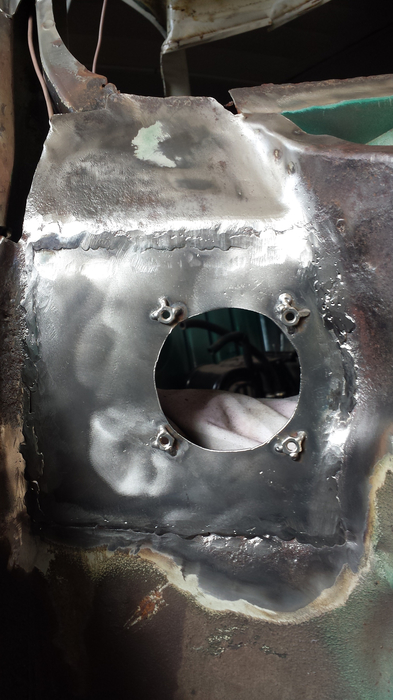
I then finish welding the patch completely, welding between the tacks then cleaning up the welds with the grinder.
Time to clean up the workshop, lock up and head for home.
Saturday, 12 July 2014
Another Saturday when I am able to do some work on Sasha’s parts, today I started with the remote gear change. I stripped off the gear stick, fixed bar and the mounting bracket, I then thoroughly cleaned the rest of the assembly in petrol. After that I cleaned everything with a wire brush in my bench grinder.
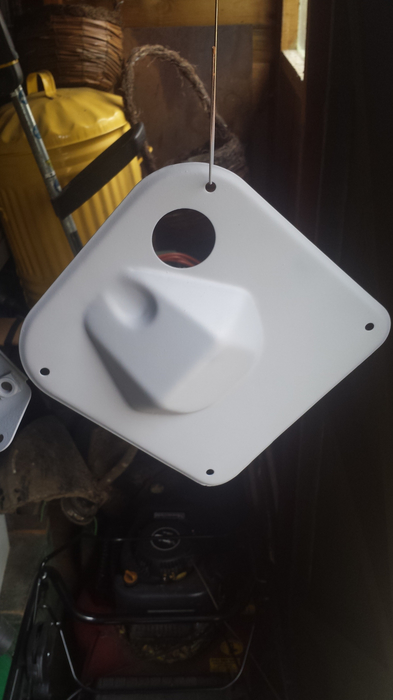
This is the plate that covers the hole in the bulkhead and the wiring loom to the engine bay goes through it. This part was in good condition so it has been cleaned, flatted and primed.
This is the bracket that bolts to the engine and flywheel housing and holds the clutch slave cylinder, there was some rust on this caused by spilt brake fluid, this part has been cleaned with petrol, then gone over with the wire brush in my bench grinder then primed.
The next two items are the bonnet hinges, I simply clean them off go over any rust with the wire brush then prime.
I do the same thing with the gear stick.
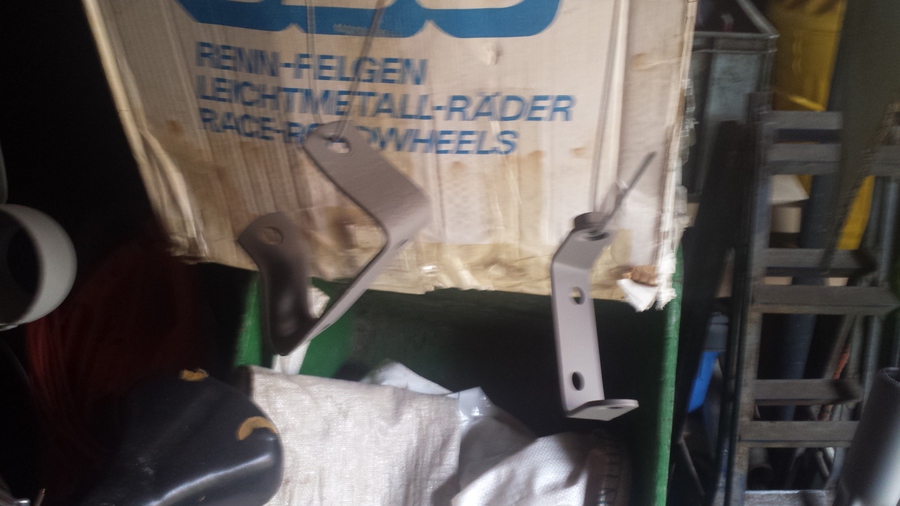
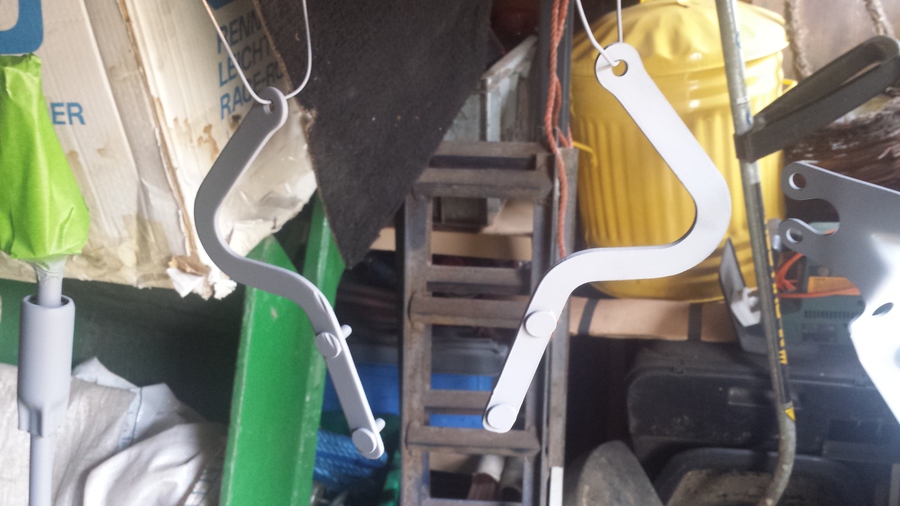
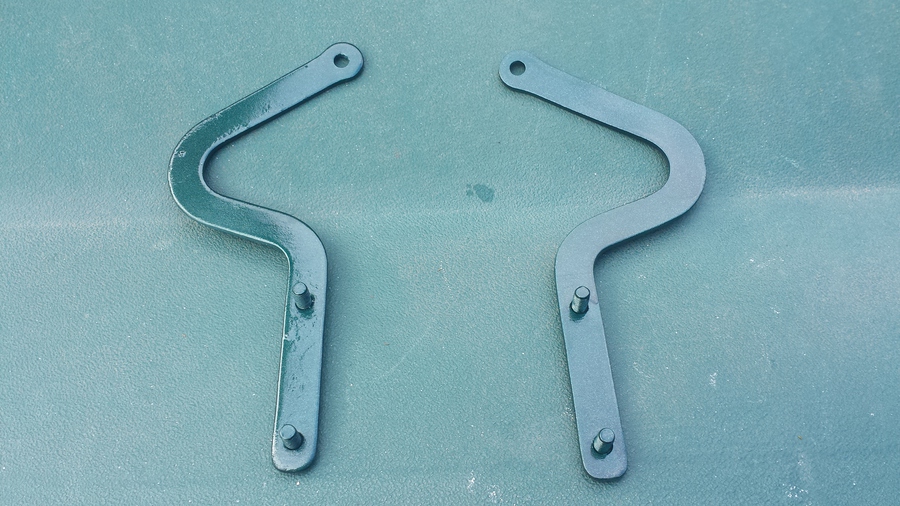
The bracket on the left of this picture is the fixing bracket from the rear of the remote gear selector, the other bracket hold the bottom of the radiator. These have been cleaned and primed.
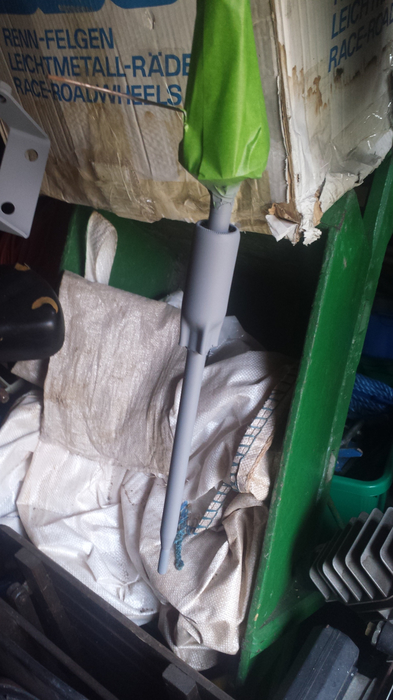
Next to get the treatment is the brake bias valve and the fixed bar from the remote gear shift assembly, these are cleaned and primed the same as the other parts.
This part is the retaining cap for the gear stick, due to a lack of grease this is a lot more rusty than I expected, all the inside of it has to be cleaned out with a small wire brush in my rotary tool, I have nothing else at home that will get in there, I then apply primer.
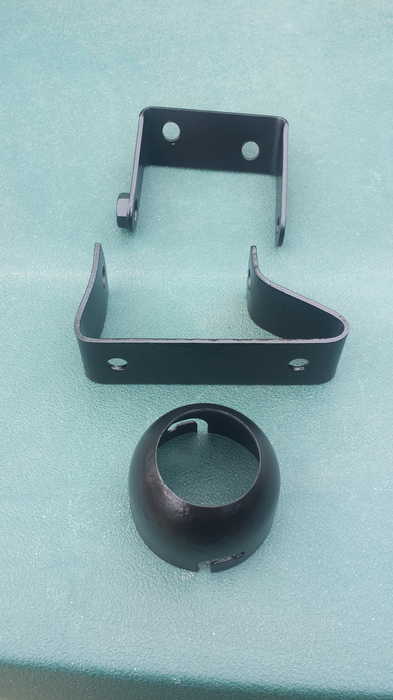
Last job today is to clean and prime the bracket that holds the gear lever gaiter in place.

Sunday, 13 July 2014
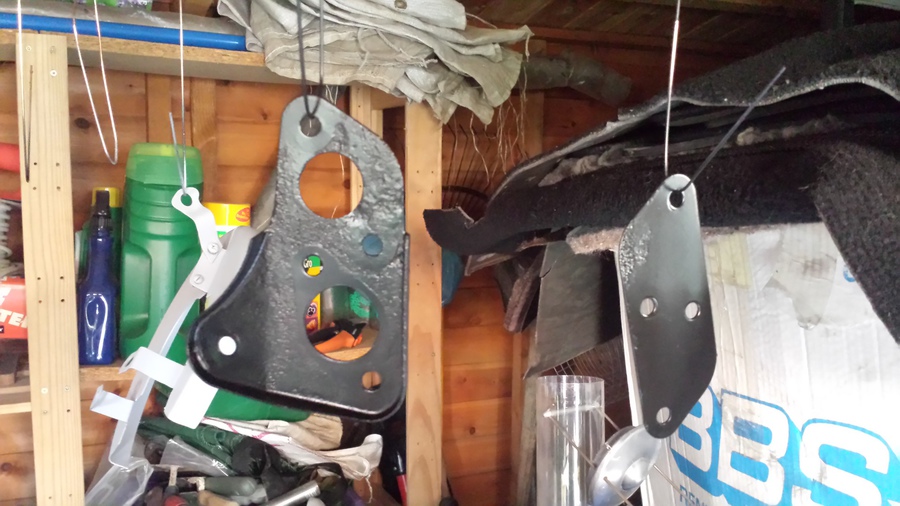
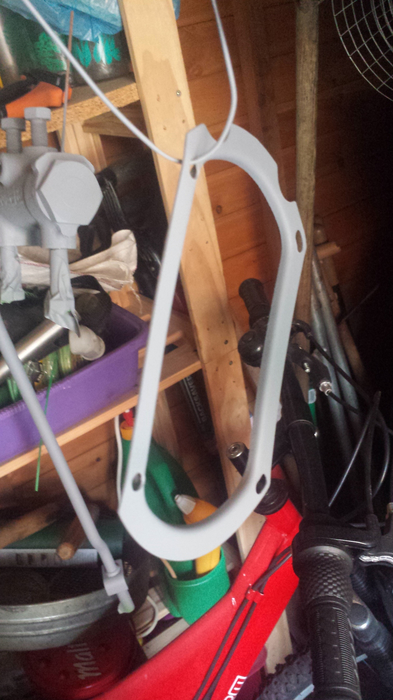
Up a little bit earlier today there are quite a few parts hanging in the shed that I need to pack and take back to the workshop.
This is the bulkhead plate and has been re-finished in satin black.
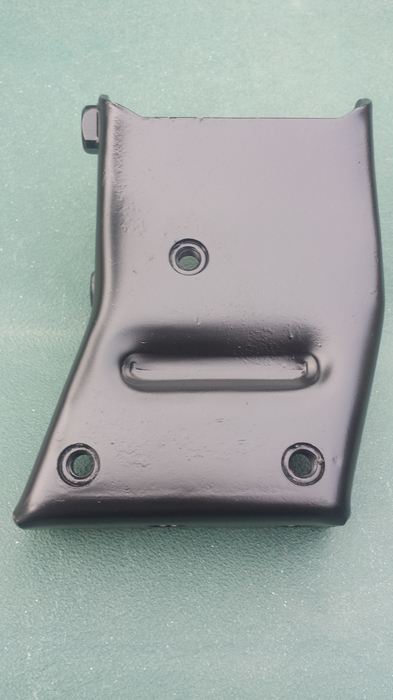
This piece is the clutch slave cylinder mounting bracket, this was in quite a state, at some point it had had brake fluid spilled all over it so the paint had lifted and rust was setting in. It is now re-finished in satin black ready to be re-fitted.
These three items are, from top to bottom, the radiator mounting bracket, remote gear change mounting bracket and the cap that hold the gear stick in place. These have all been re-finished in satin black.
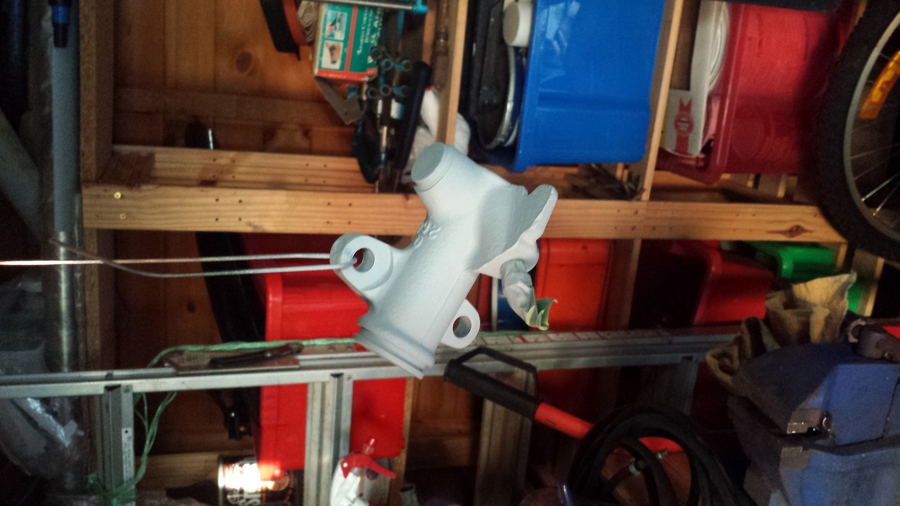
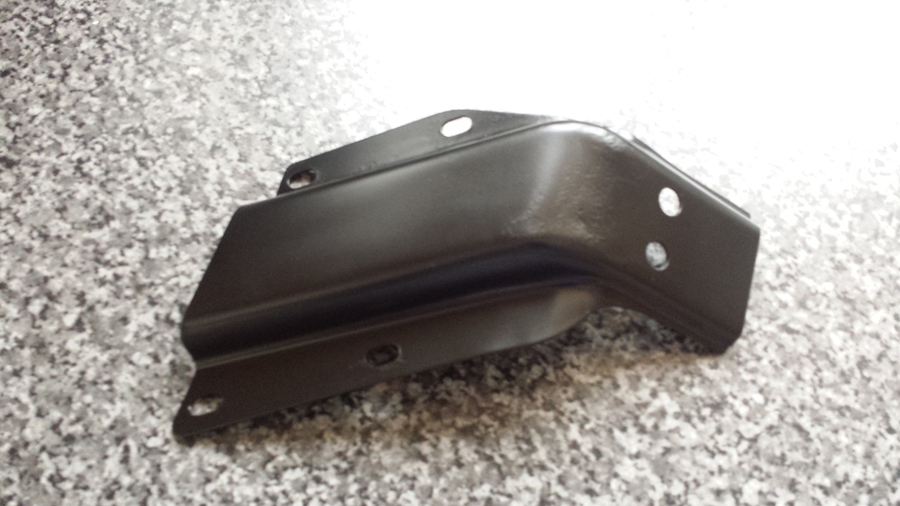
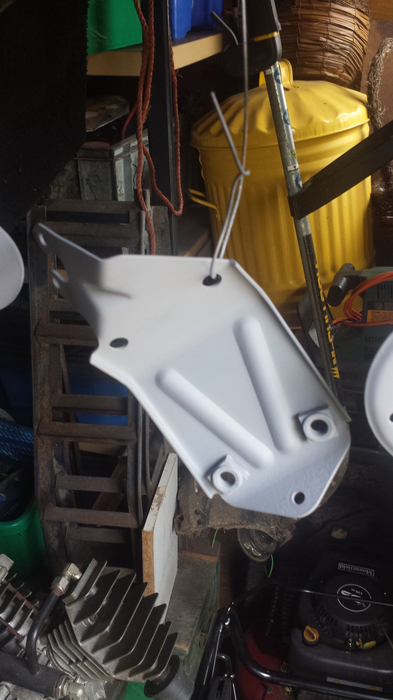
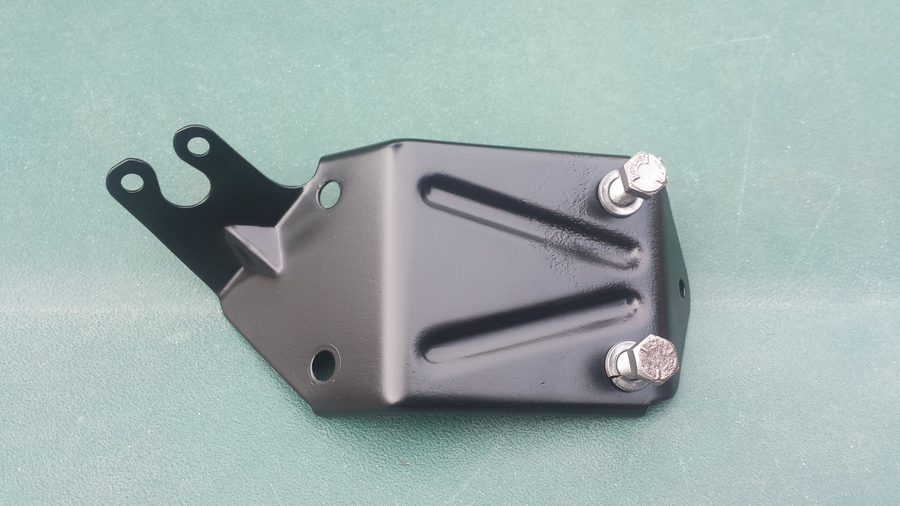
This piece is the nearside engine and radiator mount bracket, there was a fair amount of surface rust on this, but after a clean and paint it has come up quite well.
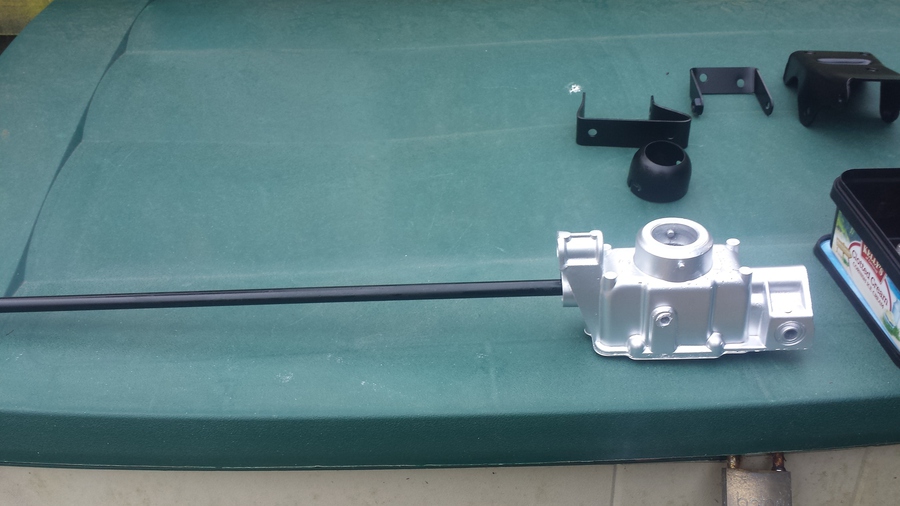
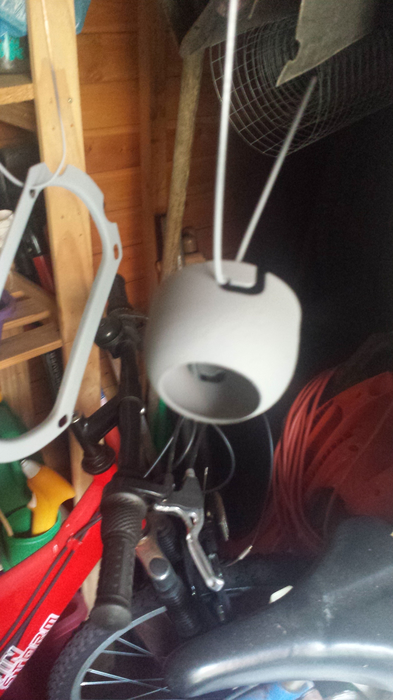
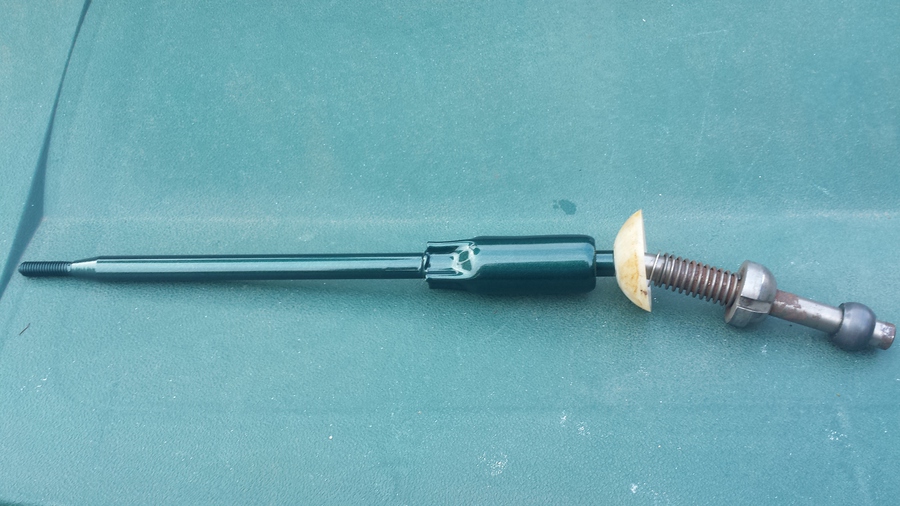
The aluminium body of the remote gear selector has been re-finished in silver and the selector shaft has been re-finished in satin black.
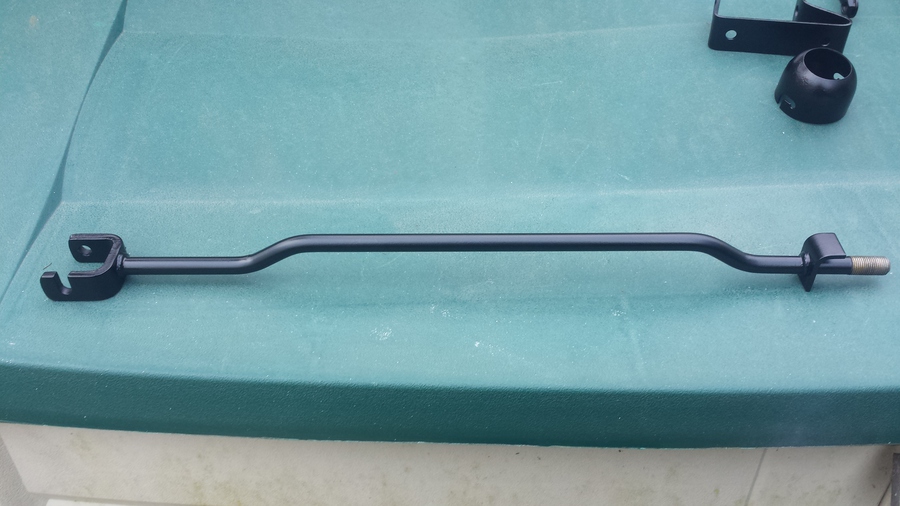
The fixed shaft from the remote gear selector has been painted in satin black.
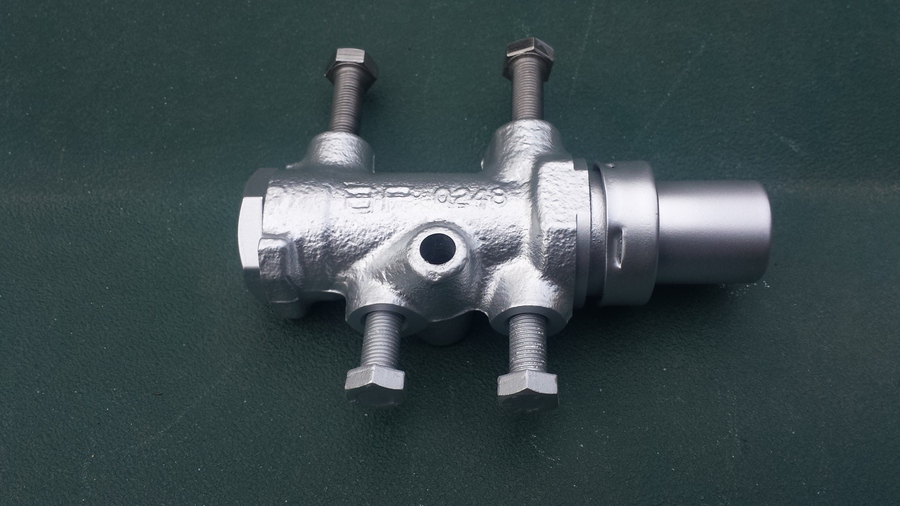
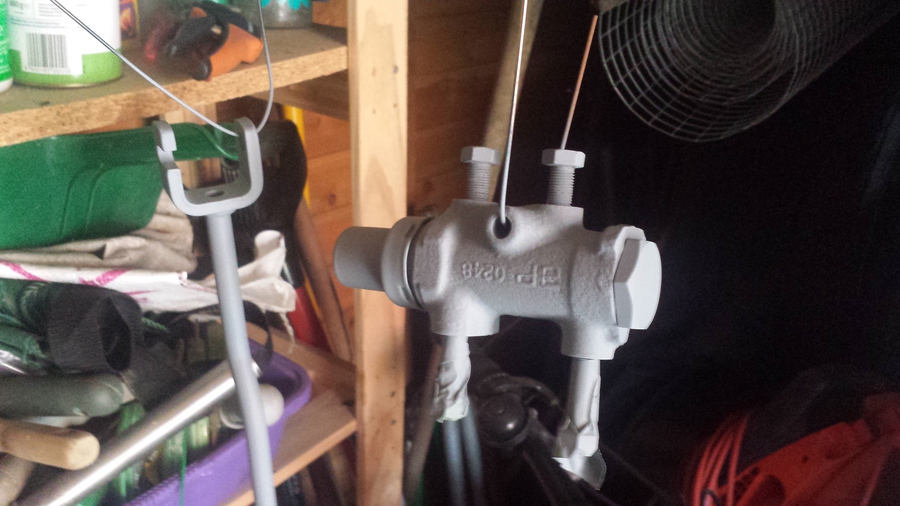
After a good clean and a coat of primer the brake pressure limiting valve has been re-finished in silver paint.
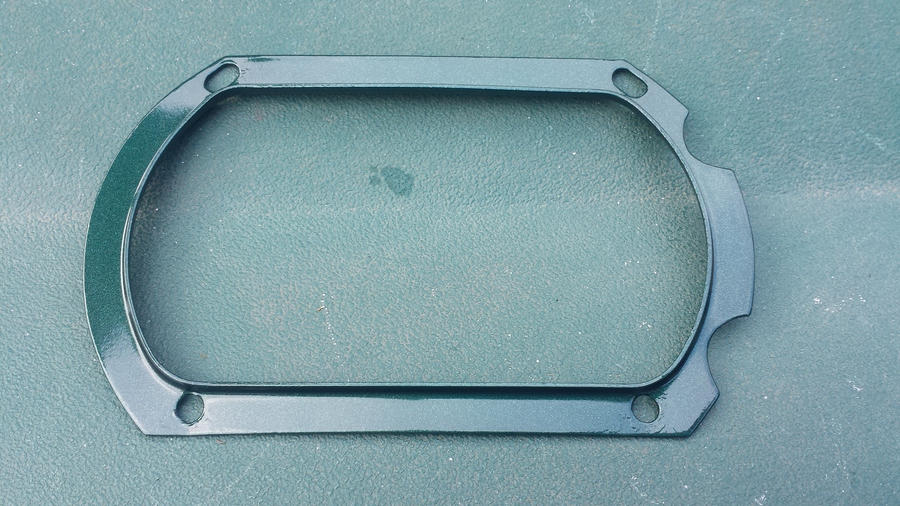
The surround that holds the gear stick gaiter has been re-finished in another sample of British Racing Green, this one came from a paint supplier on eBay. When compared to the original paint on the door mirrors this is also not a very good match.
The bonnet hinges are normally body coloured so I have painted these with the eBay paint, hopefully no one will notice that they are a slightly different shade of BRG.
The gear stick is usually gloss black but I didn’t have any while I was painting parts so I decided to paint it body colour.
Back in the workshop I clean up the welds on the repair panel for the fresh air vent with a grinding disc, then go over the whole area with a wire brush, I extend cleaning with the wire brush down the flitch panel exposing some more repair work to be done.
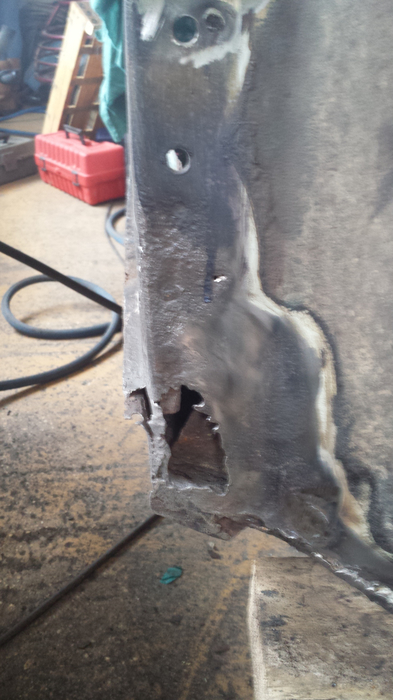
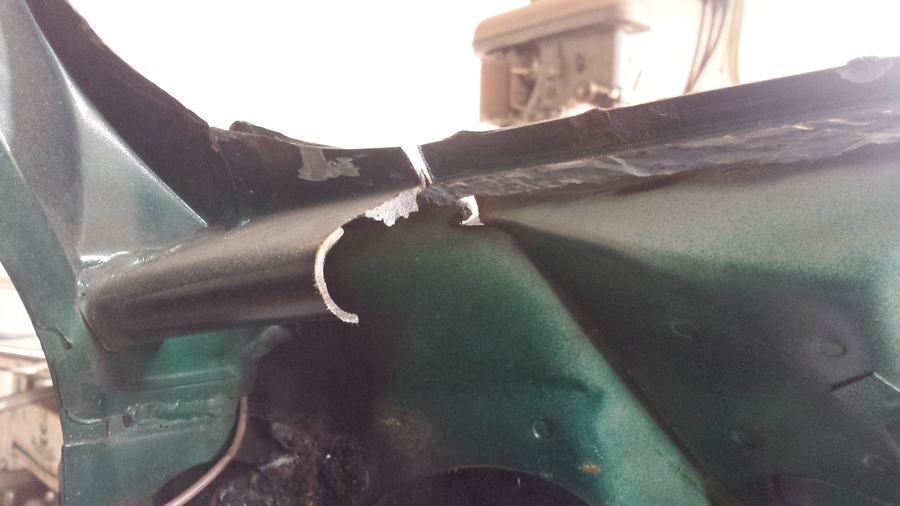
Rust has gotten between the flitch panel and the hinge stiffening panel in a couple of places, the easiest way to repair this is to cut out the rusty area and weld in some new metal. To make this job a bit easier and because the A panel is starting to go, we decide to remove the A panel.
The A panel had been replaced before so I cut through the A panel all the way down with a cutting disk, where the A panel meets the sill I cut very carefully with the cutting disk to release the bottom of the A panel. I was then able to grind through the welds holding the A panel to the flitch panel very carefully trying the preserve the flitch panel as much as possible.
With the A panel out of the way I cut out the bubbles of rust with my rotary tool with a cutting disc in it, make up a couple of patches and weld them in. The larger hole at the bottom I will repair later.
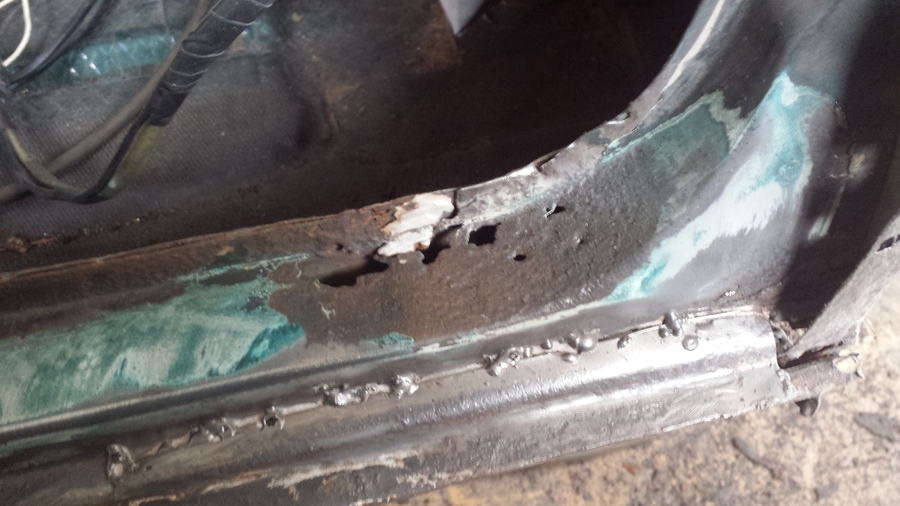
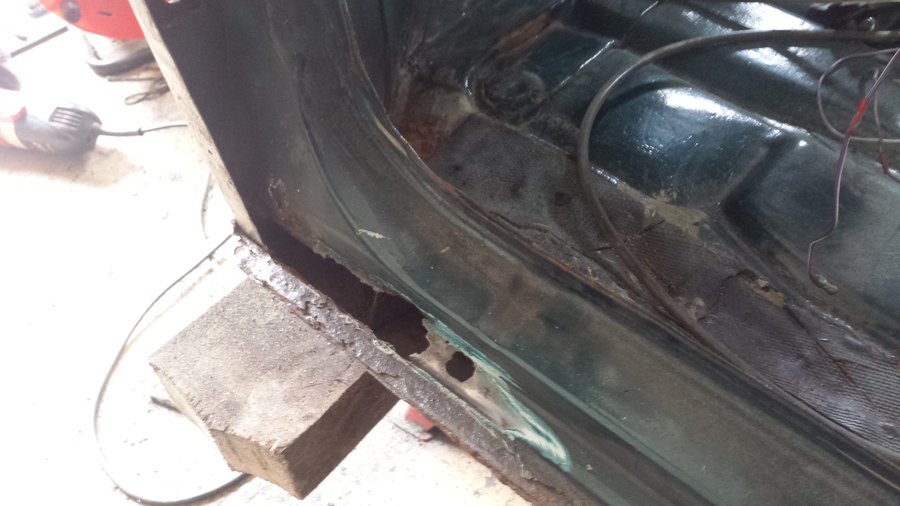
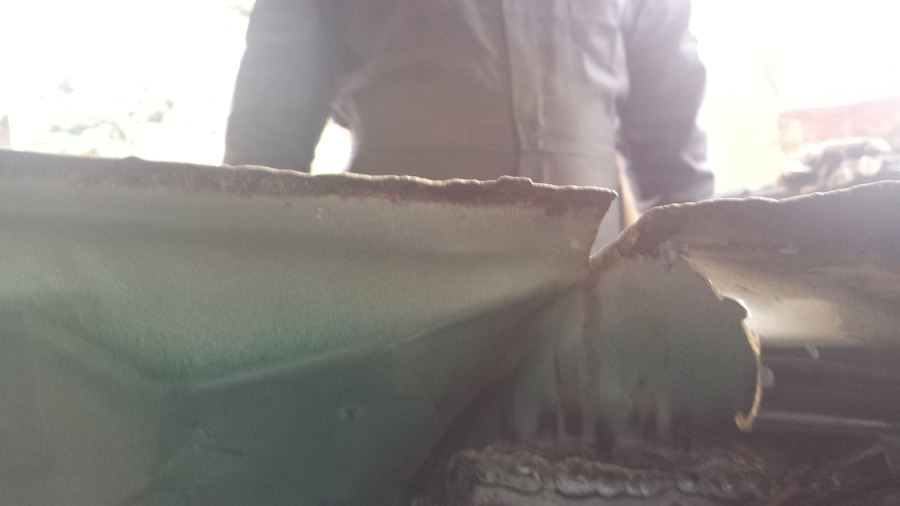
Once the A panel is off and the few little repairs done I decide to remove the stainless steel doorstep covers, these have obviously been put there for a reason. With the covers removed I remove the paint and filler to reveal more repair work to be done.
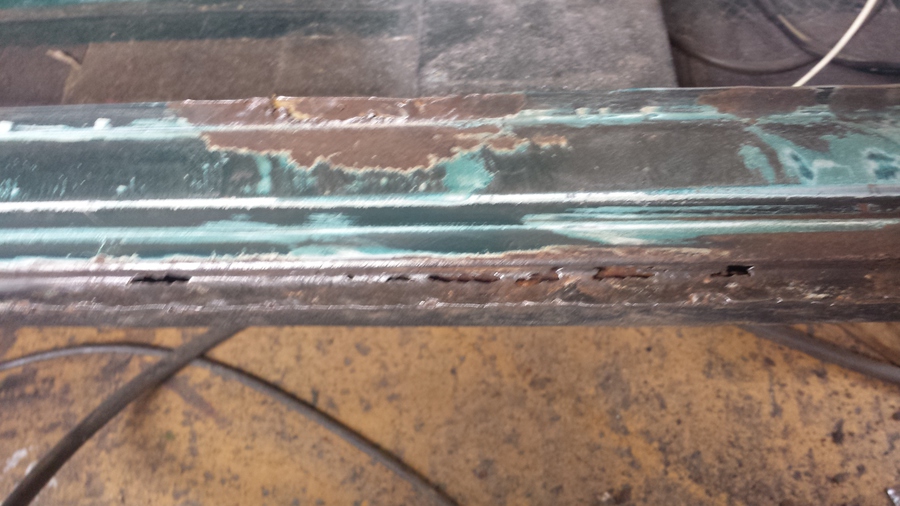
It doesn’t get much better the further down the doorstep you go.
I does get a bit more solid by the rear quarter panel, this is going to have to be cut out and replaced.
While I am here I decide to remove the A panel on the passenger side as well, once I start cutting it off I find that it is worse than the drivers’ side, so it was a good idea to replace them.
There is a little bit of repair work needed round the fresh air vent, this is taken care of by just welding the holes up, trying to be careful not to melt the fresh air vent.
I clean off any loose bits with a wire brush in the grinder, only minor bits need to be sorted.
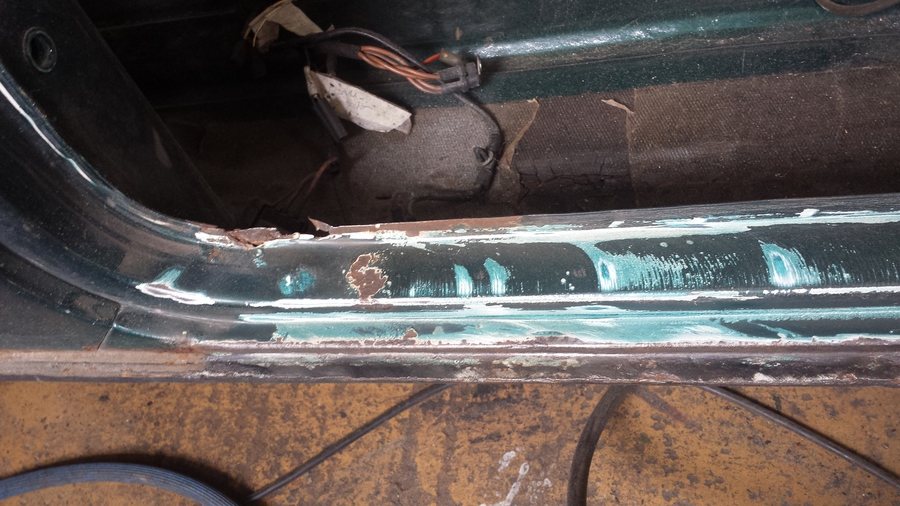
I remove the doorstep cover on the passenger side and a large piece of the doorstep comes up with it. There is nothing for it, this side will have to be replaced as well.
Sunday, 20 July 2014
Today starts with going over the drivers’ side inner wing again, it must have been damp during the week and surface rust has formed on the untreated areas. Once cleaned up I treat the area with some primer.
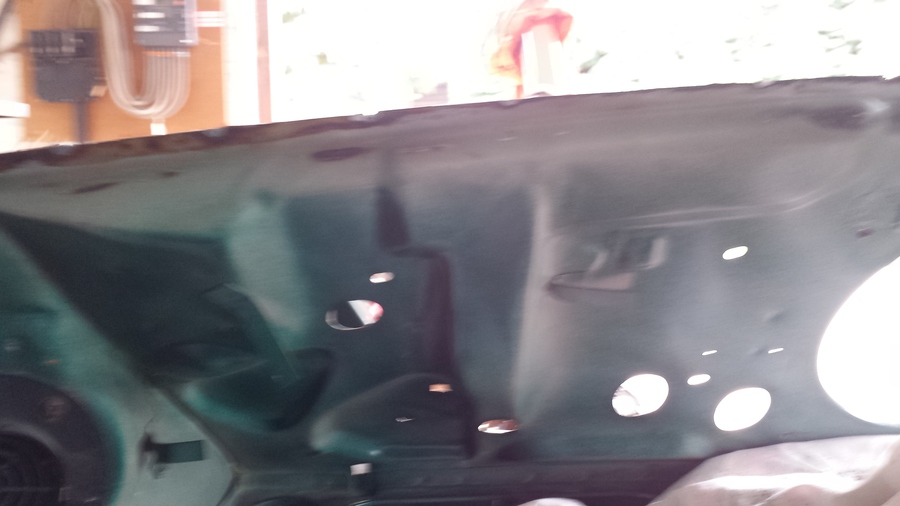
I also clean the top of the bulkhead were the scuttle panel has been removed, this is developing surface rust as well.
While I have been busying myself or as Abi call it procrastinating she has been busy removing what is left of the British Open Classic decals, she does a good job of removing them although it does take quite some time.
I also go over all the factory made holes in the inner wing and wire bush off all the rust that is growing round them, then I treat the area with some primer.
With the top edge of the bulkhead cleaned off I have treated it with some zinc weld through primer ready for fitting the new scuttle panel when it arrives. I have found in my experience that the weld through primer works will when spot welding but my MIG welder spits really bad trying to go through it, so if I am going to MIG weld I generally leave bare metal and if I am going to spot weld I will use the zinc weld through primer. I have tried the copper based version of weld trough primer but this is no better, I think it might actually be slightly worse.
Time to clean up the workshop, lock up and make our way home, we will be away from the workshop for a while as we are off on holiday to Florida.
Sunday, 24 August 2014
Well back from a well-deserved long break, time to get started again, Sasha needs us.
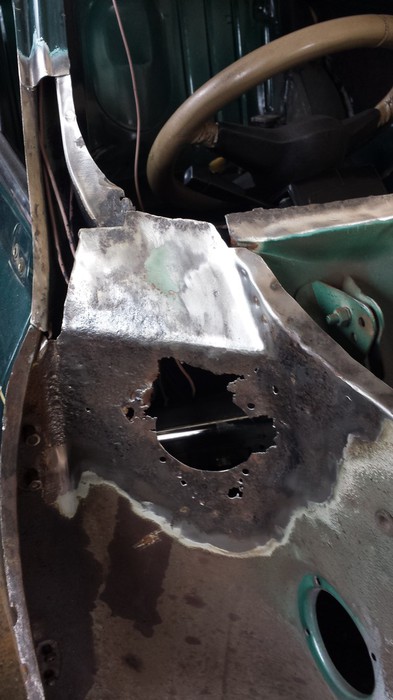
I decide to start on removing the top dash rail, I cut the top dash rail 5 or 6 cm from the side to remove the centre section.
I do this the same on both sides, the center section almost falls out, rust has set in to such an extent that there is hardly anything left in the middle holding the top dash rail to the bulkhead.
I use a combination of grinding disc and an air grinder with a carbide burr to remove what is left of the top dash rail from the A post on the drivers' side.

I repeat the process on the passenger side, removing the remains of the top dash rail.
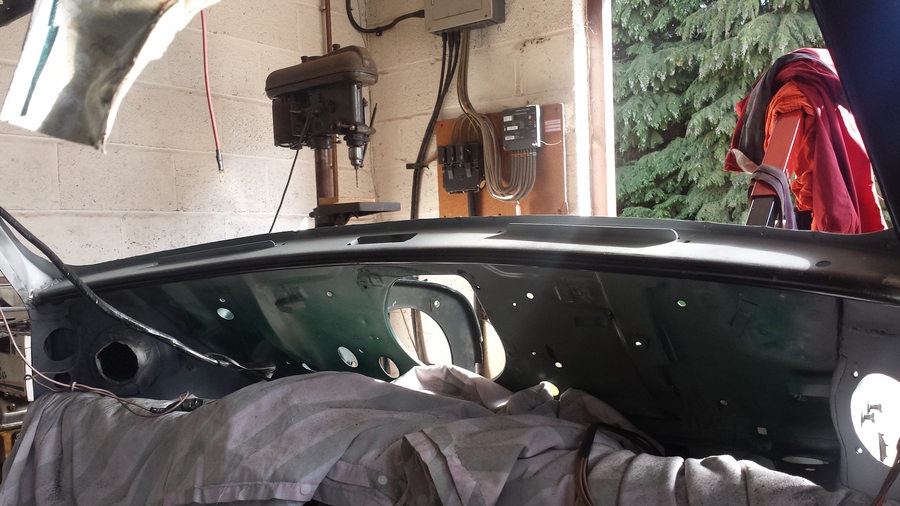
Using the angle grinder with a grinding disc I grind off what little remains of the top dash rail from the top of the bulkhead.
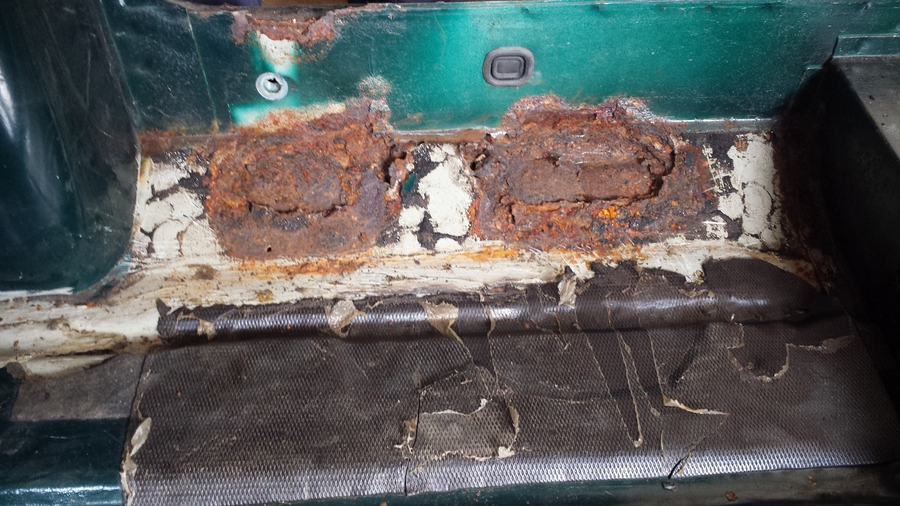
While I have been working on the top dash rail Abi has been doing some cleaning up inside Sasha and on the bulkhead under the bonnet. Unfortunately she has uncovered another horror, in the form off more tin worm in the inner sill on the passenger side. At first glance before Abi got a hold of it I thought I might be able to patch it up. No it’s gone too far it will have to be replaced.
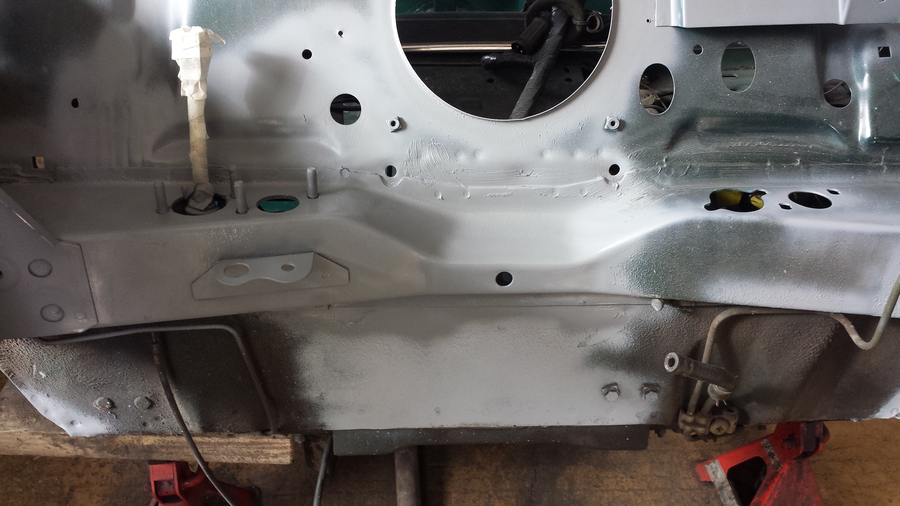
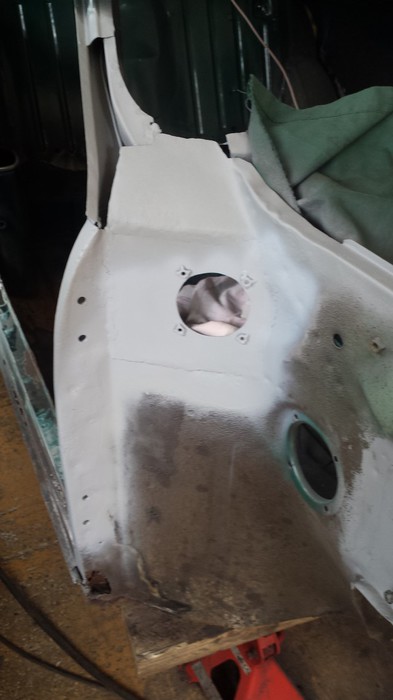
This is the work Abi has done on the bulkhead under the bonnet, she has de-greased it all, cleaned off any loose paint and sealer and used the wire brush in the grinder and in the air powered die grinder to remove any rust. Then she prepared the bare metal bits with etch primer.

Last job for today is to clean all-round the inside of the bulkhead and the A posts and treat the bare metal with primer.
After a good days work we clean up the workshop, lockup and make our way home.
Sunday, 31 August 2014
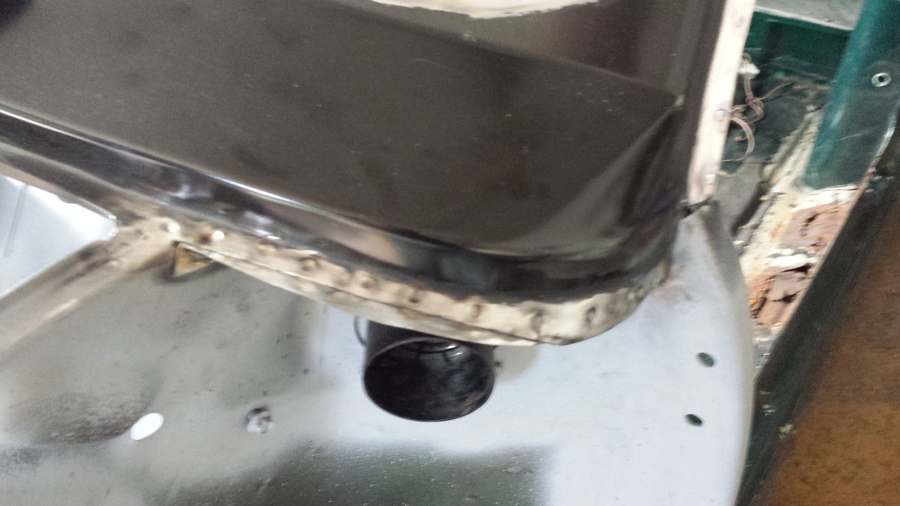
My first job today is to clean up the inside of the car around the drivers’ side fresh air vent, where I cut away some rust the closing piece on the A post is no longer connected to the inner wing so before I treat the area with etch primer I just put some tacks on it to keep it in the correct place.
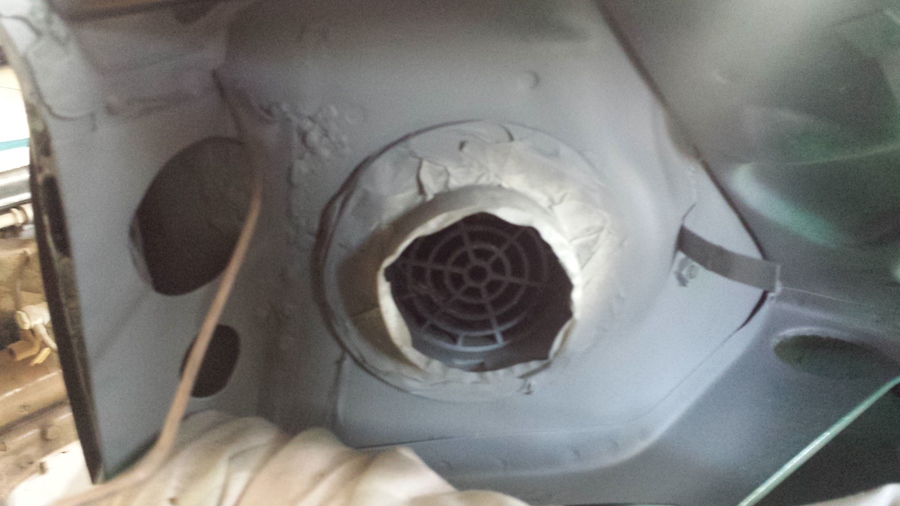
On this side I haven’t removed the plastic fresh air vent so before I apply any etch primer I mask off the plastic fresh air vent.

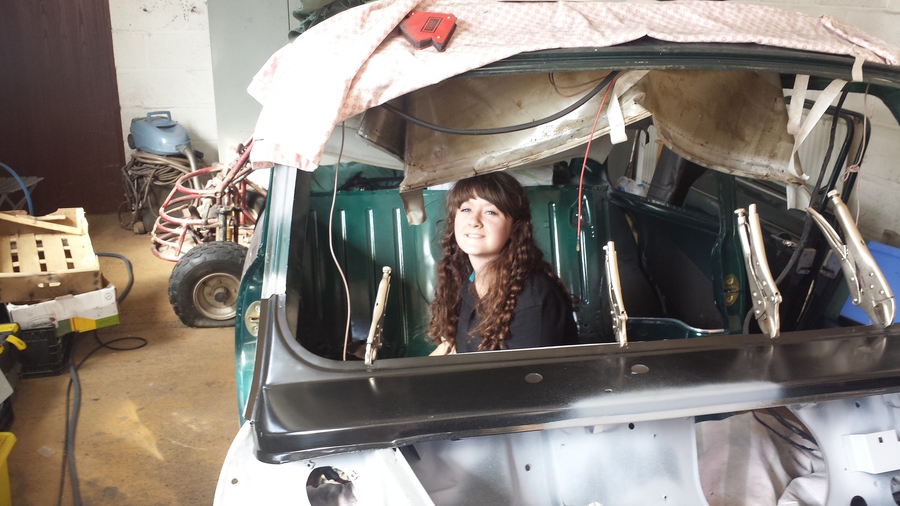
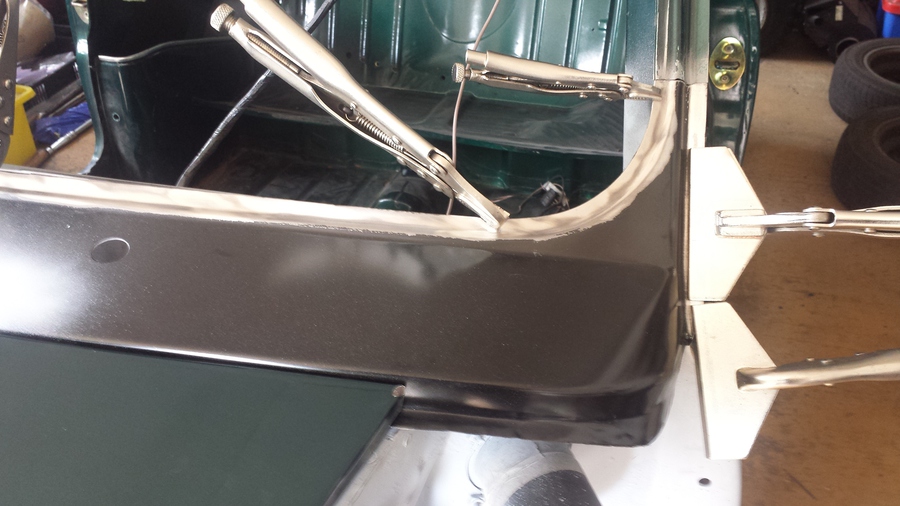
Now it’s time to put a major piece back into Sasha, it’ seems like so long ago that she was a whole car, it will be nice to start putting bits back in rather than continuing to cut on her.
I user some self locking pliers to hold the top dash rail in the correct position, it does take me some time and a number of test fits before I get to a position where I am happy to start welding.
Firstly I place a few strategic spot welds across the top dash rail holding it to the bulkhead, not many are required as this will be spot welded much better when the scuttle panel goes in.
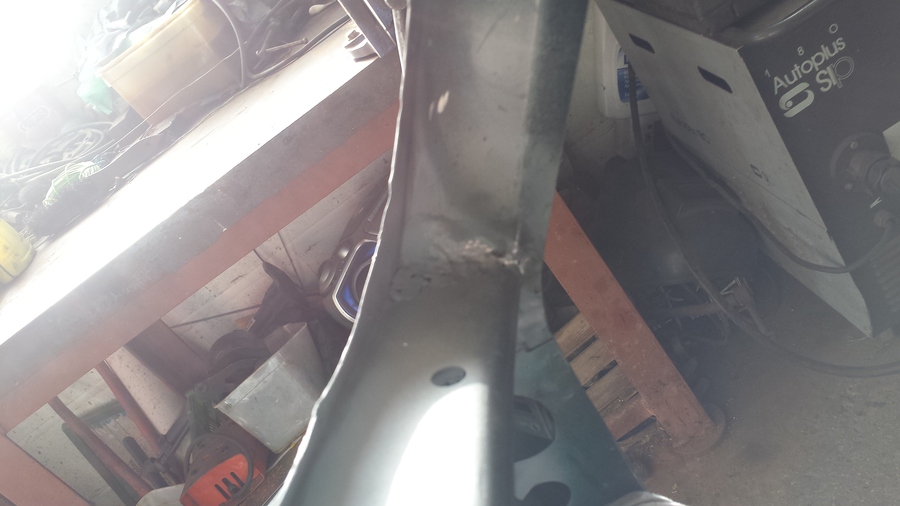
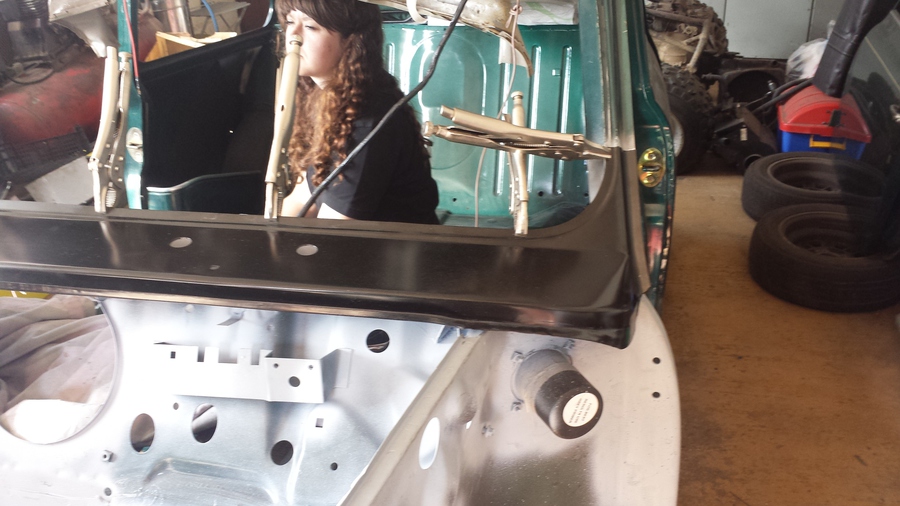
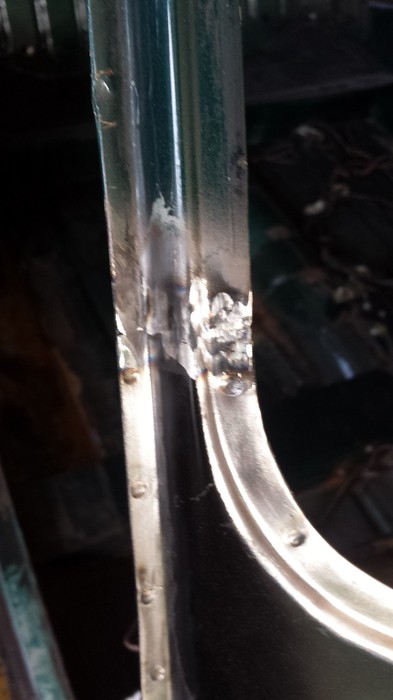
Then I weld the drivers’ side of the top das rail in to the A post.
Then I do exactly the same on the passenger side, I find it quite difficult to make a neat job of either side and have to spend quite a lot of time grinding back the rough welds with the air powered die grinder and carbide burrs.
Once it is finished I am quite happy with the job.
That’s it for today, time to clean up the workshop, lockup and head for home.
Sunday, 7 September 2014
Today we spend almost all day trying to get the scuttle panel to fit properly, if I just put it in place and centre it it is about 5mm short each side. I try various things to get it to fit better including trimming more off the windscreen pillar. I eventually get it to fit ok by starting on the passenger side and using lots of clamps to hold it in the correct position, then pushing it down towards the drivers’ side, clamping it where I can and easing it into the right position. I did try starting from the drivers’ side and pushing it over to the passenger side but it just would not sit in the correct place.
Abi says I am procrastinating too much and should just weld it in.
By the end of the day we have made some progress and with some pushing and pulling manage to get it to fit more to my liking.
Enough procrastinating for today, time to clean up the workshop, lockup and make our way home, Abi is getting a bit grumpy.
Saturday, 13 September 2014
We usually work on Sasha on Sundays but as it is the Mini show at Stanford Hall tomorrow we decide to come and work on Sasha today.
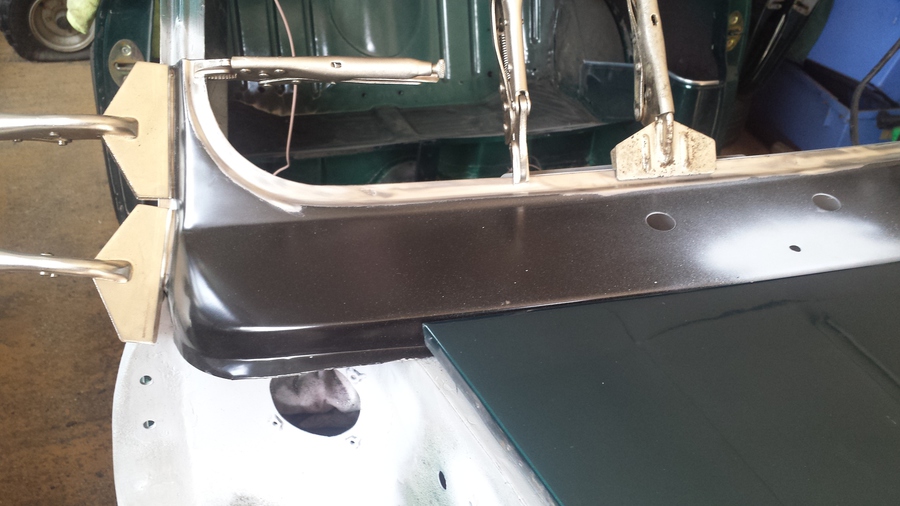
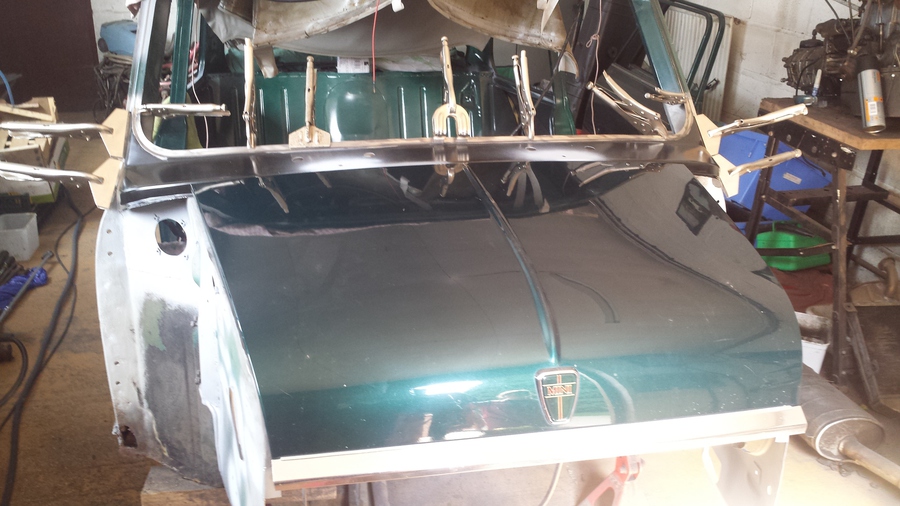
Continuing with the scuttle panel today we decide to check alignment with the bonnet before we go past the point of no return. Happy that the bonnet fits ok with the scuttle panel in place it is time to start spot welding it into place.
The panel gaps between the scuttle panel and the bonnet I think are quite good, certainly as good as they were before we cut her all up.
Well Abi tells me off some more about procrastinating, time to start welding again.
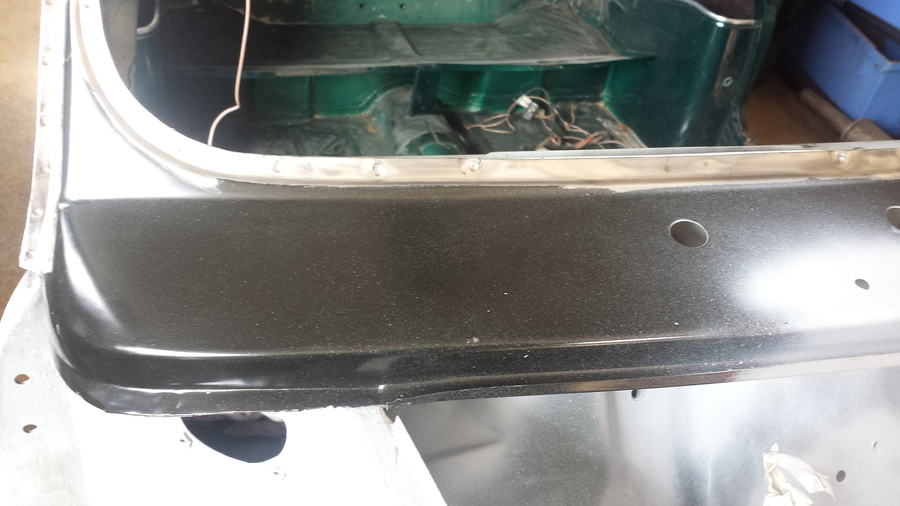
With the spot welding complete in the drivers’ side I am quite happy with the result.
Now with the spot welding complete on the passenger side the job looks quite good. All I have left to do is to MIG weld the joint on the windscreen pillar on both sides and MIG weld the scuttle panel to the top of the inner wing.
Enough for today time to get home, see what bargains and parts we can pick up at Stanford Hall tomorrow.
Sunday, 21 September 2014
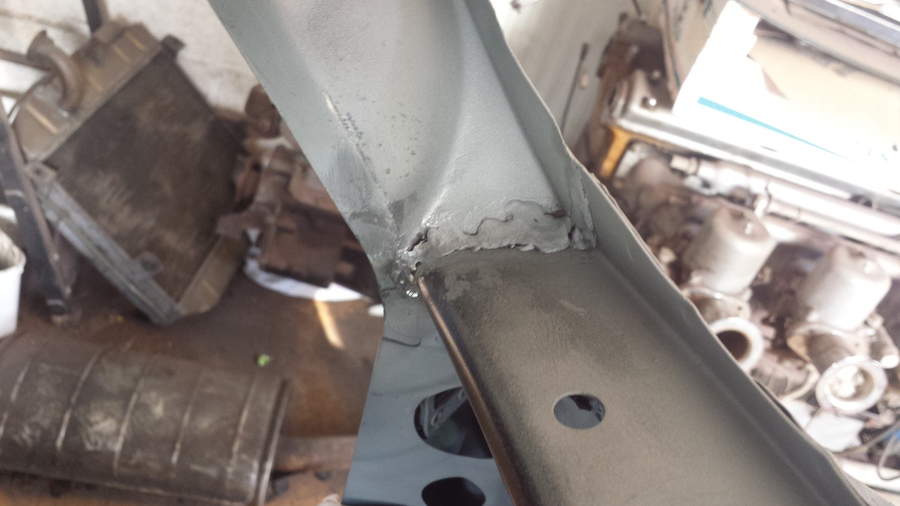
I start today’s jobs with MIG welding the seam between old and new panels on the windscreen pillar, drivers side first, then grind off any excess weld. Any slight indentation will be taken care of at body prep stage with a little filler.
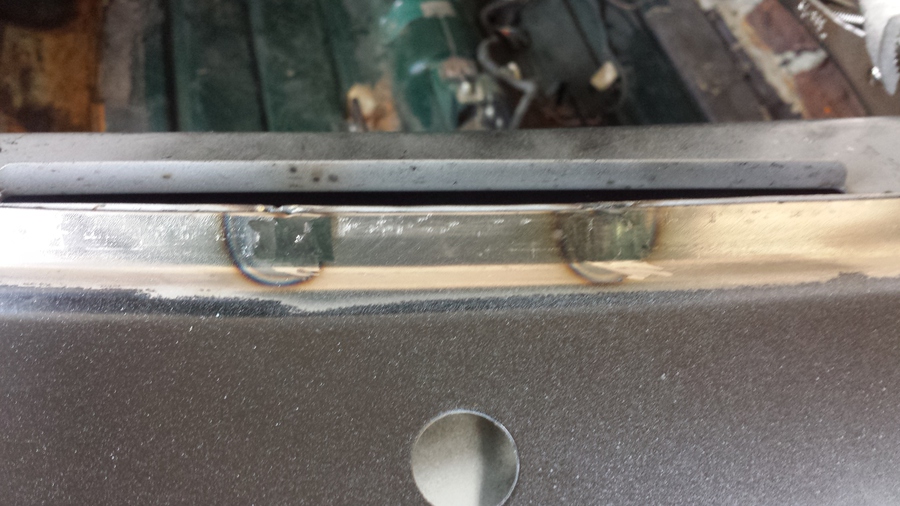
Over the space of the week a little gap has opened up between the scuttle panel, bulkhead and top dash rail, this is where I didn’t manage to spot weld it. I couldn’t get the spot welder in because of the windscreen vents, so I decide to clamp it drill two holes in it them plug weld it with the MIG welder, this will give this area a bit more strength. Any excess weld is taken off with the grinder.
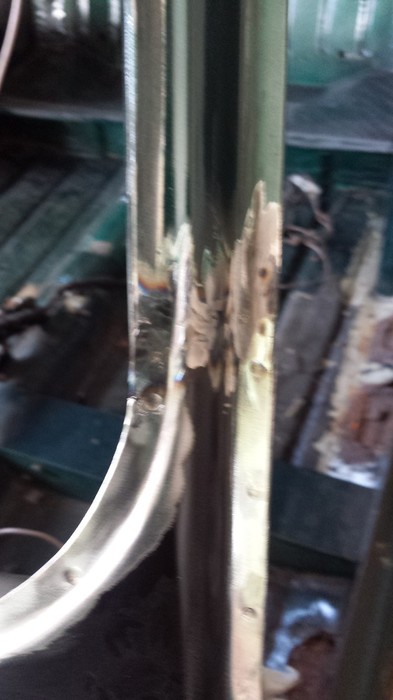
The seam between old and new panels on the windscreen pillar on the passenger side is welded up and cleaned up with the grinder the same as the other side.
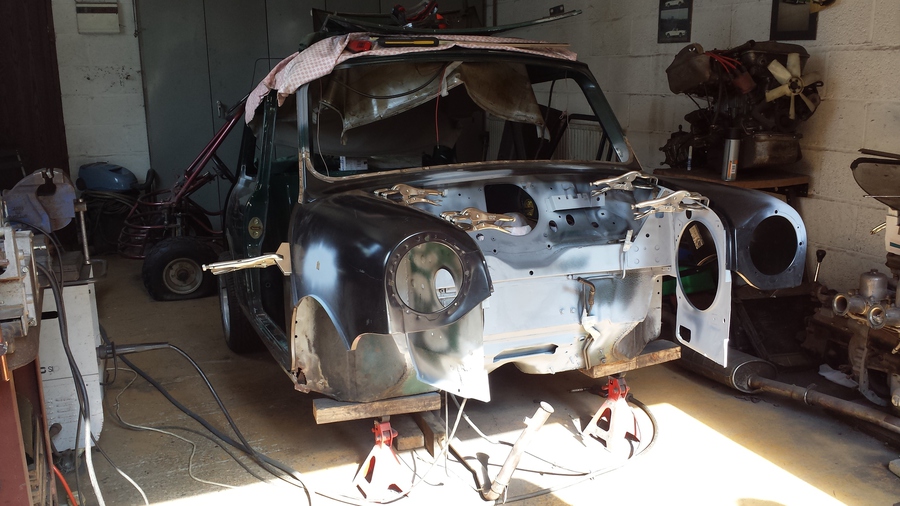
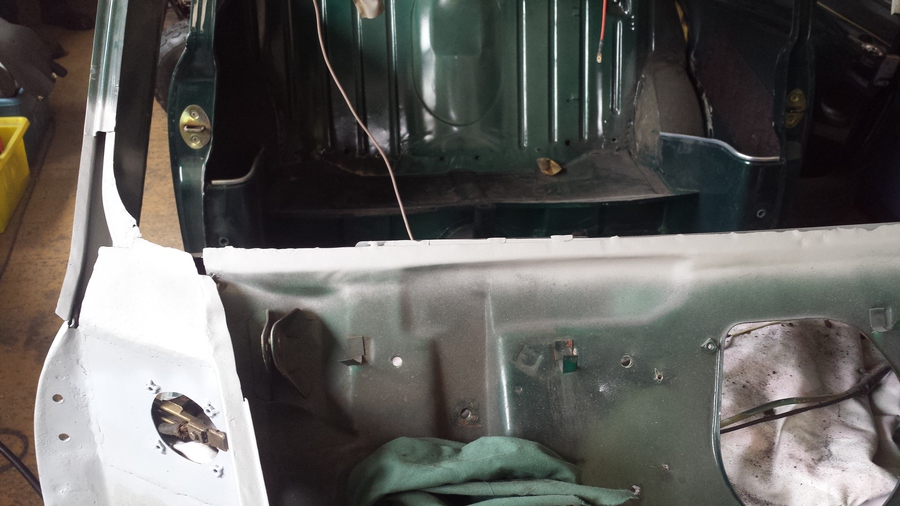
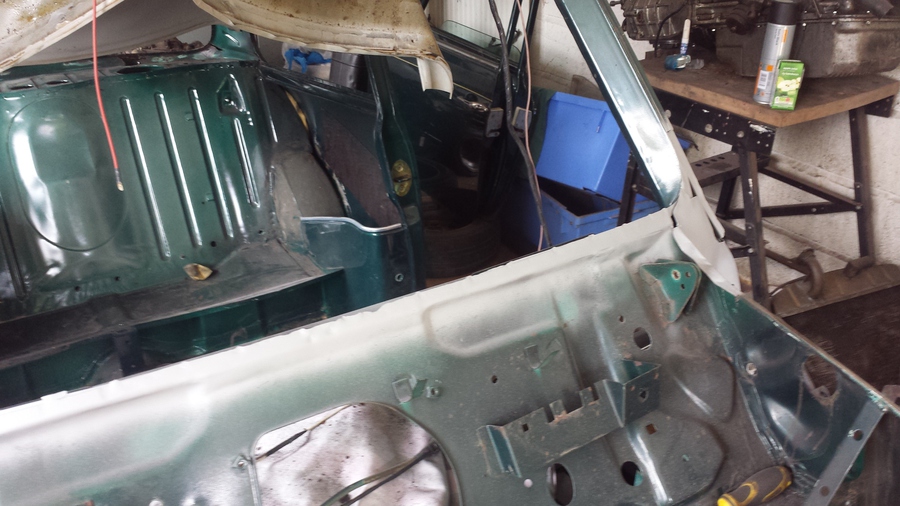
At this point we decide to do a test fit of the wings and A panels, we did put the bonnet back on as well but didn’t take a picture with that in place. Everything fits back together quite well, once the front panel arrives that will take care of the spacing of the inner wings, they seem to have pulled together a bit, but this is to be expected.
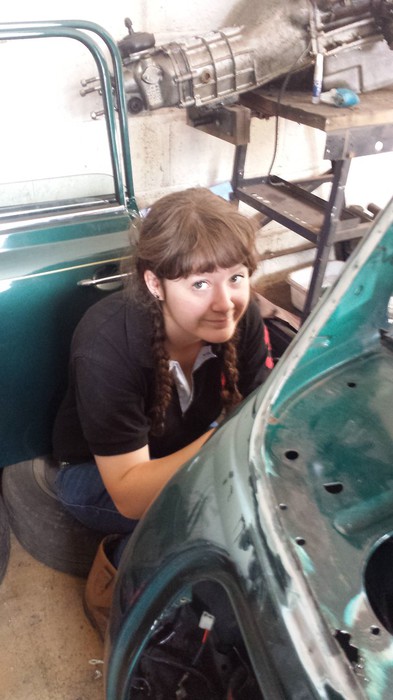
While I have been doing all this Abi has been out in the barn cleaning parts that have been taken off, she has been cleaning mainly the ventilation pipes and the plastic parts. All these parts end up in her bedroom much to the disgust of her step mother Frances, but Abi doesn’t want them getting dirty again. I can’t think of many 16 year old girls that have half a car stored in their bedroom.
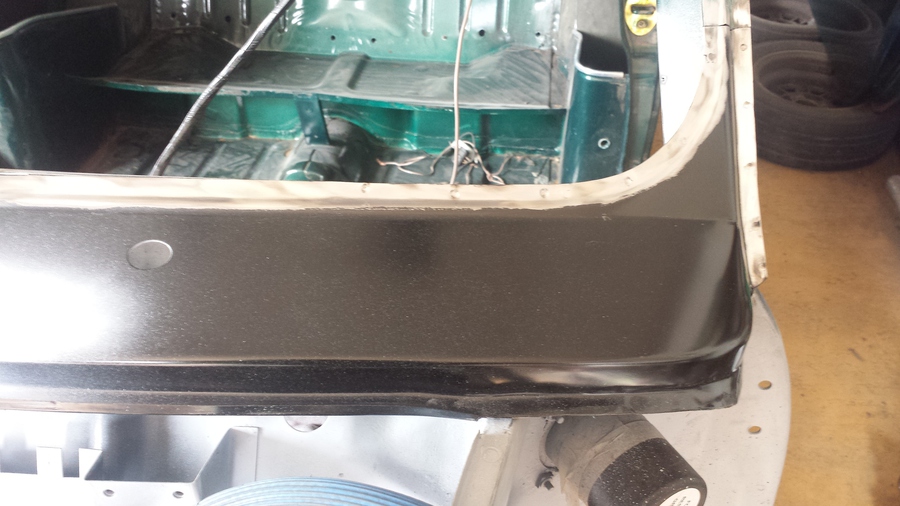
With the alignment of the panels ok I spot weld and plug weld the scuttle panel closing panels in place, these are some of the only panels not available as a genuine or heritage panel, I don’t know why as you can buy a whole new shell so they must remake these parts.
Last job for today is to repeat the process for the scuttle panel closing panel on the passenger side. As I said these are pattern parts but they actually fit reasonably well, I am quite pleased with this job.
Enough for today, time to clean up all the mess we have made, lockup and make our way home.
We are located at:
Market Harborough
Leicestershire
Contact us
If you would like to contact us:
rod@howitt.org.uk
abi@howitt.org.uk
sasha@howitt.org.uk
Or use the contact form.