Timeline 16 August to 20 Nov 2015
This is a continuation of the work done to Sasha.
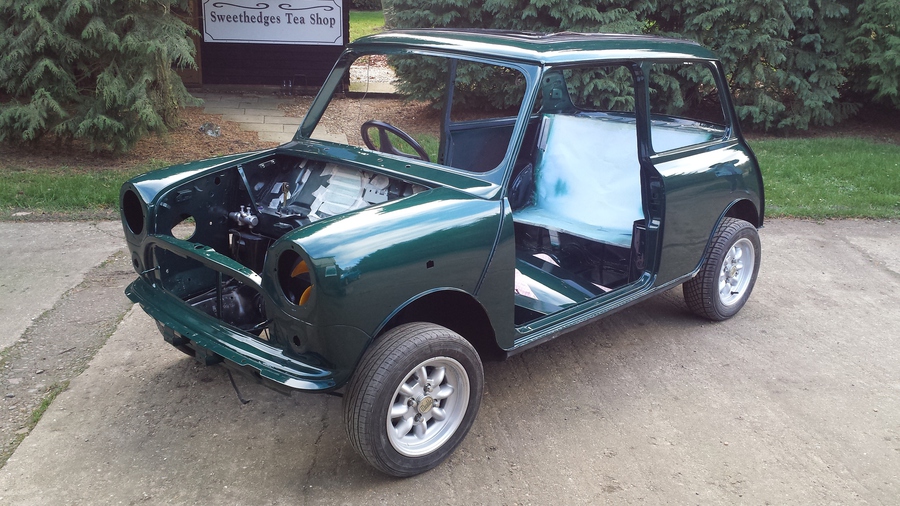
Sunday, 16 August 2015
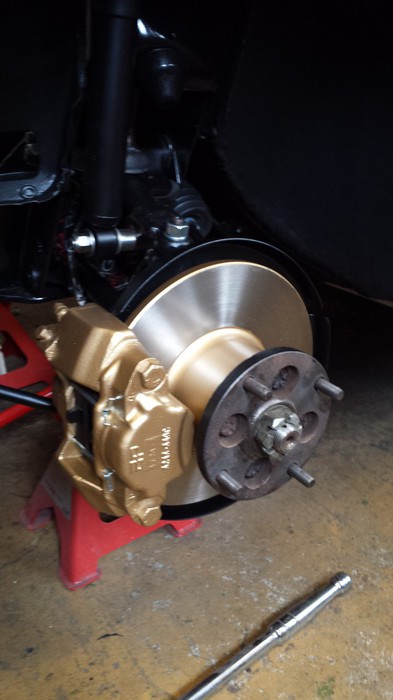
Next some more assembly, I insert the outer CV through the bearings in the front hub then I insert the taper of the bottom ball joint into the bottom suspension arm then pushing down on the hub insert the taper of the top ball joint into the top suspension arm, then secure with the spring washers and nuts. I don’t tighten these up properly as I will need to remove the top one again when I install the engine. Next I put the brake disk stone guard into position, then I install the brake disk and drive flange securing it in place with the tapered washer and the hub nut, I can’t tighten this at the moment as I have nothing to hold it with to stop it moving. Next I install the brake caliper with the two bolts that also go through the brake disk stone guards, these bolts are torqued up to the correct setting. Lastly the taper on the track rod end is inserted through the hole in the steering arm and secured with a nut, this is not torqued up as it may need to be undone again.
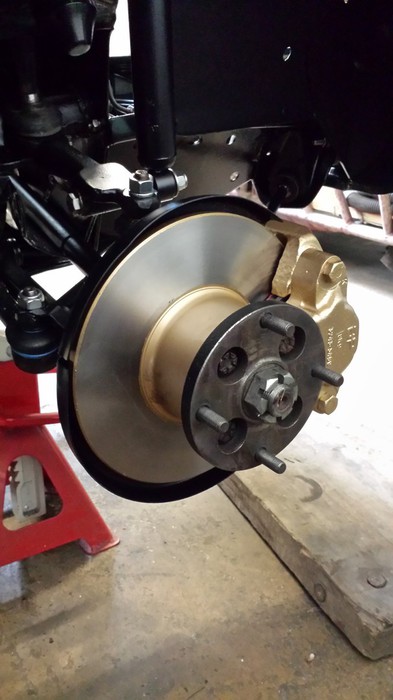
I then go through the same procedure on the other side of Sasha.
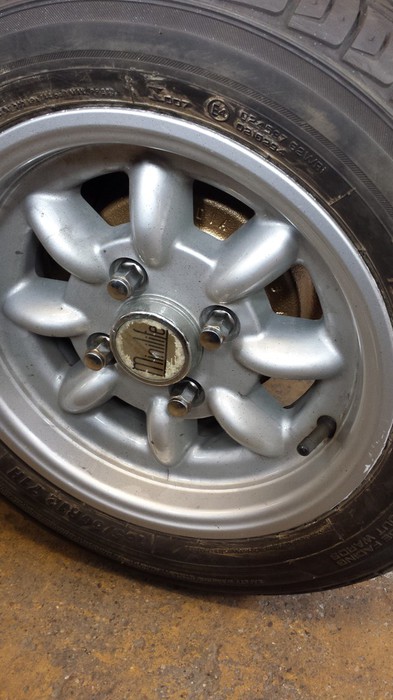
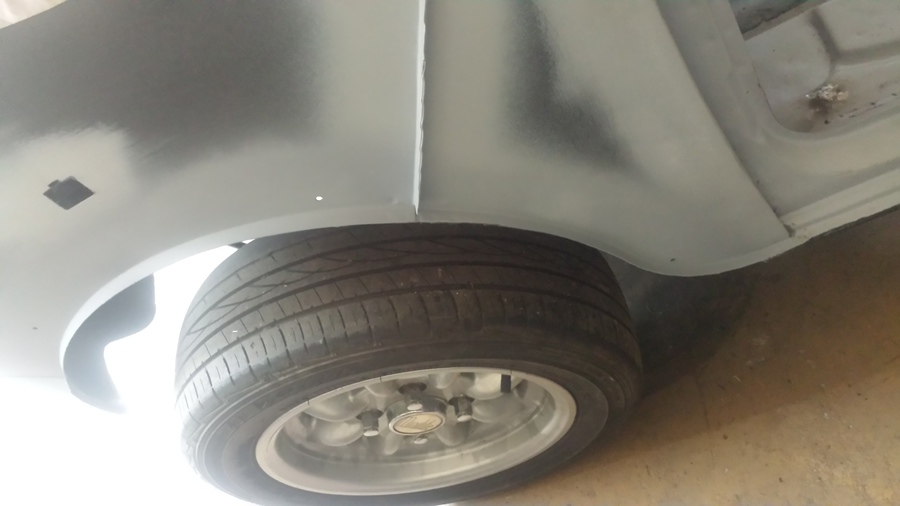
That’s it for today time to go home but before I do I snap a picture of the rear wheel, you can see the gold brake drum through it, and it does look pretty.
Sunday, 23 August 2015
We I haven’t managed to get much done on Sasha today I have spent most of the day with the upgrades to Sweethedges caravan park, The caravan park now has power for up to six caravans and TV aerial sockets for six caravans, when it is completely finished there will be water hookup for six caravans and WiFi.
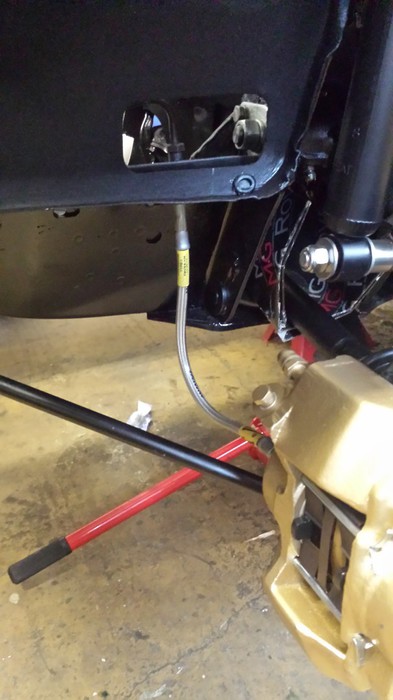
Well back to the work I have managed to get done on Sasha, I have installed the front braided brake hoses, this job I had to do twice as I put the brake hoses on the wrong side to start with, the brake hose that goes on the drivers’ side has deeper threads than the one on the passenger side.
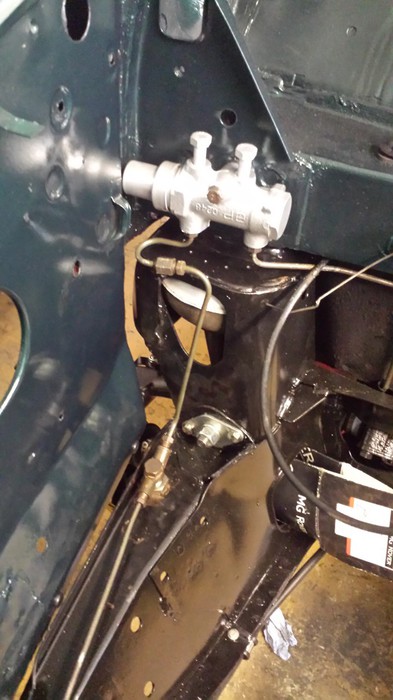
With the flexible brake hoses in place I re-fitted the steel brake line that goes across the front of the front sub frame, I also re-connect the brake line back up to the brake limiter valve.
Last job I have time for today is to put the front wheels back on and take the jack and axel stand out, Sasha is now back on her wheels.
Until next time that’s it for now, I clean up the workshop and make my way home.
Sunday, 30 August 2015
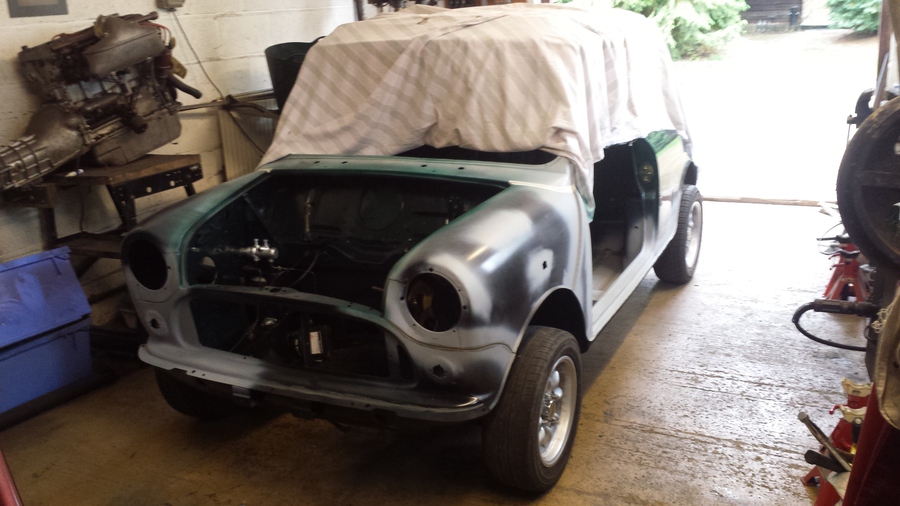
I make a start today by putting the steering column back in again, this is so that I can steer the car as I am going to push it out of the workshop so I can turn it round.
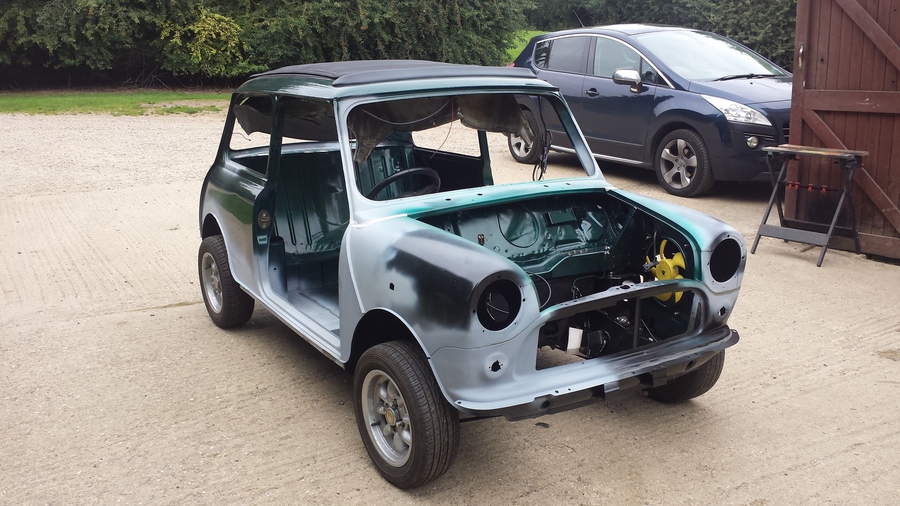
While Sasha is outside I take the oppertunity to take some pictures.
I have added these picture to the ones at the top of the page.
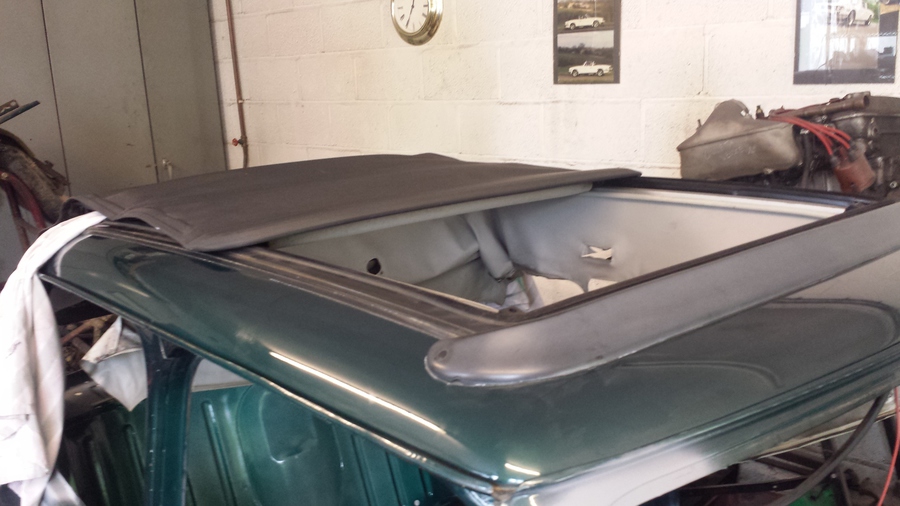
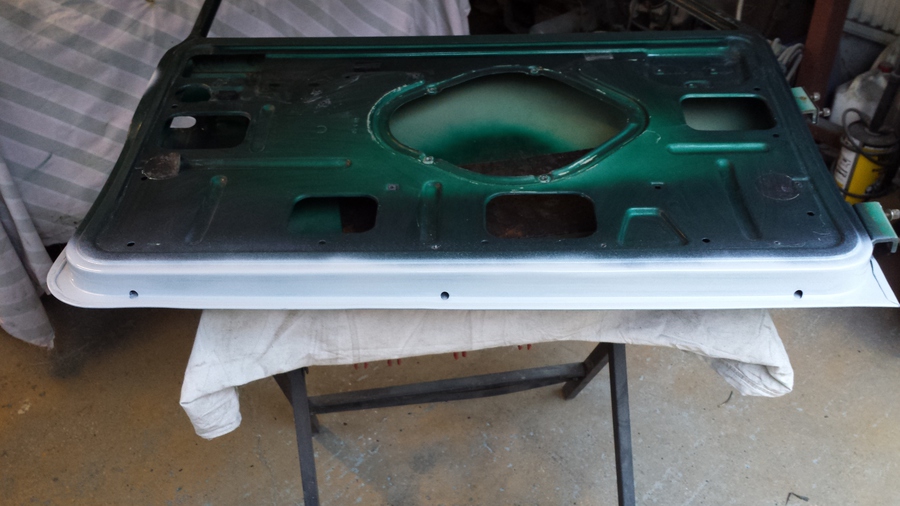
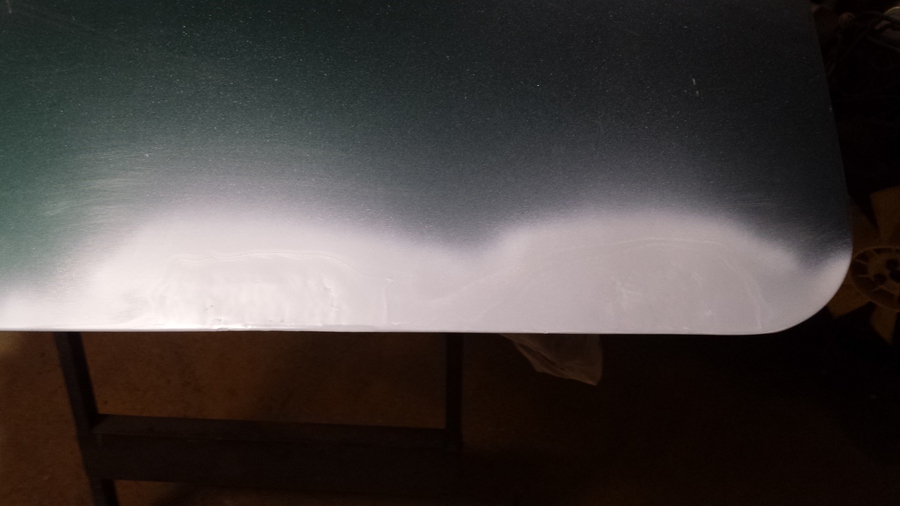
With Sasha now back in the workshop after her little photo shoot I start to remove the top cover of the electric sun roof, this has to be replaced as it has shrunk over time and it has a little bit of damage. If I didn’t need to repair a couple of bits on the roof and get the roof painted along with the rest of the car I would have left the sunroof until it desperately needed replacing, but now is as good a time as any.
I spent quite a bit of time trying to work out how to get the top cover off, after much head scratching and talking to Matthew and Brian about it I finally work out there is some screws hidden under the frame fixings, with the back frame fixings removed I can get to them and release the back section of the top cover. I use a 5mm alankey to put the roof back a bit to take the tension off it, with the back of the top cover lifted up over the rest of the top cover there are two screws each side that need to be un-done to remove part of the guide rail, this allows the roof sections to be lifted out through the gap that is left, by continuing to operate the roof back with the alankey I lift all the sections of the roof back until the front section is located in the gap, by removing a circlip on each side I can disconnect the top cover from the mechanism and remove it from the car.

With the top cover removed you can see just how big it really is. Also I can inspect the sunroof mechanism for any damage and wear, there is a screw missing and one of the guide rollers, and two of the other guide rollers are loose, I’ll have to see if these can be replace along with the original top cover.
Getting the sunroof top cover off has taken me a lot longer than I expected so I haven’t gotten as much done today as I would have liked.
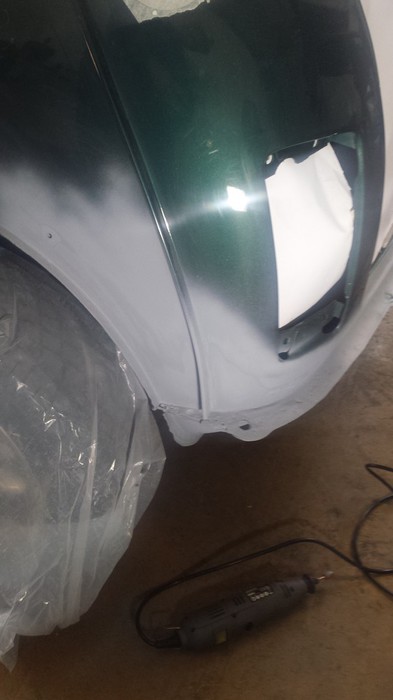
I finish off today by doing a little bit of body work around the seam under the drivers’ side headlight hole, just a bit of rubbing down and I have applied some more primer over the top.
There will be lots of this to look forward to, but for now it’s tie to lock up and get off home.

Sunday, 6 September 2015
Only a short day today as I have had my friend Paul Preston come to look at Sasha to give me a quote for painting her.
So after Paul has gone I put a second coat of underseal on the drivers’ side sill, next time I should be able to get a coat sprayed on.
Next task is to remove the wind deflector, the deflector is held in place with seven threaded screws with spigoted nuts on the inside, once these are undone the wind deflector is just held in place with a little sealer, this is just carefully pulled away, removing the wind deflector from the roof.
The last thing I have time for today is to clean the area where the wind deflector has been removed.
That’s time to clean up and get off home, I am taking Frances out for the afternoon.
Sunday, 13 September 2015
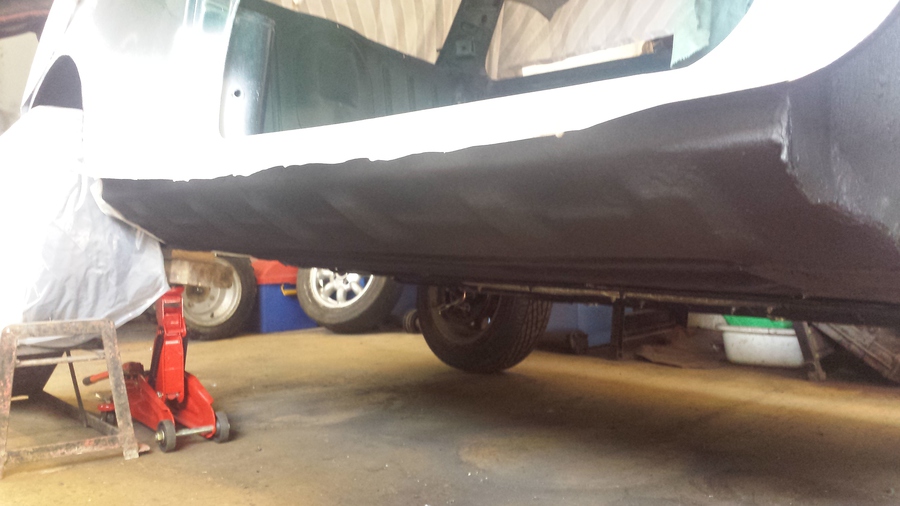
I start today by jacking up the drivers’ side of Sasha so that I can spray a couple of coat of underseal on the sill. With that done the whole of the underside of the car is now done.
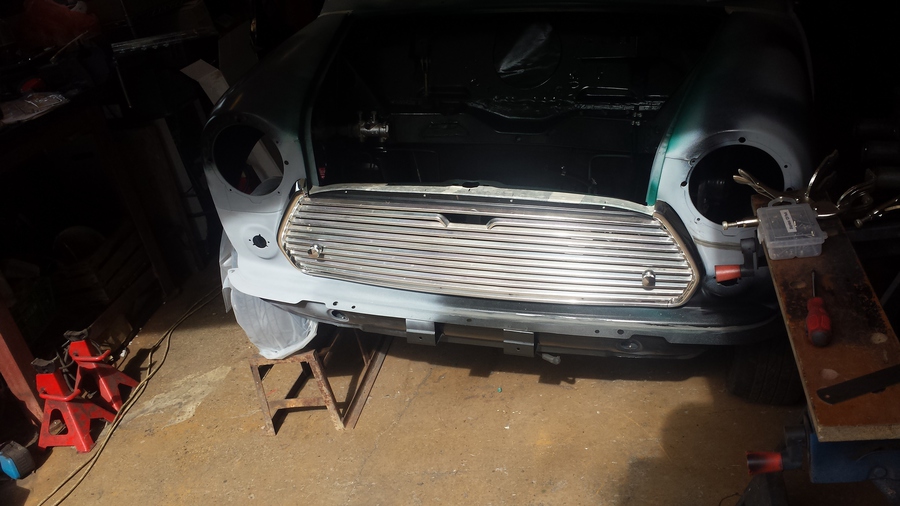
Next job is to tackle mounting the grille, I don’t want to drill all the holes in the front panel to mount the grille as it was from the factory with about half a dozen screws holding it in place, so I am going to use grille buttons to hold the grille in place, the first step is to position the grille in the right place I put some masking tape on the front panel to protect it and so I can mark where the grille needs to go, I hold the grille in place with some fork welding clamps. There is already a hole in the front panel on the passenger side luckily it is in the right place so I am able to drill through the grille from the back for the mounting bolt. On the drivers’ side I carefully work out where the hole needs to be and measure it and compare it to the other side just to make sure then drill through the grille and mark the front panel, I remove the grille and drill through the front panel, I then install the nuts and bolts, then I test fit the grille with the moustache ends attached, I find the stainless steel screws I have used are too long, but theses are the shortest I have so I have to shorten them all. With the screws all changed out for shortened ones I re-test fit the grille, we are all good to go.
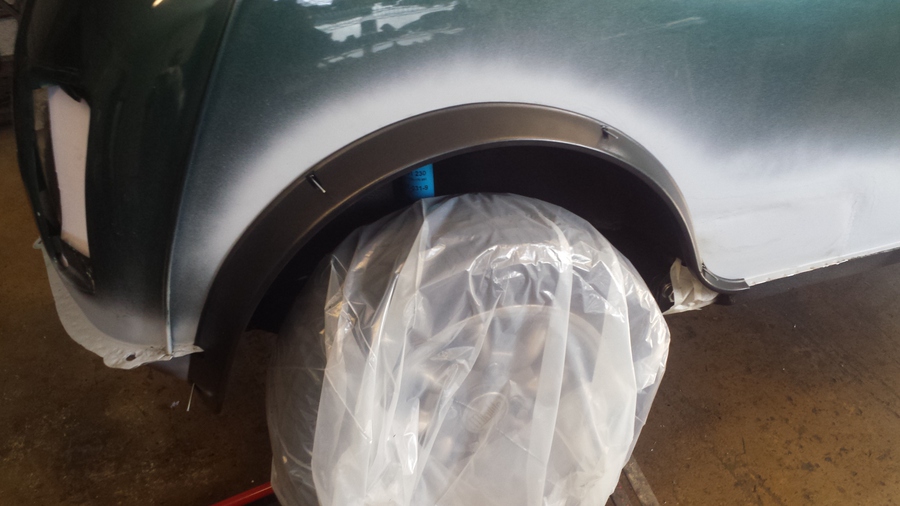
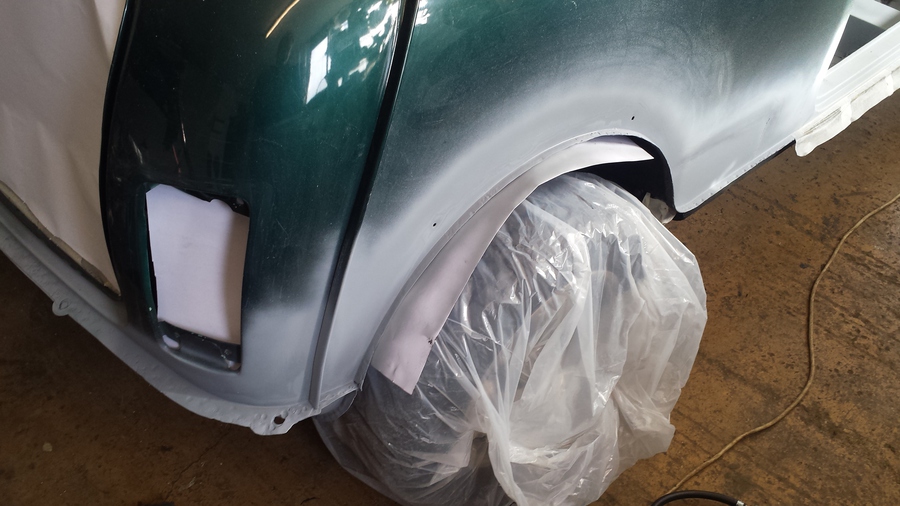
Next job on the list is to re-install the rear wheel arch extensions so that the mounting holes can be drilled into the new rear valance and the rear quarter repair panels. I use some pop rivets along with some masking tape to align the wheel arch and hold it in place, I end up having to grind a bit off the seam of the wheel arch and seam along the sill to get a better fit. I then drill the holes for the pop rivets and test fit the rivets, I am not going to install the wheel arch extensions until the body has been painted.

I then follow a similar process for the front wheel arches, I fit them and hld them in place with masking tape, once I am happy with the alignment I drill the holes in the wings and the A panels and test fit the pop rivets.
I tidy up some surface rust around the drivers’ side rear wheel arch and the rear bumper mounting flange, I also apply some primer to prevent further rust.
Originally Sasha had a radio aerial mounted on the passenger side front wing, these are a bit of a rust trap so we have decided not to put it back on, instead I have put a bee sting roof aerial on. This was done by putting some masking tape on the roof to mark where the hole is to be drilled, once I have measured and mark a few times I drill a pilot hole then enlarge it to the right size with a step drill. I test fit the aerial but don’t leave it installed, I won’t install it until the body is painted.
That’s the last job for today, I tidy up the workshop, put all the tools away and make my way home.
Sunday, 20 September 2015
Well I haven’t managed to get anything like as much done today as I had wanted to do, I ended up looking at the WiFi for the caravan park at Sweethedges, now I know what the issues are there I can get some work done on Sasha.
So the first job on Sasha today is to tidy up some surface rust around the passenger side rear wheel arch and get some primer on it and over the holes I drilled to fit the wheel arch extensions.
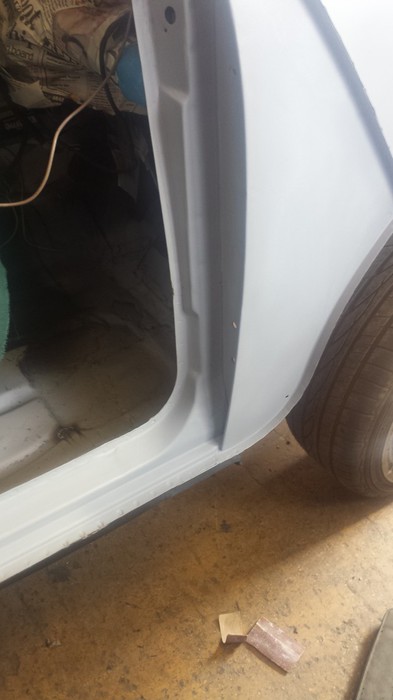
Next job I do some rubbing down of the seam sealer round the drivers’ side door hinge stiffening panel and treat the area with some primer.
I make sure there are no rough edges where I drilled the holes for the wheel arch extensions on the front passenger side wing, A panel and front panel, I flat the area down and after cleaning the area with some panel wipe I apply some primer to keep the rust at bay.
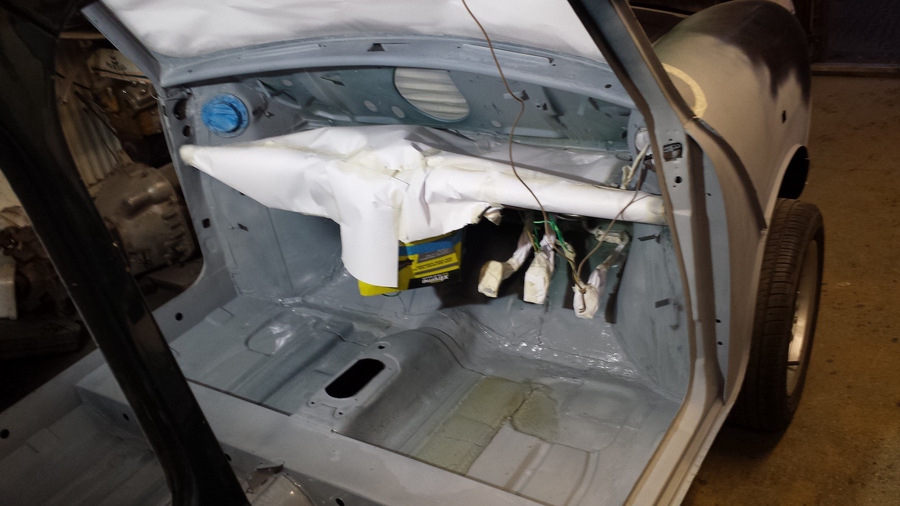
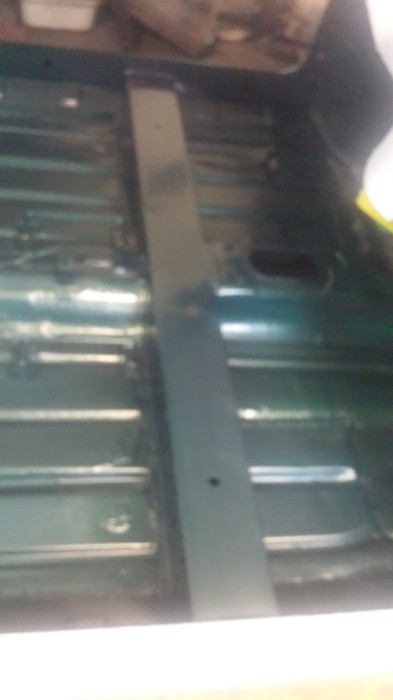
The last job I have time for today is to start some of the tidying up of the floor inside Sasha, this needs to be done so that at some point I can get the interior painted before Sasha goes to get the outside painted. I have chosen to do the inside to keep the cost down.
That’s all I have time for today, I clean up the workshop, put the tools away and make my way home.
Saturday, 26 September 2015
After finishing a couple of jobs on the Sweethedges caravan park I have a some time to do some work on Sasha before I have to go and pick up a Chinese takeaway for myself and Frances.
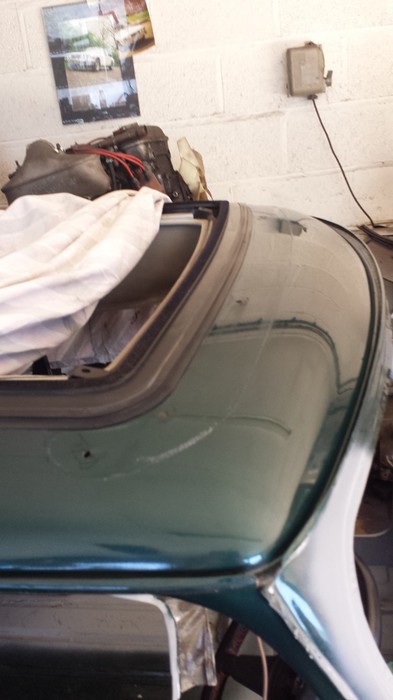
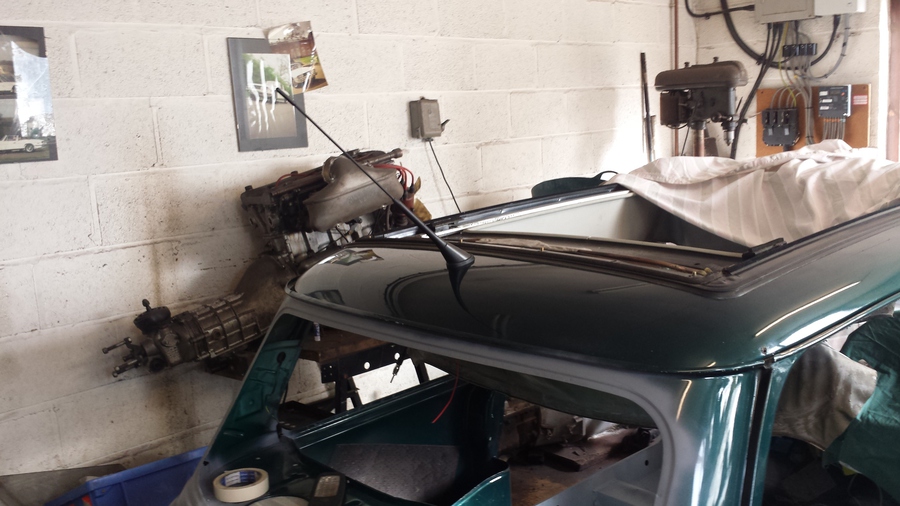
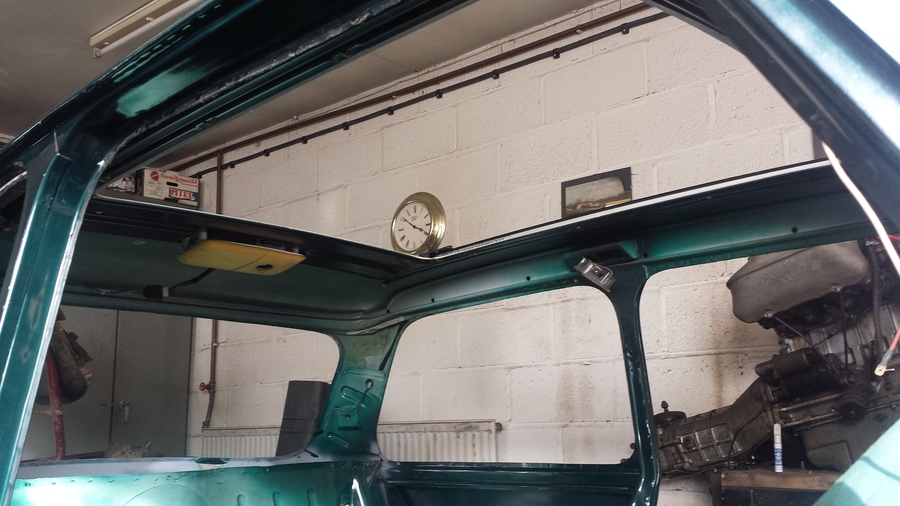
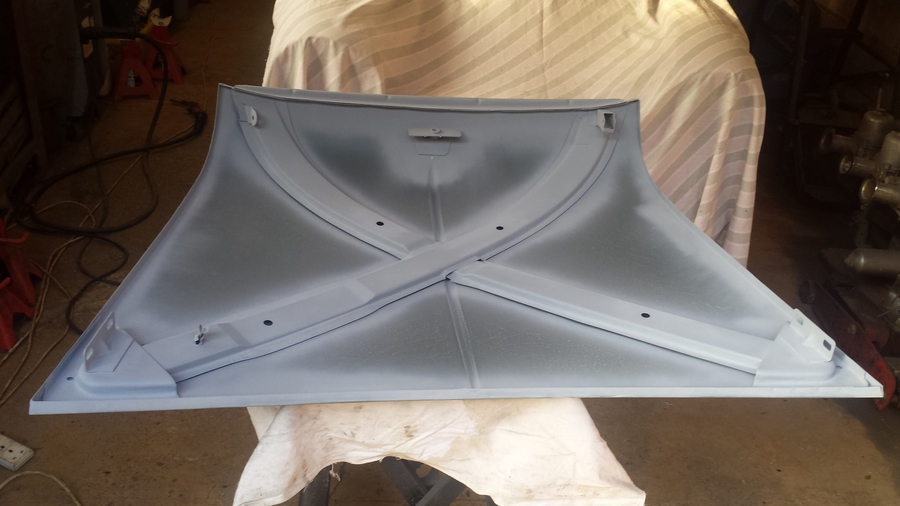
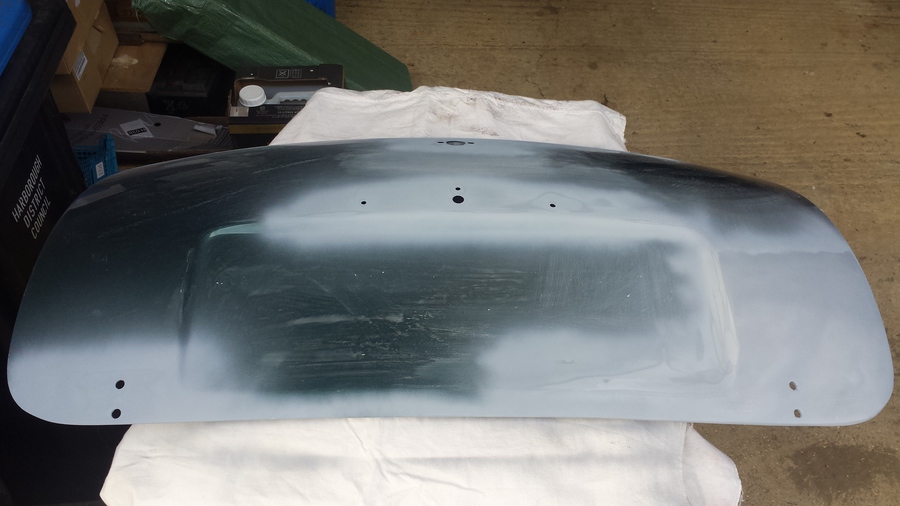
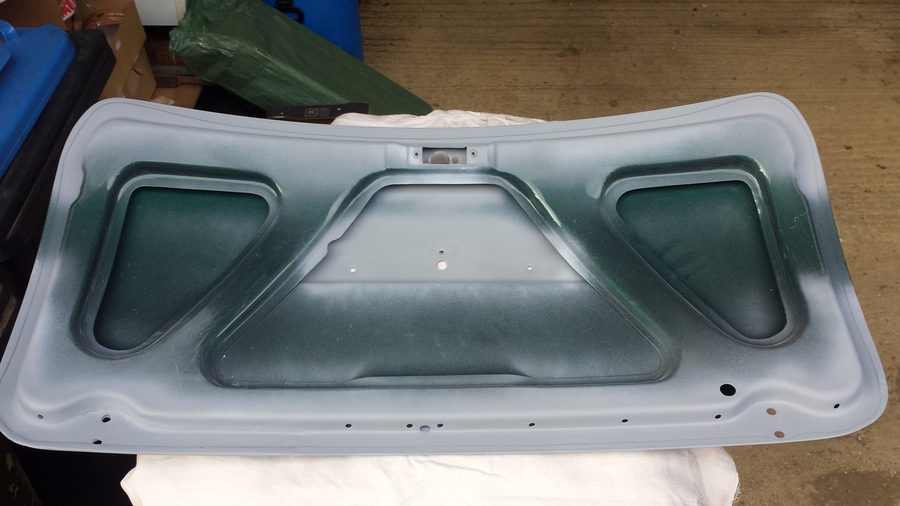
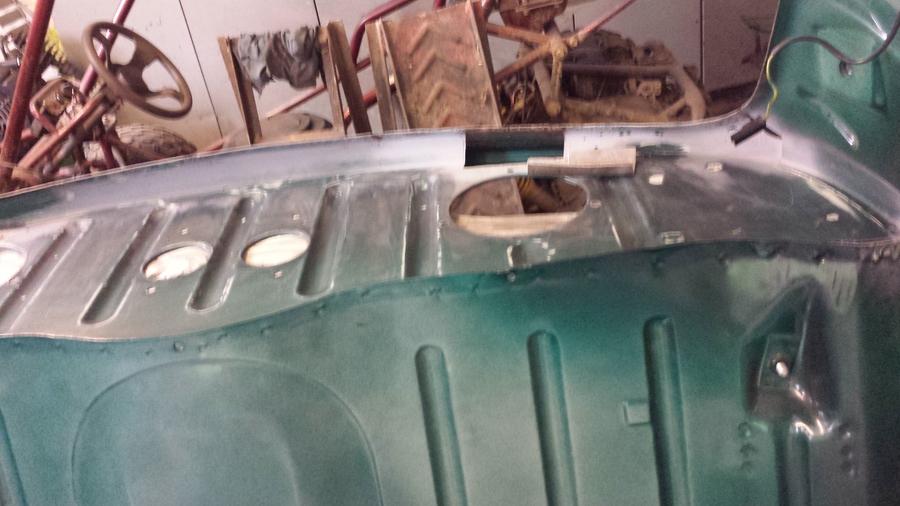
I start to do a job I thought would be quite quick which was to remove the head lining, looking back I should have taken this out long ago, but once you take then out they never quite go back in the same. I removed the trim from round the sunroof opening the carefully pull the head lining free disconnect the one and only head liner bar then pull out, I carefully fold it up and store it just in case I need to re-fit it, although I intend to get a replacement.
With the head lining removed I decide to remove all the old glue from round the edge of the sunroof frame. I use some blue tissue and WD40 to break down the glue so I can get it off. When the glue was removed I cleaned off the WD40 with some panel wipe on blue tissue. Removing the glue took me a lot longer than expected, so I end up going straight from Sweethedges to fetch Chinese for tea.
Sunday, 27 September 2015
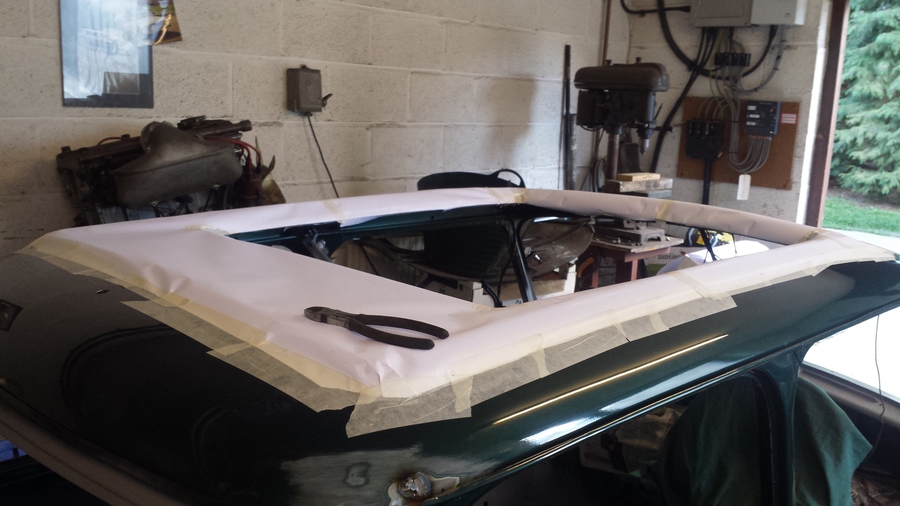
A new day and time to start working on Sasha, the first job is to clean round the sunroof and mask it up so I don’t get any grindings, weld splats and primer. I use some paper and masking tape to cover the sunroof mechanism.
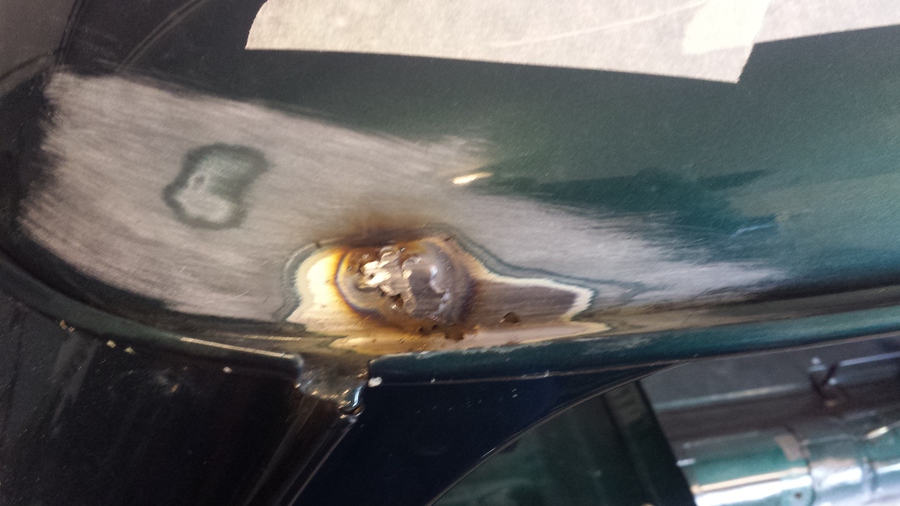
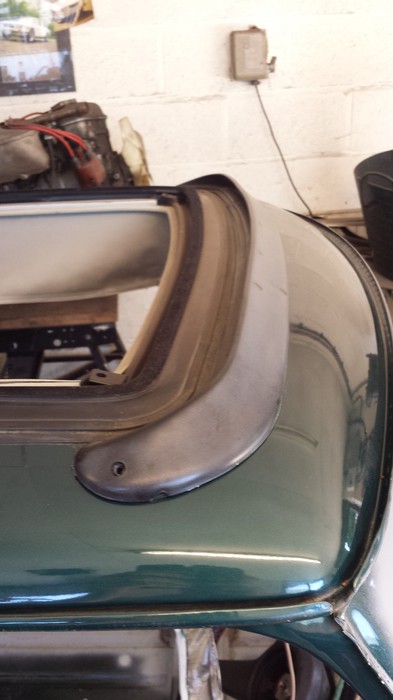
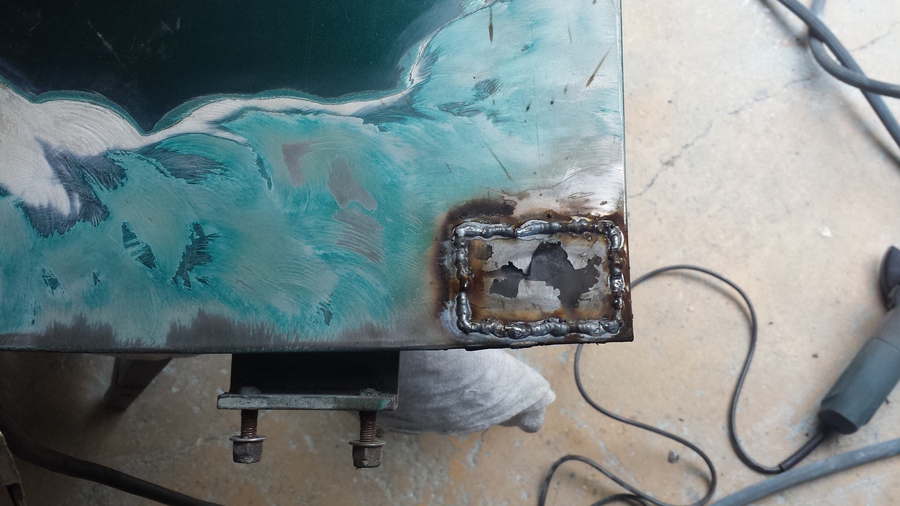
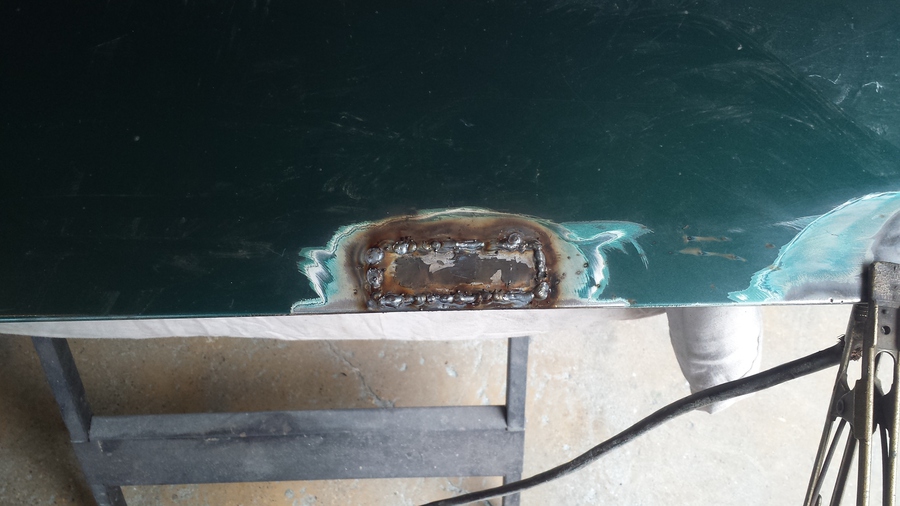
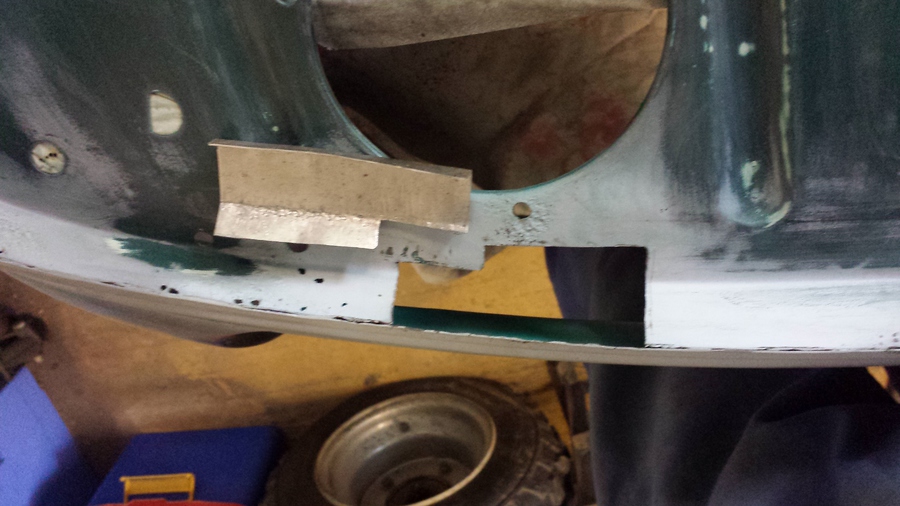
I have been putting this off for a long time and that is repairing the couple of rusty holes in the roof. I make a start with the rear drivers’ side, I use a wire brush in the air die grinder to remove the paint, filler and surface rust from the area where the rusty hole is in the roof panel. With the paint removed there are four holes and not just one and a couple of them are three or four millimeters across. As there are so many holes I make up a small plate to go behind them so that I can weld through to the plate. Once I finish cleaning up the outside ready to weld I also clean off any loose rust from the inside and also use some 80 grit wet and dry paper to clean it up as best I can. I position the plate behind the holes and wedge it in place with a pair of small vice grips. I then weld the holes up and grind off the excess weld, I have to weld up some pin holes and thin spots and grid some more before I finish off with some wet and dry paper.
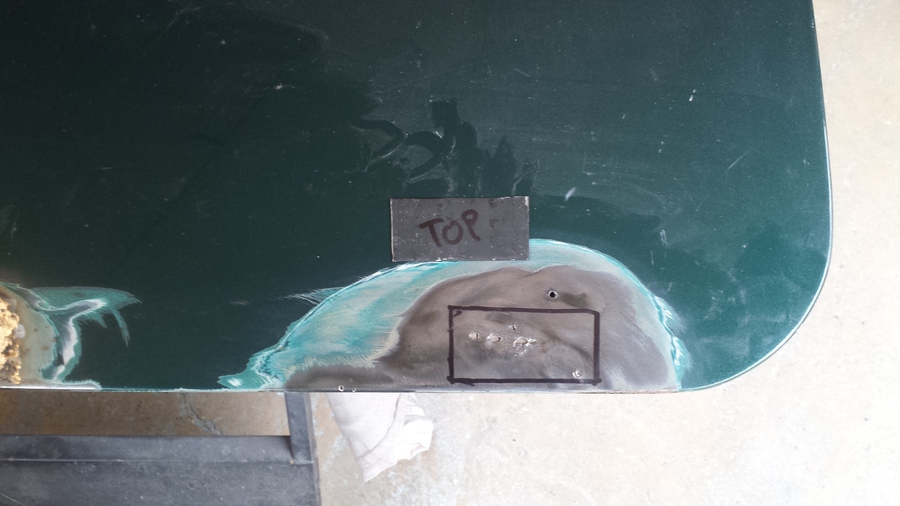
Once I am happy with the repair to the roof I treat the area with primer.
I repeat the same process with the rear passenger side, there was only a couple of hole this side so I didn’t put a plate behind it, but looking back on it I probably should have. Once I get it as best I can I treat the area with primer.
Last job for today is to clean up a small patch of surface rust on the roof on the front drivers’ side, this is just light surface rust so I get the paint and filler off with the wire brush in the air die grinder, the slightly heavier rust patches in the drain gutter I grind off with a small grinding disk in my rotary tool. I then go over the whole area with some wet and dry paper before treating it with some primer.
That's all I have time for today, I put all my tools away and clean up the workshop before making my way home.
Sunday, 04 October 2015
I had hoped to get a lot more done today than I have but sometimes these jobs take a lot longer that you would think.
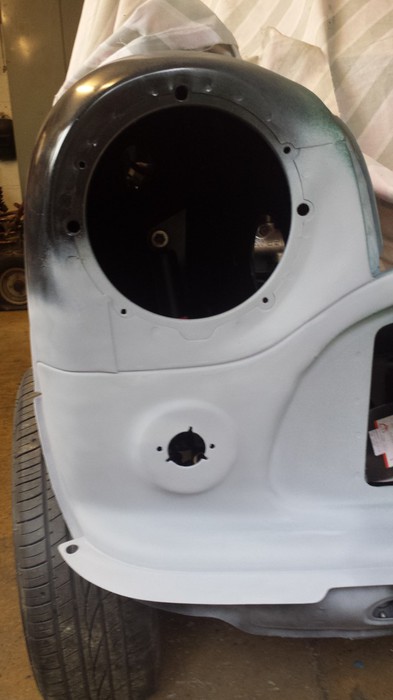
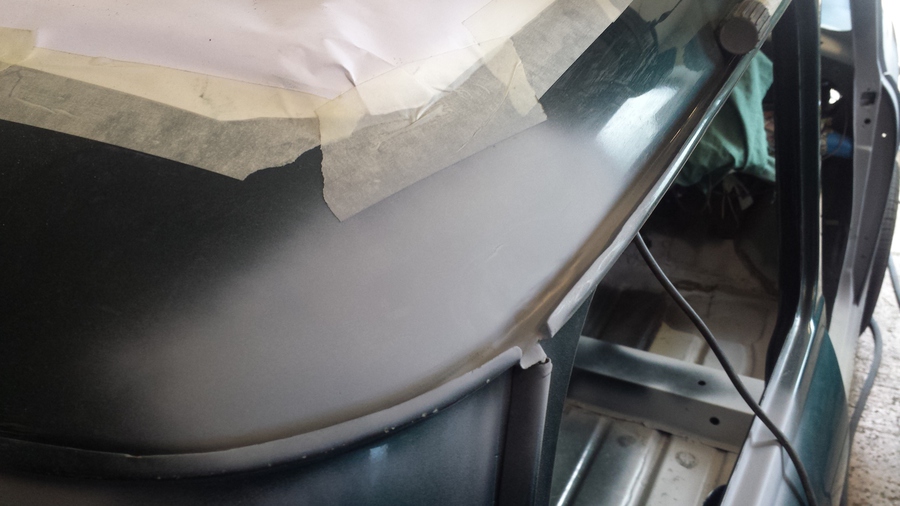
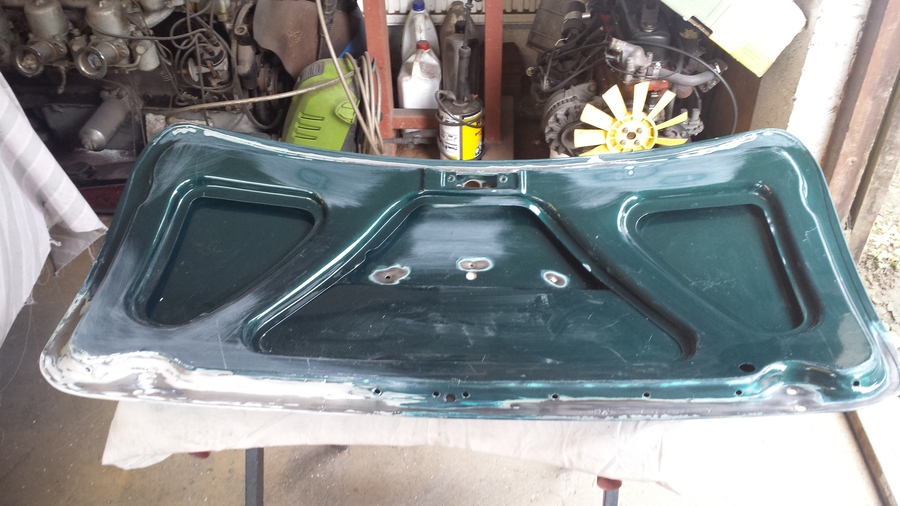
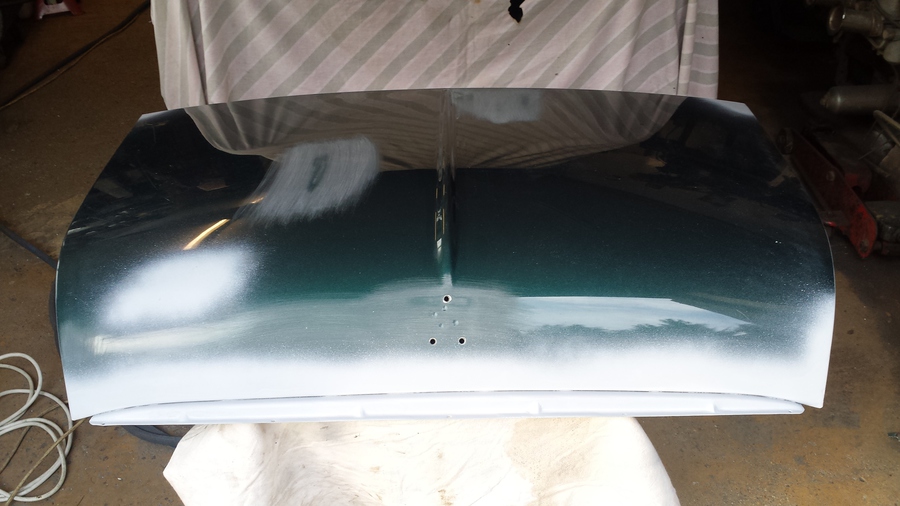
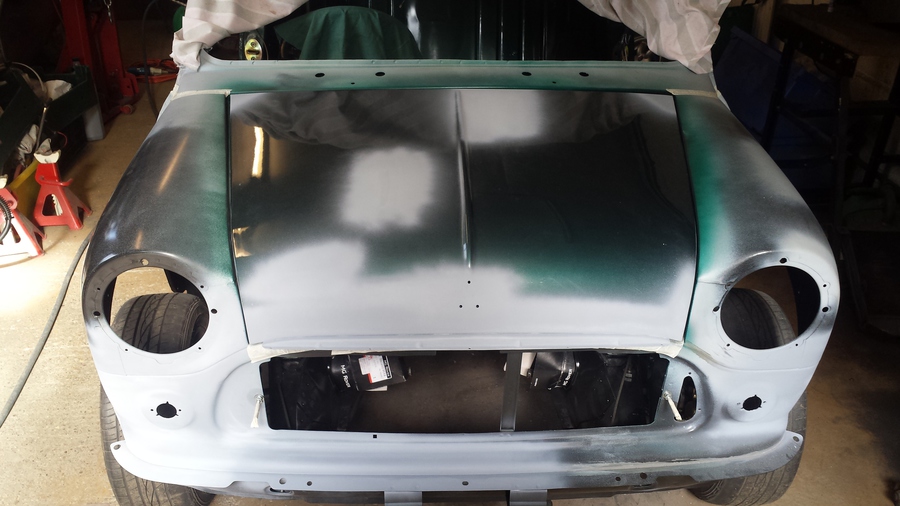
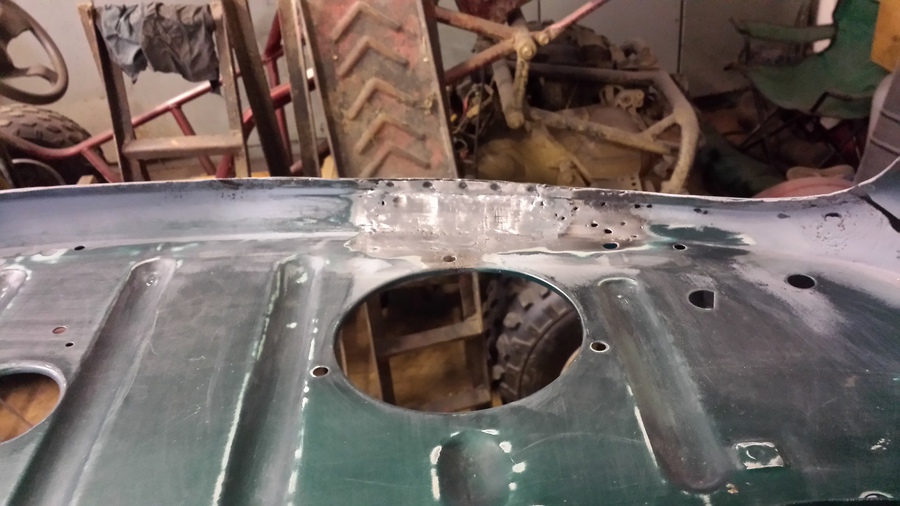
Well I started today by getting rid of all the patches of surface rust from the underside of the bonnet, this entailed using the grinder with a wire brush in it to clean away all the loose paint and rust, then on the heavier rust I used the rotary tool to grind the rust away, I then smoothed the area with wet and dry. I continue using this method on all the rust patches.
As you can see from the picture there is quite a large rusty hole in the strengthening cross bar near the bonnet safety catch I will make a patch up to repair this.
I remove the bonnet safety catch clean it up and paint it with some primer. I make up a patch putting two bends in it to match the bends in the cross member, I cut out the rust and test fit the patch. I make a few adjustments and trim the patch, I hold it in place with a magnetic welding clamp. I get the MIG welder ready then get a couple of tack welds on the patch. I make a few adjustments then seam weld the patch into place. I then use the grinder with a grinding disc in it and the rotary tool with a grinding disc to clean up the welds. I then go over the repair with wet and dry. Next I go over the whole underside of the bonnet with degreaser on some blue paper towels to get it ready for primer. I then treat all the bare metal with primer.
Now with all the bare metal treated with primer it’s time to clean up the workshop and make my way home.
I now only have three weeks to get all the jobs done that I need to get done before Sasha goes off to paint.
Saturday, 10 October 2015
I have to put in some extra time on Sasha today to try and meet the deadline to paint, Sasha is booked in to be painted the first two weeks of November, and I still have quite a lot of work to do before she goes in.
So today I start by tackling the surface rust round the edges of the boot lid, a friend of a friend has done some repair work on the boot lid for me so I don’t have to replace it, but it still needs work. Where the outer skin meets the frame there is usually rust on Minis so I use the angle grinder with the wire brush to clean off any surface rust on the skin seam I also go over the few rust patches round the mounting holes for the number plate light and the latch. Then I go over all the patches with wet and dry paper.
Next I go over any rust spots on the outer side of the boot lid and go over the repair job with wet and dry paper, I don’t know what they used on the boot lid but it’s horrid, it clogs the paper so fast and I have spend ages rubbing away at it and don’t seem to be getting anywhere, but after some time I get it somewhere near. I then treat all the areas I have worked on with primer.
When the primer has dried I flip the boot lid over and paint all the bits on the other side with some primer.
Next job is to tackle the surface rust across the lip o the front of the bonnet, I clean off the surface rust with the wire brush in the grinder then go over it with wet and dry. There are a few other patches that I treat in the same way, some of the deeper rust patches on the front lip need going over again to dig out the rust, once done I go over them with wet and dry. I also go over some deep scratches with wet and dry to feather them in.
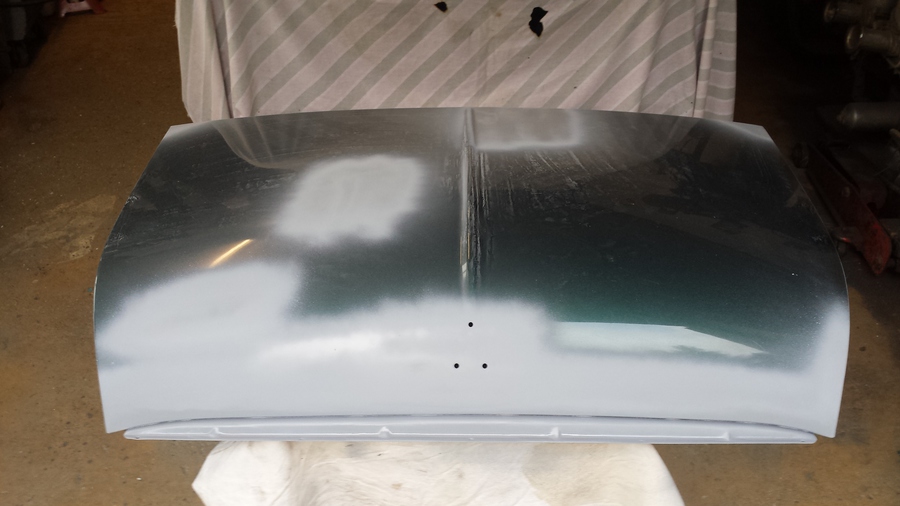
Last job today is to treat all the areas on the bonnet that I have worked on with some primer to keep the rust away.
That’s it for today it’s time to clean up the workshop and make my way home, it’s Chinese for tea tonight.
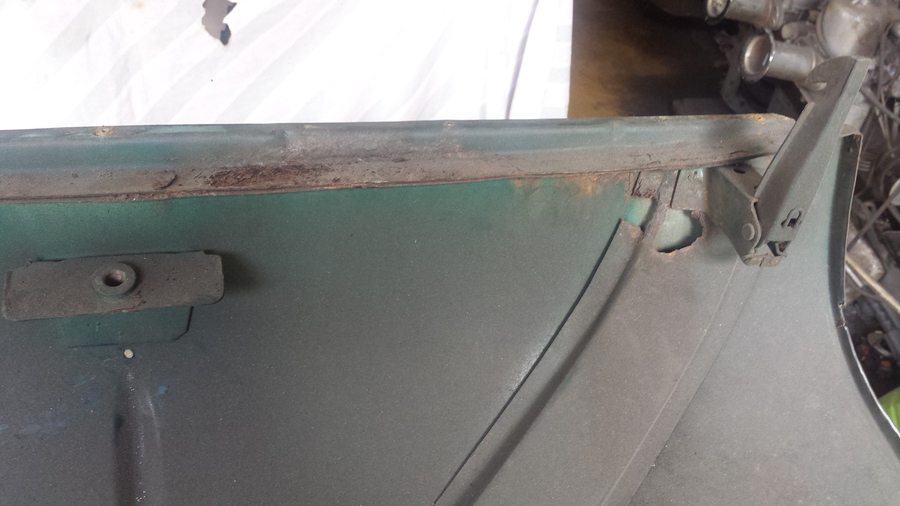
Sunday, 11 October 2015
Well today I started off by refitting the bonnet hinges, you would think this would be a quick job but it seemed to take me ages, I refitted them with new stainless steel nuts, bolts and washers.
Now the bonnet is ready for painting I need to put it somewhere safe, so putting it back in it’s proper position, now I can cover it over with the sheet to try and keep it clean and damage free.
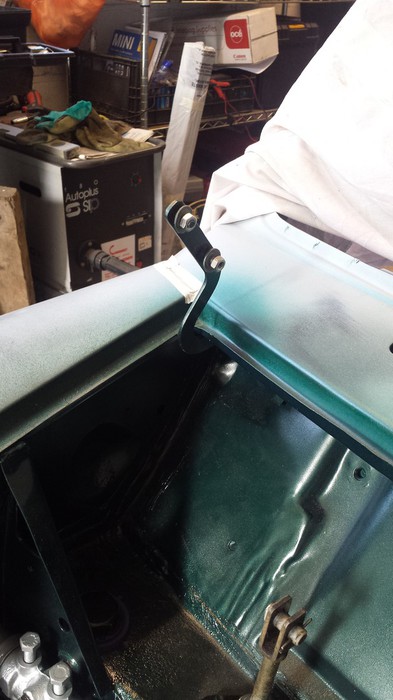
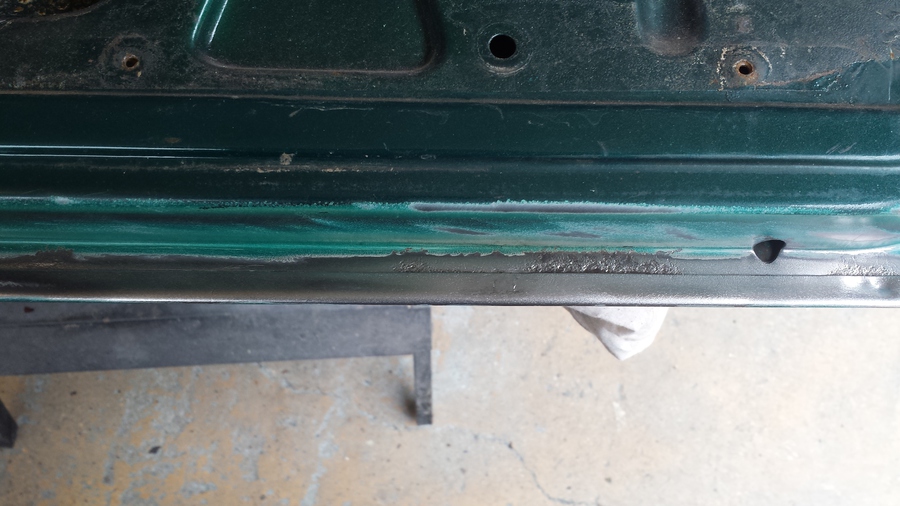
It’s time to start a job I have been putting off for ages and that is to start working on the doors, I start with the drivers’ side door as I know I have to do some welding on this one. The top front part of the door skin should be welded, but on Sasha the weld has broken free and allowing the door to move. I use the rotary tool to remove as much of the old weld as I can then clamp the skin down into the correct position.
With the clamp in place I weld the top edge then remove the clamp, I then use a body hammer to adjust the door skin then continue welding the skin into place. Generally the door skin isn’t welded all the way round, just at the top edges.
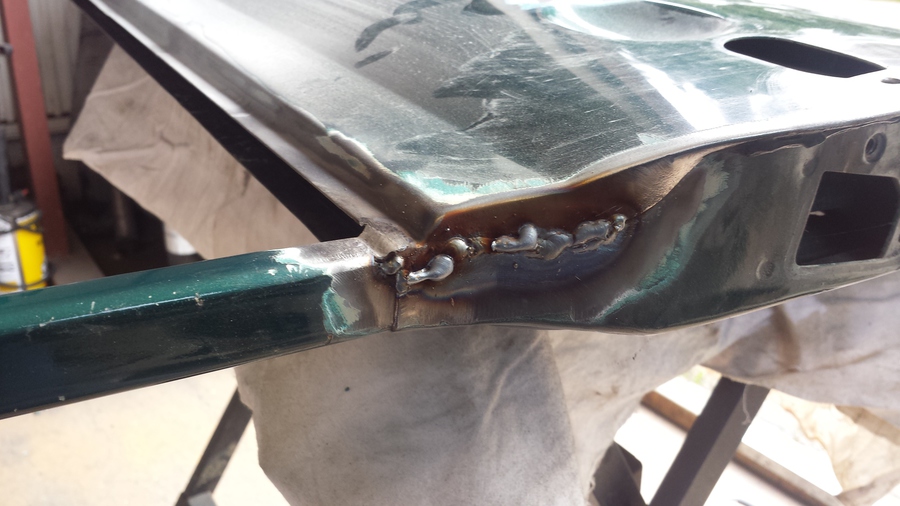
I then move on to the other side of the door, this weld seam is holding but when the door skin was replaced before the weld wasn’t done how I would have done it. I grind back the bad bits of weld and re-weld it I also weld down the edge how it would have been from the factory.
With the welding done I grind back the excess weld using the grinder and the rotary tool with a grinding disc.
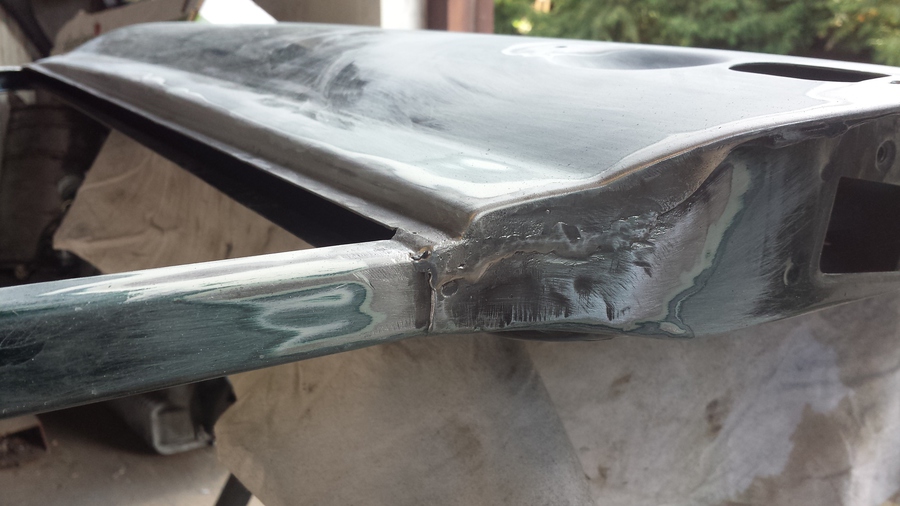
Using a wire brush in the grinder I clean off all the rust round the door, some of the rust patches are quite deep and take some effort to bottom them out. I also use some wet and dry paper to smooth things out to get it ready for primer. What isn’t shown in this picture is that I have also worked on all the rust patches on the inside of the door.
I clean the outer side of the door with some panel wipe on a blue cloth then treat all the bare metal with primer.
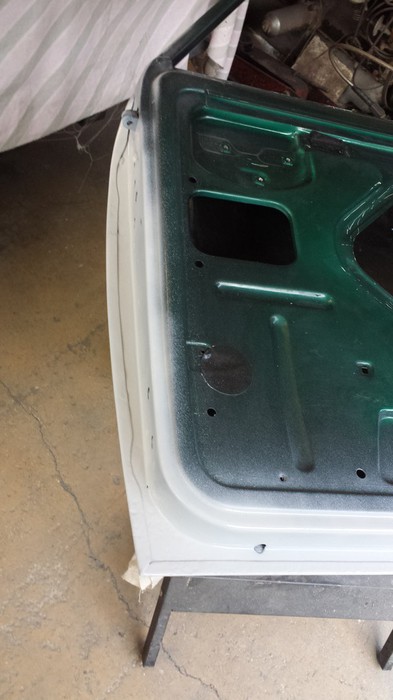
Last job today is to treat the bare metal on the inner side of the door with primer.
Now it’s time to clean up the workshop, put all my tools away and get home for my Sunday dinner.
Saturday, 17 October 2015
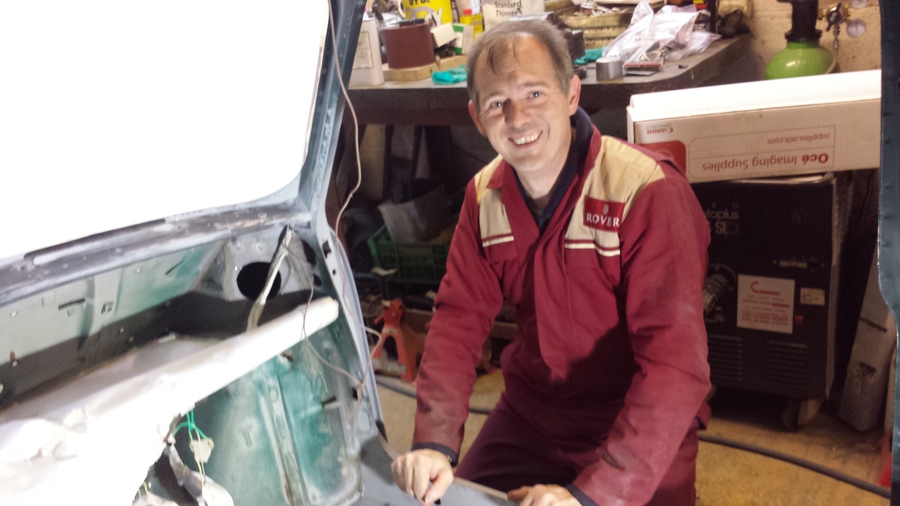
Due date for paint is getting to close for comfort so today a have roped in my friend Darren to give me a hand to get Sasha ready.
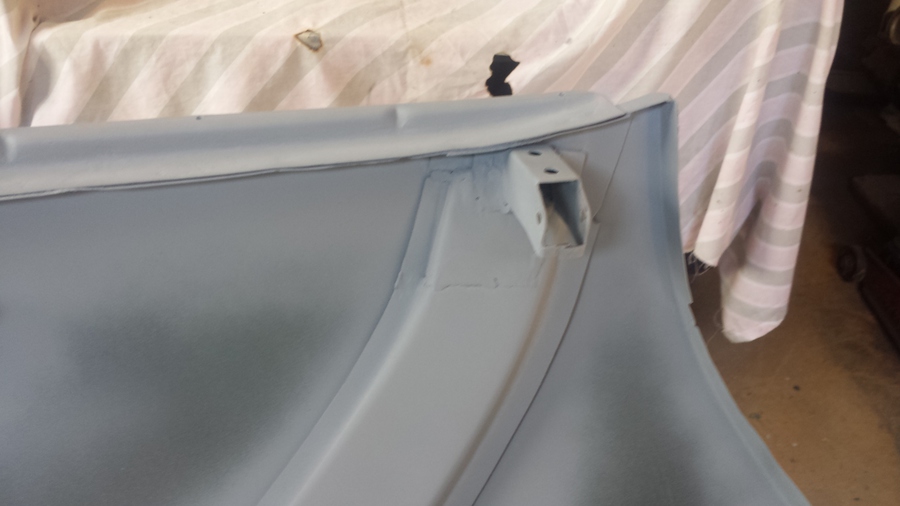
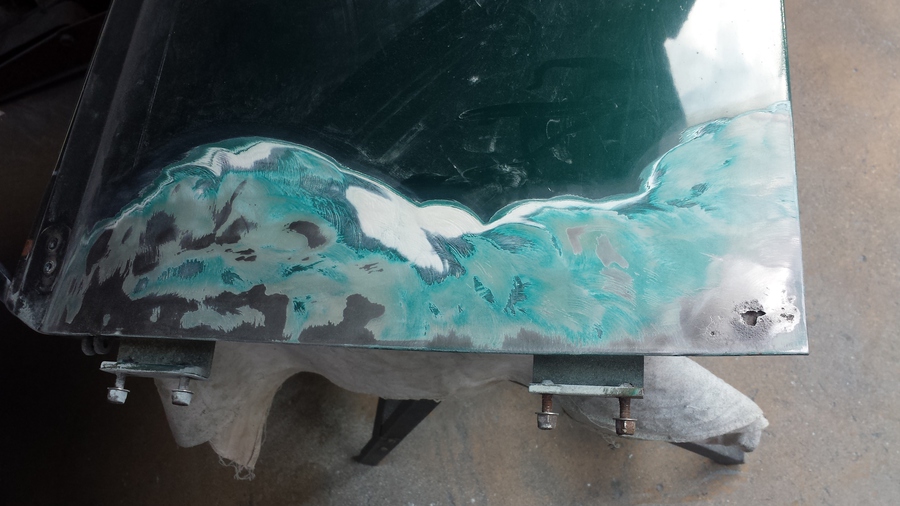
Darren makes a start on the rear parcel shelf while I make a start on the passenger side door. I know there is some rust in the bottom of the door but I thought I might be able to just clean it up and re-fill it, but the rust is too bad it would just rust through again. While I am removing the old filler I remove it all the way up to assess the damage underneath.
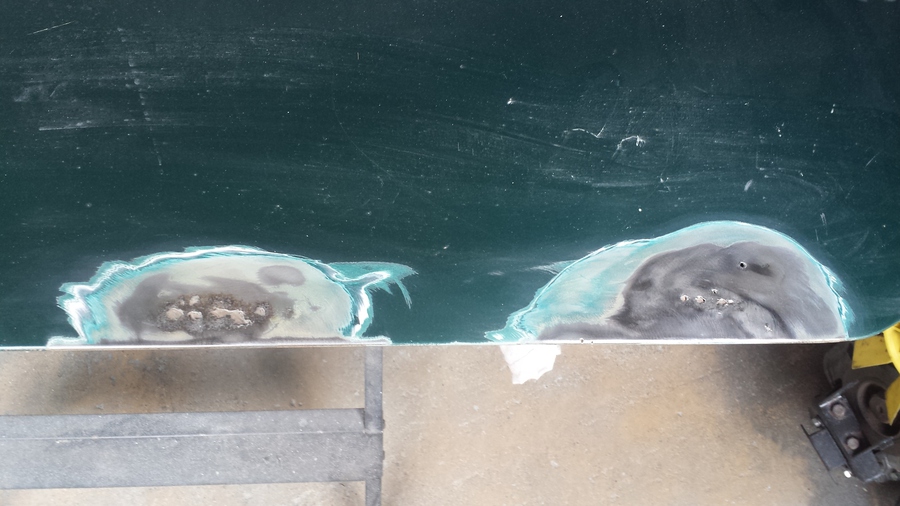
While I have the grinder out with a wire brush in it I investigate some rust bubbles on the bottom edge of the door, these turn out to need a bit more attention than I first thought, I will need to cut these out as well.
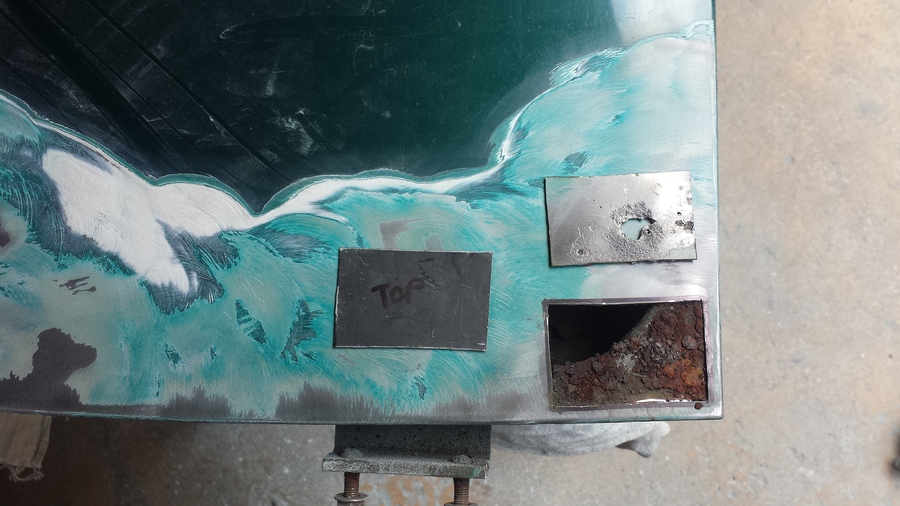
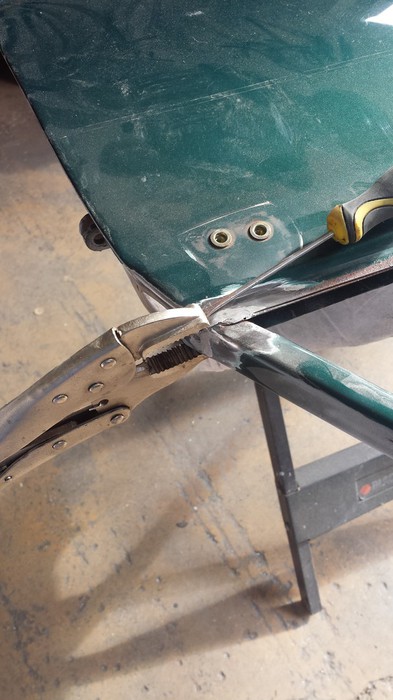
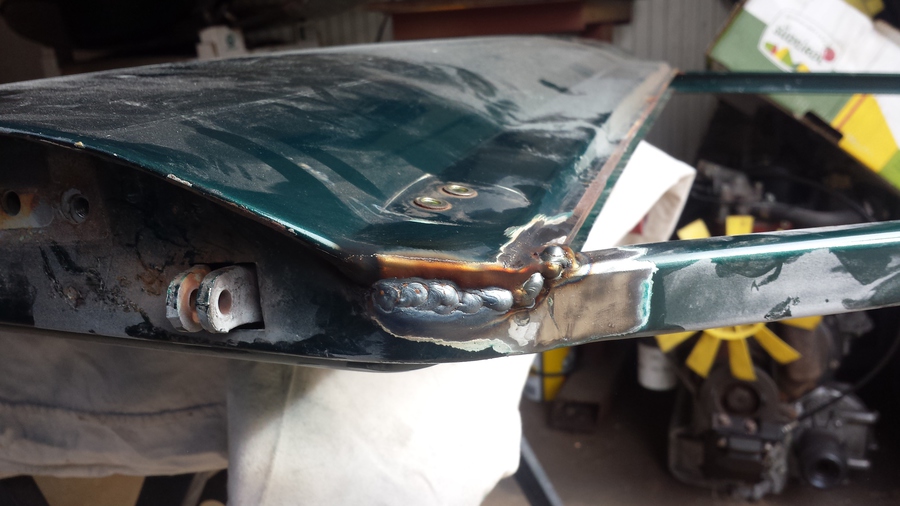
I make up a patch about the right size to cover the rust holes near the hinges, I place the patch in the right place and mark round the patch. I then cut out the rusty area with the rotary tool with a cutting disk in it. I the fit the patch in to the hole created, this take a little bit of adjustment but I soon have it fitting well.
Using the magnetic welding clamp the hold the patch in place I start welding the patch in place, putting a few tacks on it to hold it in place then make adjustments the continue welding, then finish the welding all the way round.
Following the same process I do the next patch further along the bottom of the door skin.
Again I follow the same process on the last patch on the door skin, with this complete I use the grinder to clean up all the welds making them as invisible as I can.
Next I flip the door over an clean up any rust areas on the door and then get the door ready for primer
With the prep work done I treat any bare metal areas with etch primer the primer the rest when dry.
While I finish off putting some primer on the outside of the door Darren has been woking hard on the interior and making up a patch to fix a rusty hole in the parcel shelf.
That’s all we have time for today it’s getting quite late, as I am working on Sasha again tomorrow I don’t bother cleaning up the workshop I just lock up and go home.
Sunday, 18 October 2015
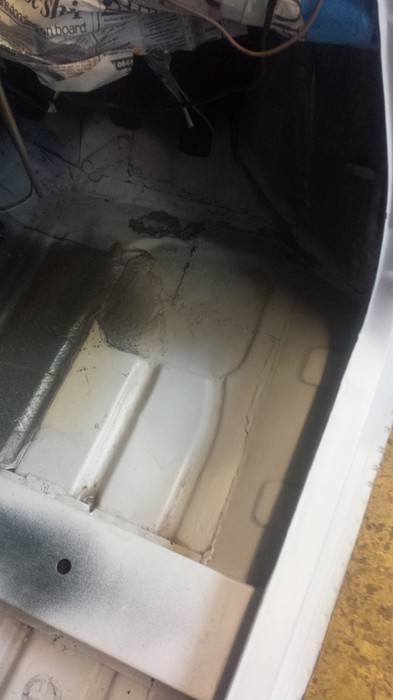
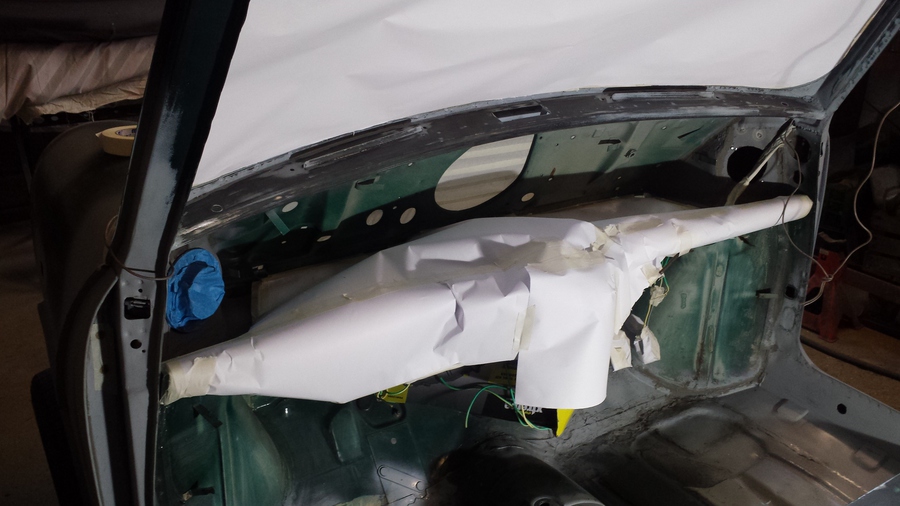
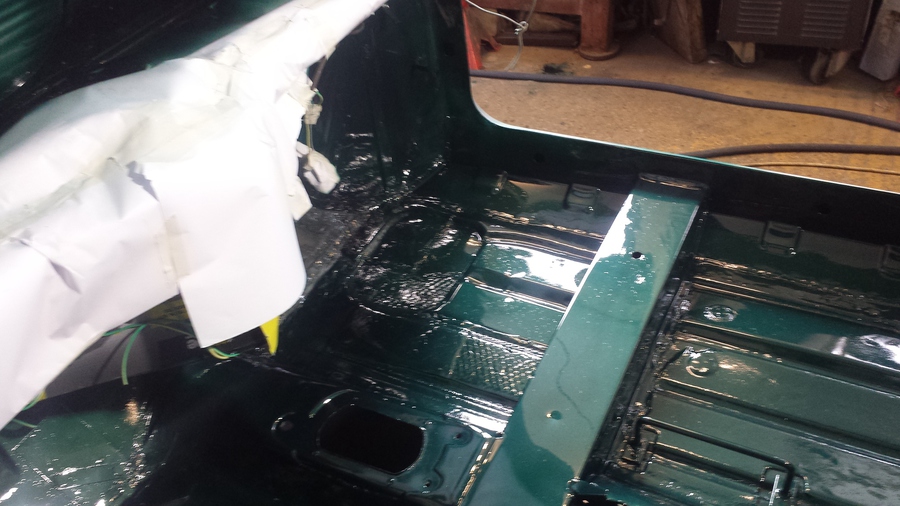
Lucky for me Darren has agreed to spend a second day helping me get Sasha ready, Darren starts by cutting out the rusty area in the rear parcel shelf ready to fit the patch he made yesterday. While Darren is doing this I make a start flatting down the floor ready for primer.
In this picture you can see the work Darren has done on the rear parcel shelf.
Next Darren welds the patch into place as I prepare the spot welder ready to weld the patch into the ready panel. With all the welding done Darren uses the grinder and rotary tool to clean up all the excess weld ready for some etch primer.
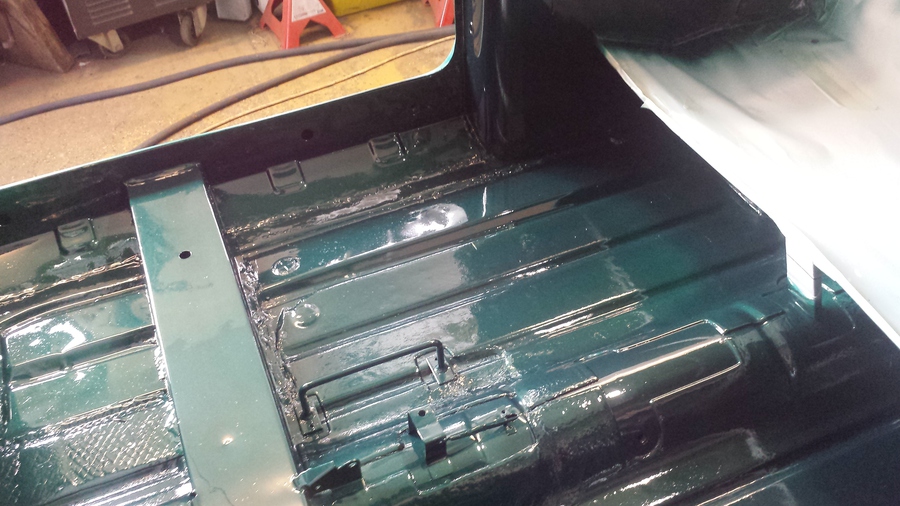
This picture shows Darren working on the drivers’ side floor.
Darren and I start masking up ready to apply primer where it is needed.
Next we vacuum out car and use the air blower to make sure any loose bit and bits of rust don’t end up in the paint. Darren keeps managing to blow more and more rust out of the void in the cross member where the seat bolt in, there seems to be no end to it but eventually they get less and less.
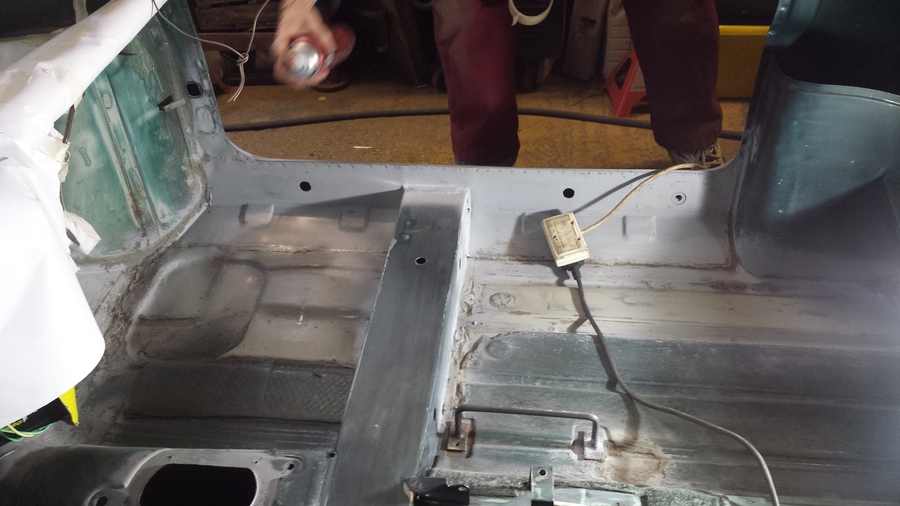
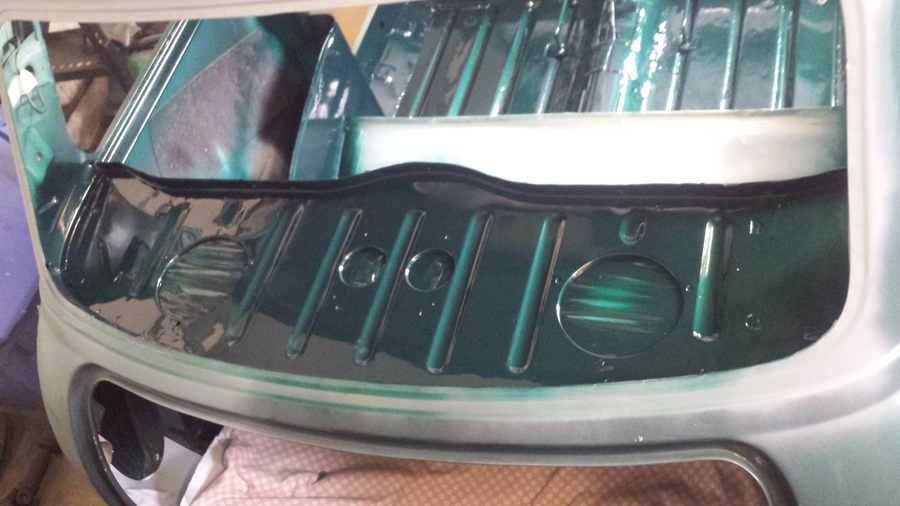
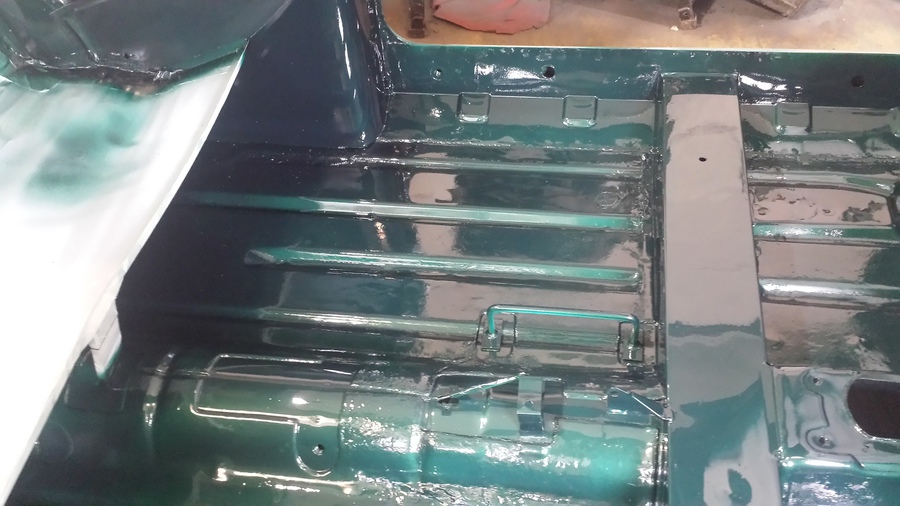
Now that the inside of Sasha is as clean as we can get it we wipe over everything we are going to paint with panel wipe. When we have done and the panel wipe has dried we apply a coat of primer to everywhere we need to. As you can see in this picture we have applied primer to the top dash rail the bulkhead underneath it and both A pillars along with the front section of the floor.
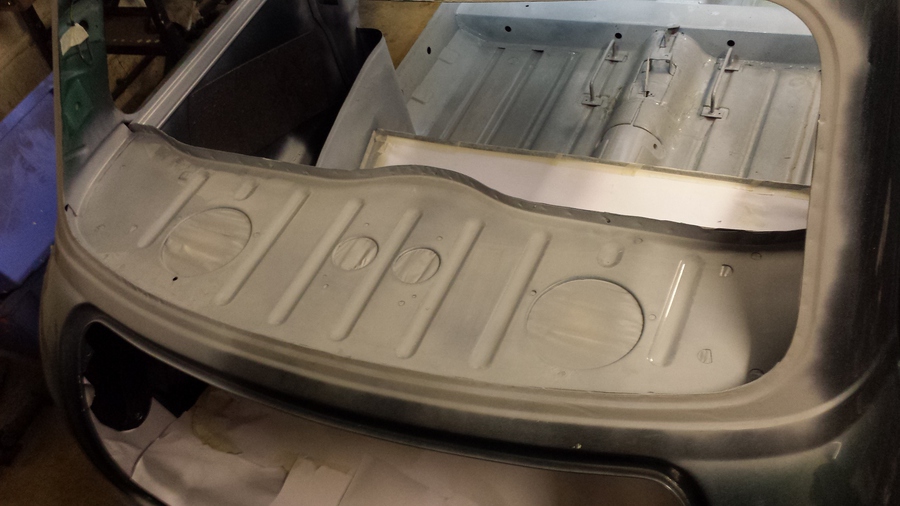
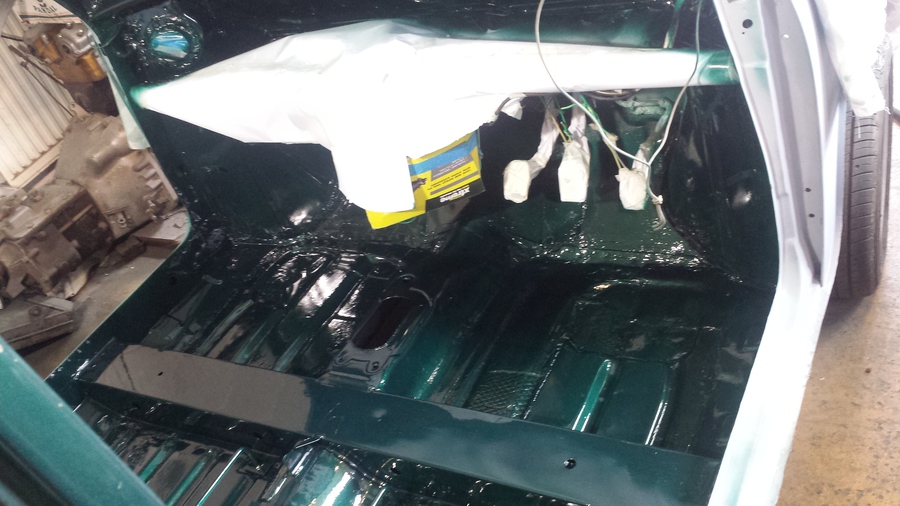
I this picture you can see we have painted the rear parcel shelf as well as the rear half of the floor and the rear storage bins and rear wheel arches.
That’s all we can do as it is getting late and the primer is just not drying.
We finish cleaning up and make our way home.
Saturday, 24 October 2015
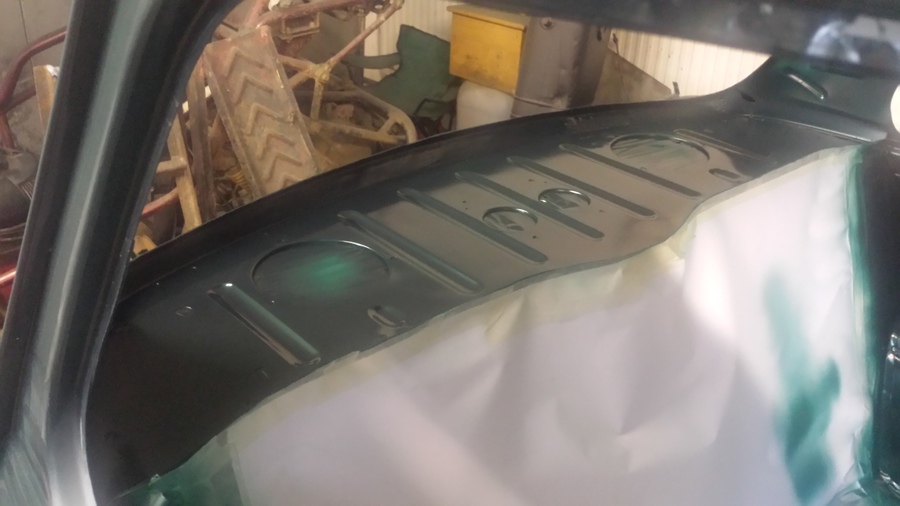
I started today by flatting down some runs in the primer from last weekend, this took some time but when complete I started applying British Racing Green to the rear parcel shelf.

Next I painted the A pillars, top dash rail and the top section of the front bulkhead.
I then continued to paint the rear wheel arches, B pillars and rear storage pockets.
Lastly I painted the lower section of the front bulkhead, inner front wheel arches, cross member where the seats bolt in and the entire floor. After the first coat is applied to everywhere I have to stop and clean out the spray gun as it is spitting and not flowing the paint very well. With the spray gun cleaned out I recharge the paint pot and spray a couple more coats on everything.
All this has taken me quite a bit longer than I expected, It’s gone 16:00 and time to get home as Saturday is usually Chinese night.
Sunday, 25 October 2015
Today I start off by fixing some runs in the base coat from yesterday and doing some touch ups. Next I start the clear coat, I begin with the rear parcel shelf.
Next step is clear coating the top section of the bulkhead, A posts and the top dash rail followed by the bottom section of the bulkhead, inner wheel arches and front foot wells.
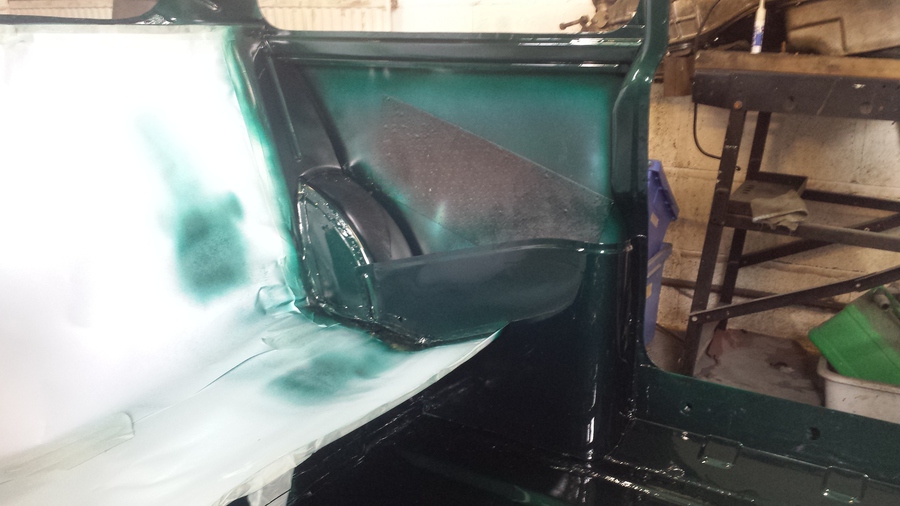
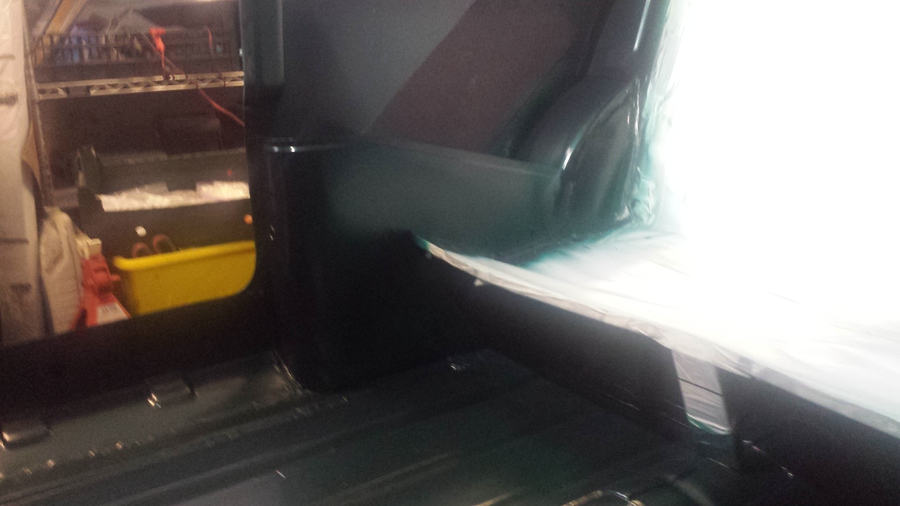
Then I continue with the passenger side B post, the piece under the rear side window and rear wheel arch, I will clear coat the rear storage bin after the floor is clear coated so I don’t catch it with the air line again.
I then clear coat the rear passenger side floor then the rear storage bin.
Next I follow the same process clear coating the drivers’ side.
Next comes the rear section of the floor.
And lastly the divers’ side rear storage bin. I then repeat the whole process again with the second coat.
I do have some runs that I will have to come back and fix later but on the whole I am quite happy how it’s turned out.
With that all finished I’m done for today, Paul can come in the week to pick up Sasha ready for her coat of paint on the outside.
We are located at:
Market Harborough
Leicestershire
Contact us
If you would like to contact us:
rod@howitt.org.uk
abi@howitt.org.uk
sasha@howitt.org.uk
Or use the contact form.