Timeline 17 May to 5 July 2015
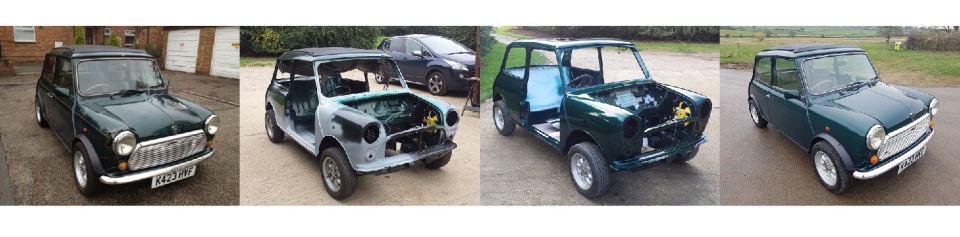
This is a continuation of the work done to Sasha.
Sunday, 17 May 2015
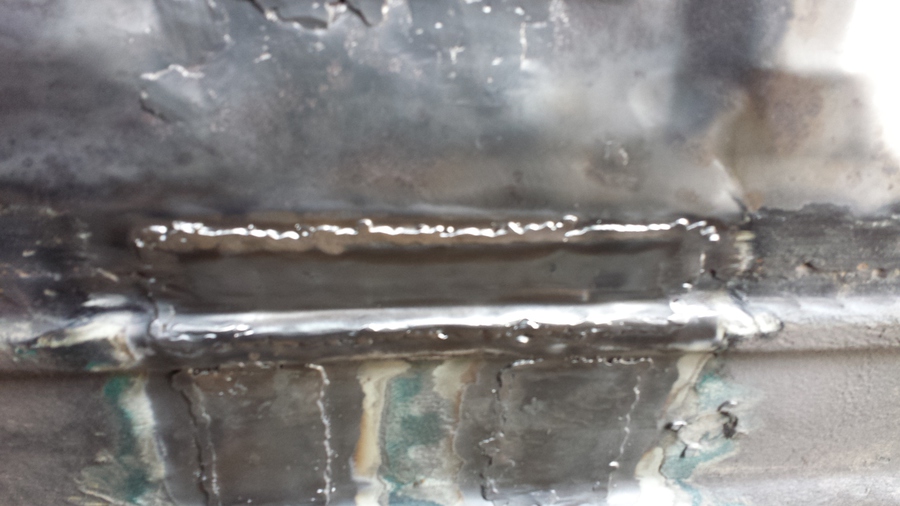
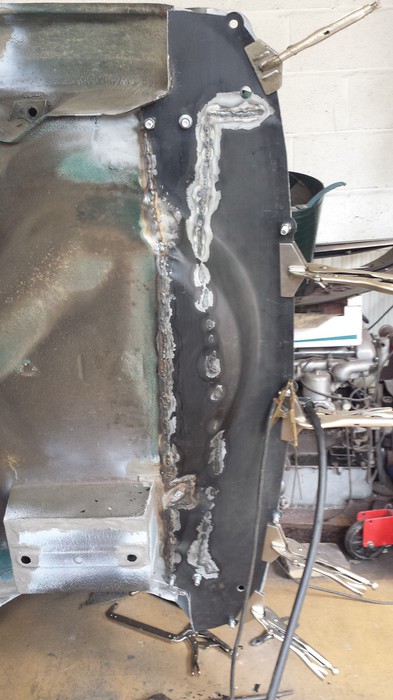
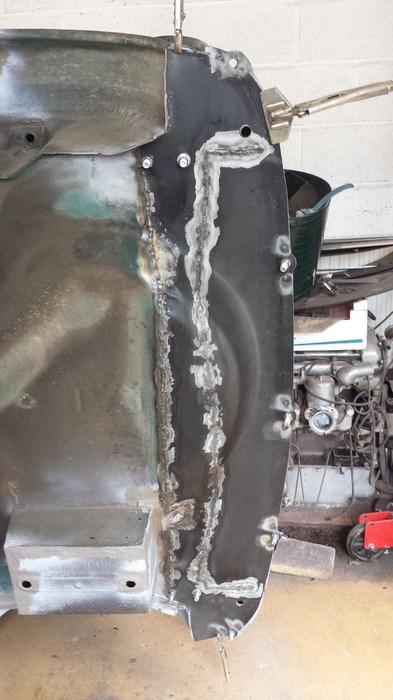
Using a vice grip clamp and the magnetic welding clamp I tack the repair panel in place making adjustments all the time as I go. When I have a good amount of tacks in place I spot weld the seam with the sill.
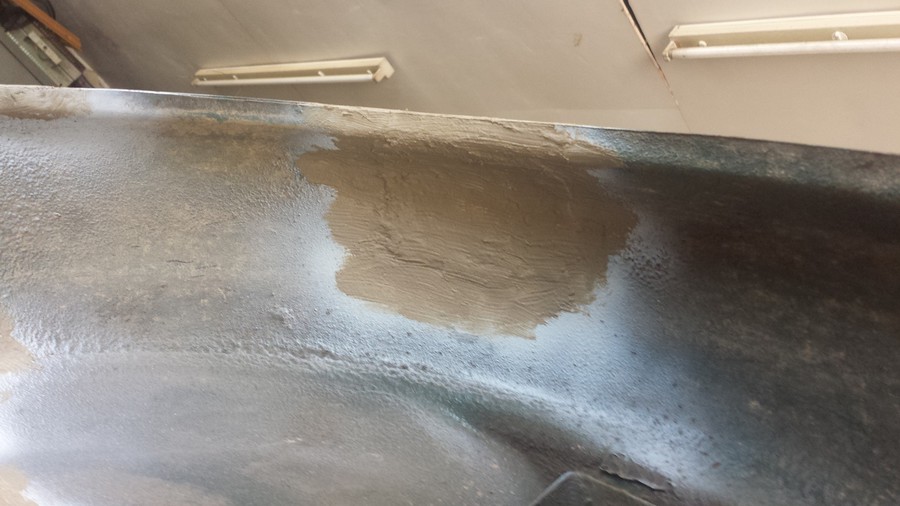
I then carefully fill in the welds between the tacks trying not to distort the panel. I’m obviously not very good at this as I have again managed to warp the panel a bit, I will have to try and rectify this as best I can before filling and priming this panel before painting.
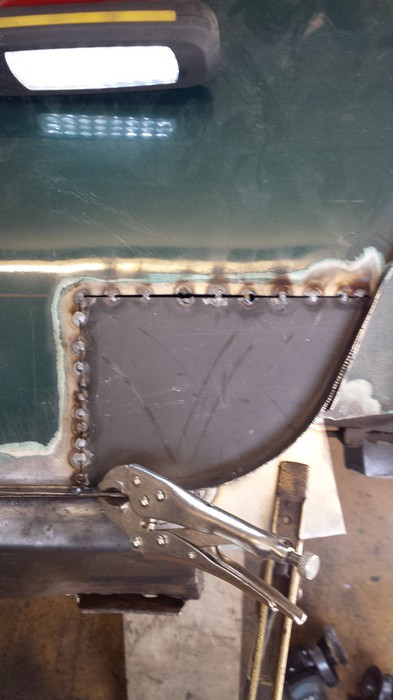
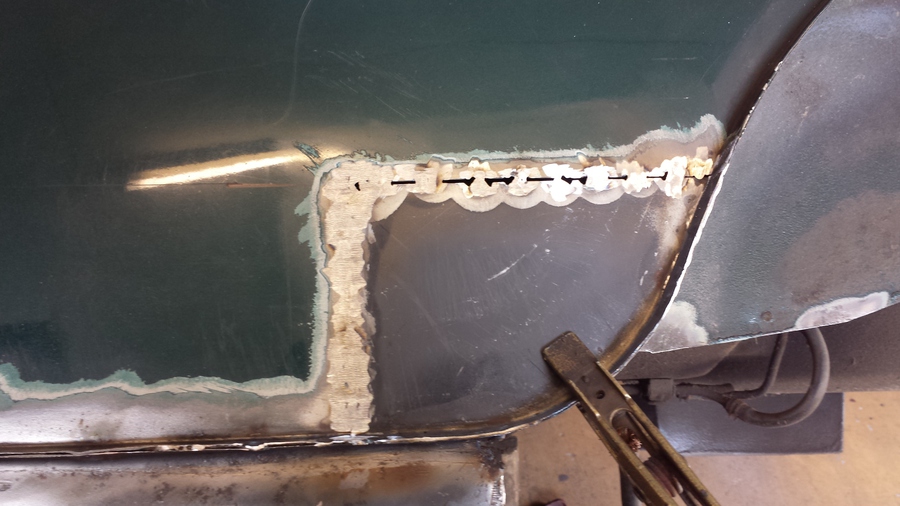
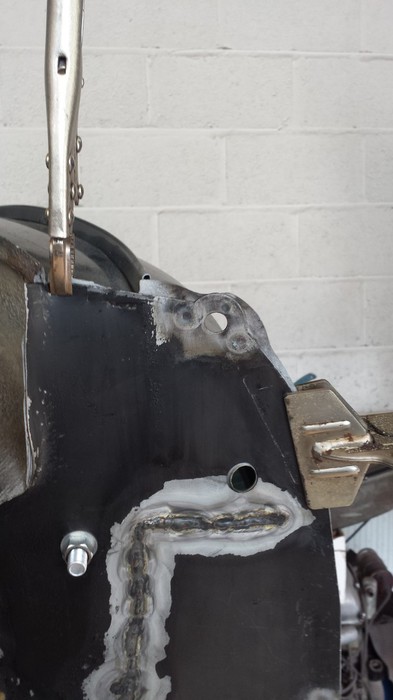
I now do some more work cleaning up some loose old under seal on the floor, I find some more holes that have been caused by previous repairs, these are to big to fill with weld so I make up a repair patch to cover the area.
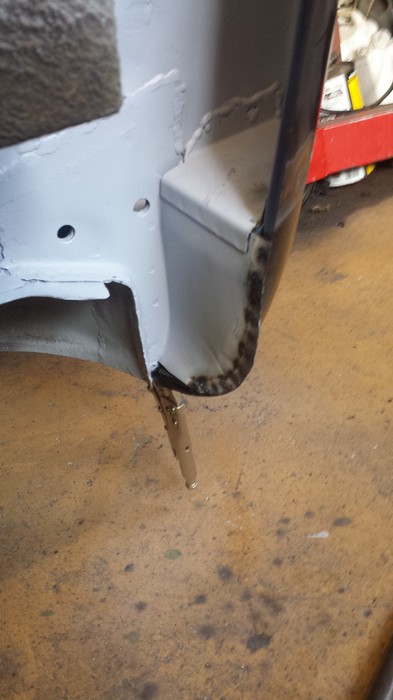
I hold the repair patch in place with the long handled screwdriver and tack it in place, I then hammer the edges down for a better fit and continue to weld it in place. When the welding is complete I grind off the excess weld and clean up the area with the wire brush.
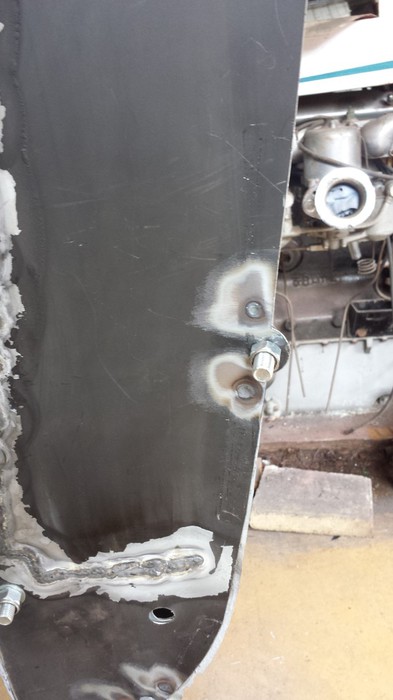
I repair some more small holes in the floor near the front factory jig plate, these are only quite small and I just weld over them. Then I grind off the excess weld and clean up with the wire brush.
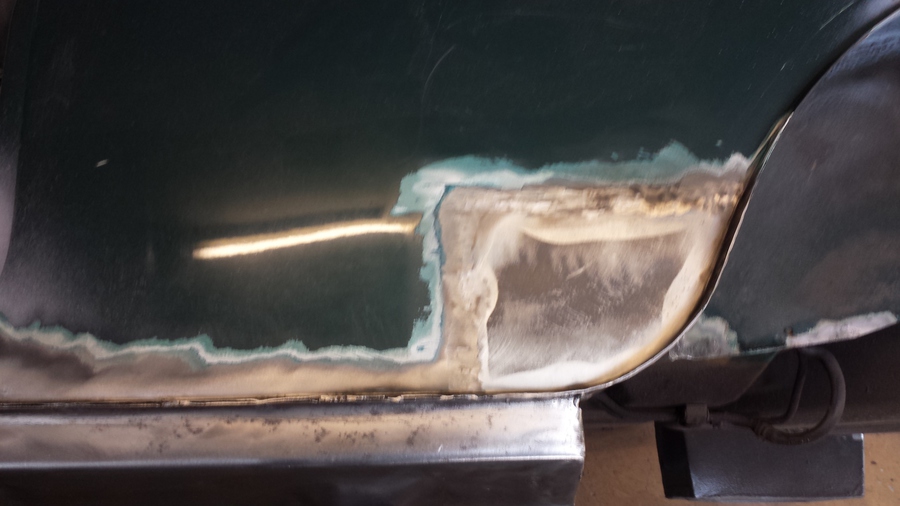
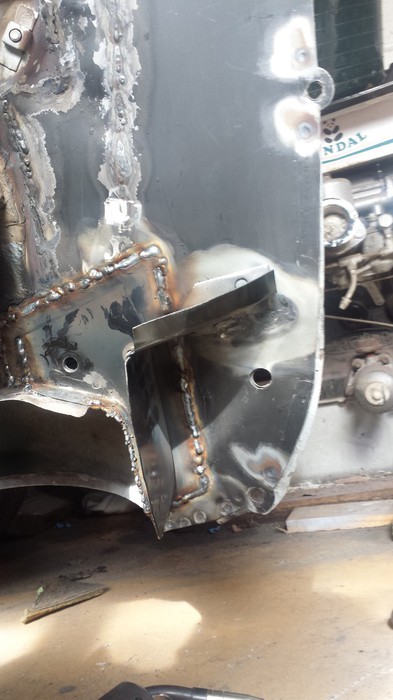
Using a grinding disc I tidy up the welds on the rear quarter repair panel and using the wire brush I clean off the burnt paint, filler and any other debris.
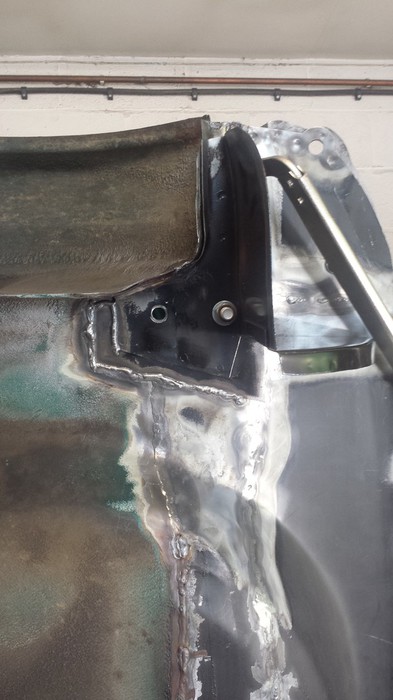
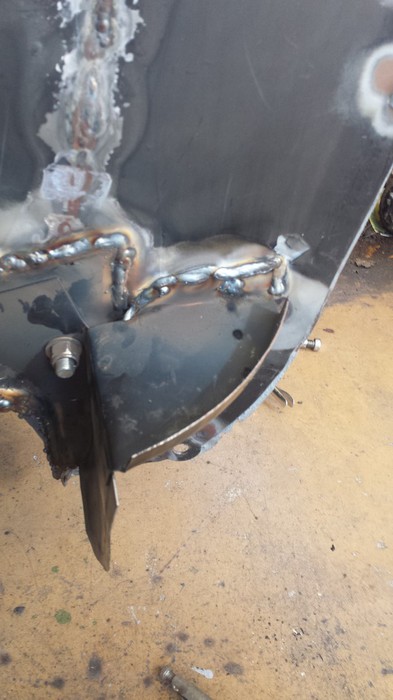
I have trimmed the excess metal off the closing piece under the corner of the rear quarter panel, I heated up the edge of the metal with the blow lamp and hammered it up into the correct position then spot welded it in to place, fill in some holes and edges with the MIG welder then tidy up with the grinder and grinder with wire brush.
With the patches on the underside of the floor all cleaned ready I treat the repairs with some etch primer.
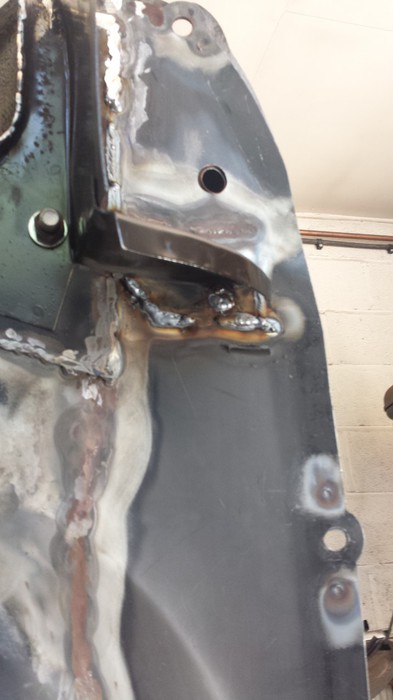
I treat the cleaned up sill with etch primer, when the primer is dry I will also treat the areas that have been repaired and the joints with seam sealer later.
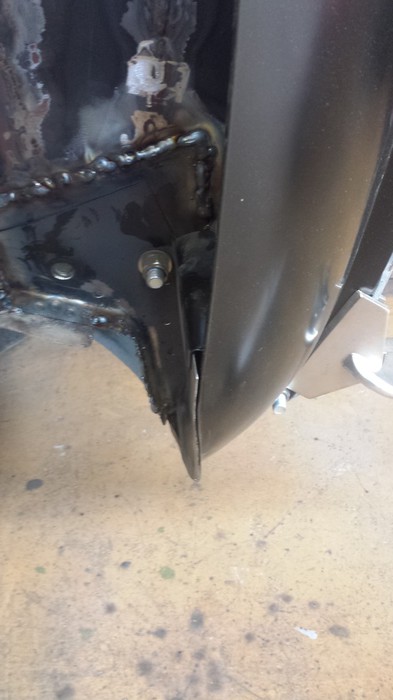
I also use etch primer or the rear quarter panel repair and the closing piece and round the rear sub frame mount.
Well that’s it for today time to pack away the tools, clean up the workshop and make my way home.

Saturday, 23 May 2015
I start off today applying seam sealer to the underside starting with the front wheel arch, replacing the sealer that had been previously removed to make repairs.
I also apply seam sealer to the patches I have put on under the floor by the seat mount cross member.

I carry on applying sealer to any area needing it all along the sill, including the high hit areas, I’m hoping the seam sealer will provide a bit of extra protection.

I also seam sealer around the rear sub frame mount, I will go over the whole lot with under seal later on.
I finish off the seam sealer work by going over the patch I put on under the rear wheel arch.
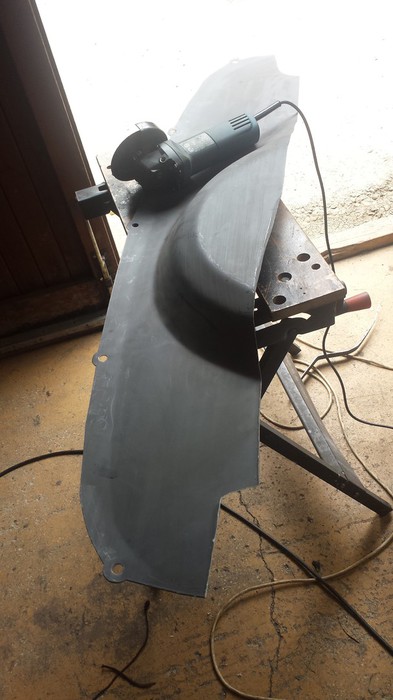
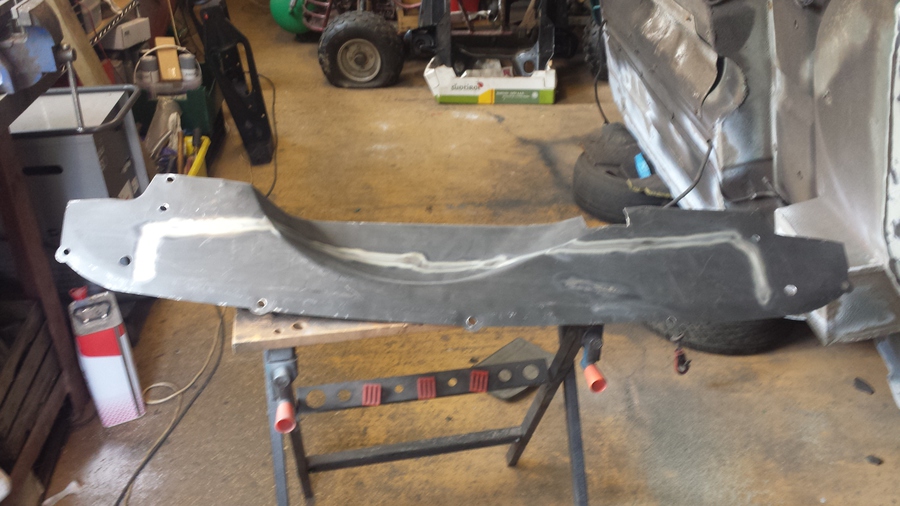
It’s now time to start the job I have been procrastinating over and putting off for ages, the boot floor. I offer the panel up to decide how much I am going to cut off it, I decide to remove about 20 to 30mm only and just adjust the sections round the wheel arches by the rear sub frame mounts.
I then trim some more off the boot floor, I was trying to leave most of the spare wheel well but the panel just won’t fit with it there so I trim it back a bit further, which helps quite a bit.
I do a test fit by using bolts through the bumper mounting flange and using some clamps, I need to mark the new panel to drill holes for the sub frame mount holes and for the holes that let the wiring through for the fog lights, I want to fit two rear fog lights but Abi wants to leave it with just one as it came from the factory. I do a number of test fits and get the holes drilled for sub frame mounts and fog lights on both sides.
I then mark the floor so that I can remove all the old under seal and anything loose and so I have a good surface to weld to. On the bumper flange I apply some weld through primer, as this seam will be spot welded it should give it a bit more protection.
I had also marked the inside of the new panel so I can remove the paint from that as well ready to weld.
That’s the last thing I have time for today, I clean up the workshop, lockup and make my way home.
Sunday, 24 May 2015
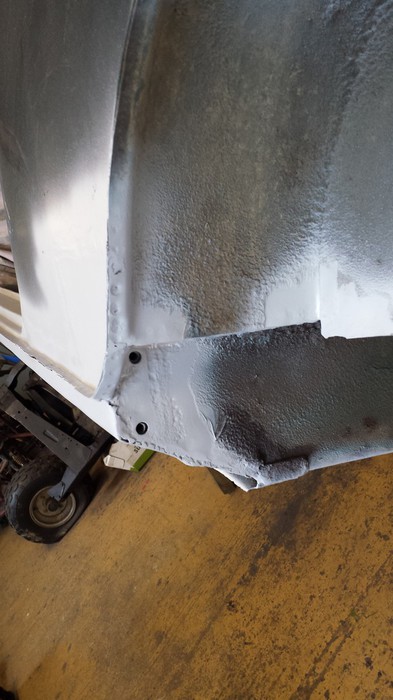
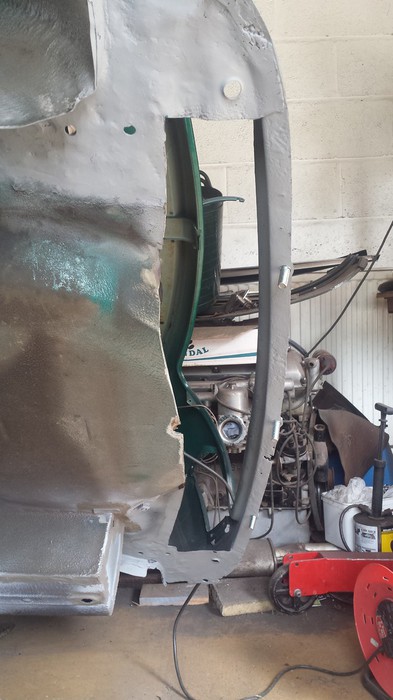
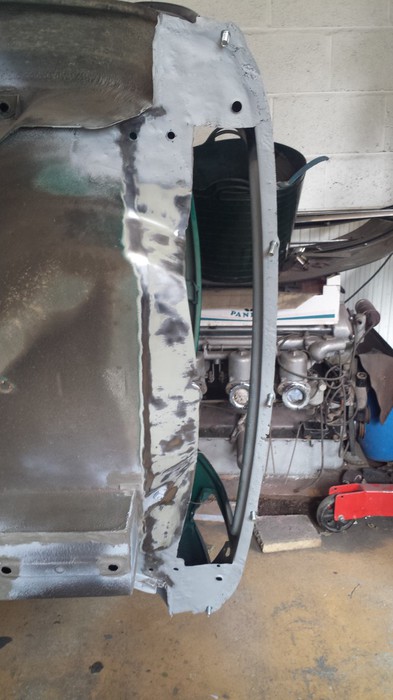
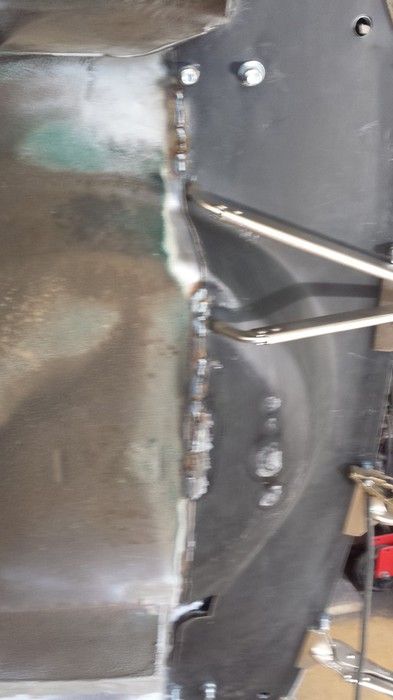
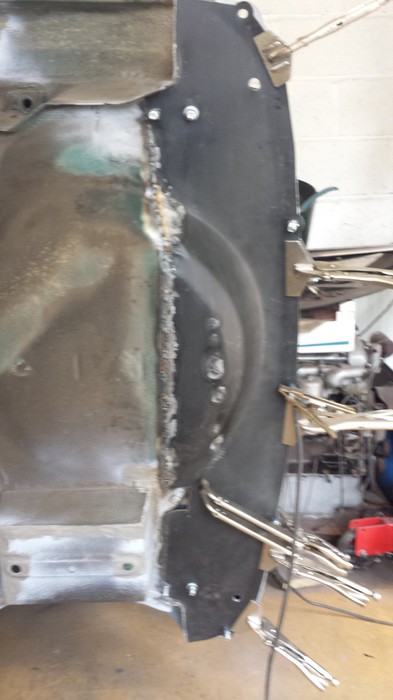
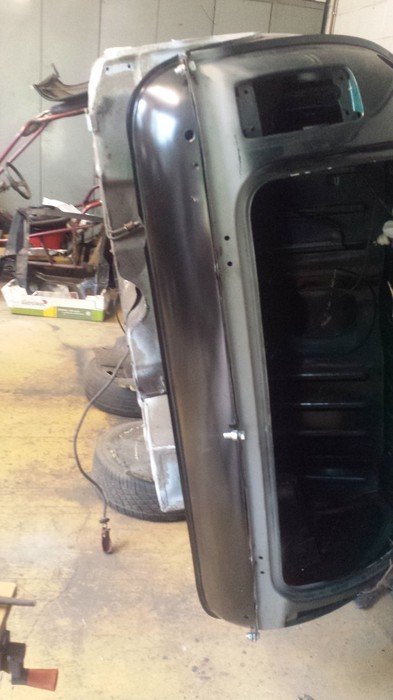
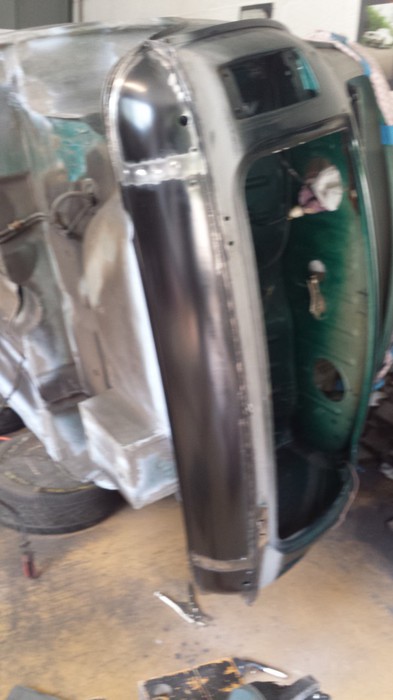
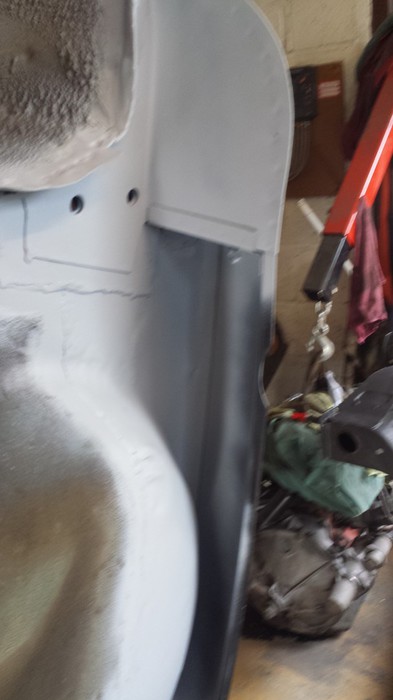
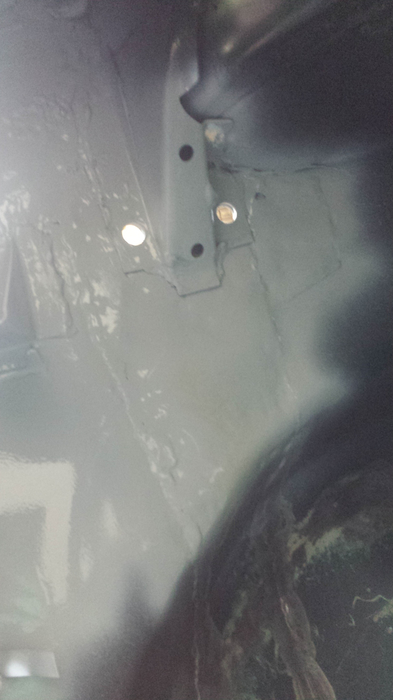
I refit the boot floor repair panel lining it all up with the bolt holes in the bumper flange and the holes for the rear sub frame mounts. As you can see from this picture it doesn’t line up flush with the original boot floor, this is because this is a pattern panel and I think it might be designed to go inside the spare wheel well not outside it, the profile is just not quite right.
You can see in this picture the size of the gap by the battery earth fixing, you can get your hand in this gap.
I bought some new 18” long jaw clamps, I use these to hold the panels together so that I can weld them in place, I can only do a very small bit at a time as I have to keep moving the clamps to get a good fit.
I continue welding bit by bit from the top down, I also get some weld on the inside of the boot on the joint in there.
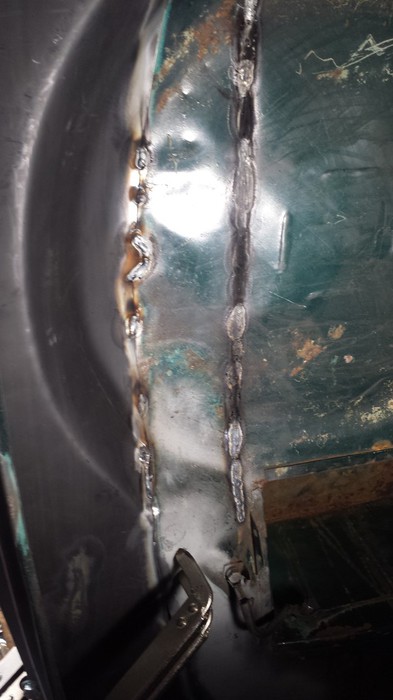
I also use the long clamps to hold the seams together to get a better weld.
I continue to use the long arm clamps to hold the panels together and weld the new boot floor panel into place.
I finish welding all of the outside seam before going to work on finishing the seam inside the boot.
Starting at the top I work my war down seam welding the panels together, clamping and hammering as I go.
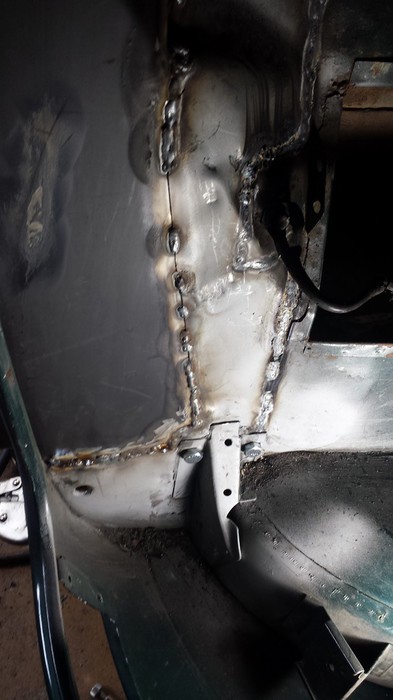
As I make my way down to the bottom the old boot floor panel buckles near the battery box, I have to clamp and hammer it into the correct position so I cam weld it in place.
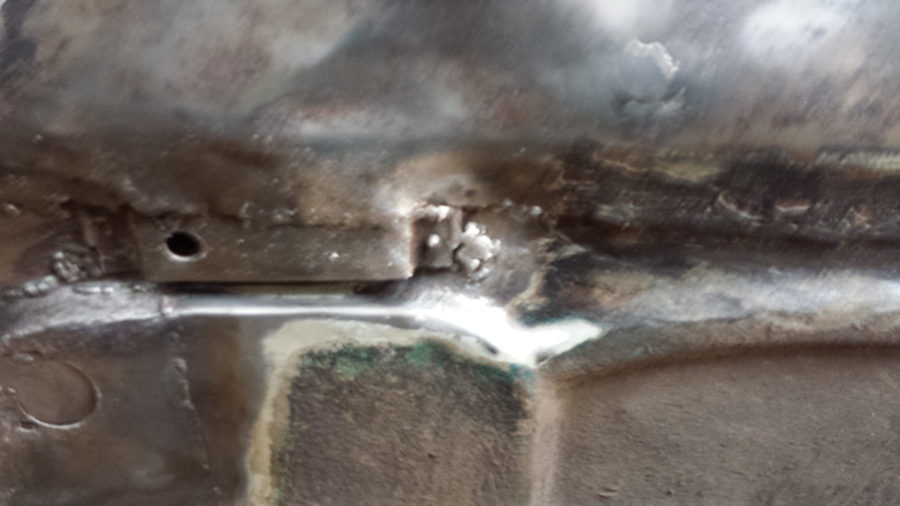
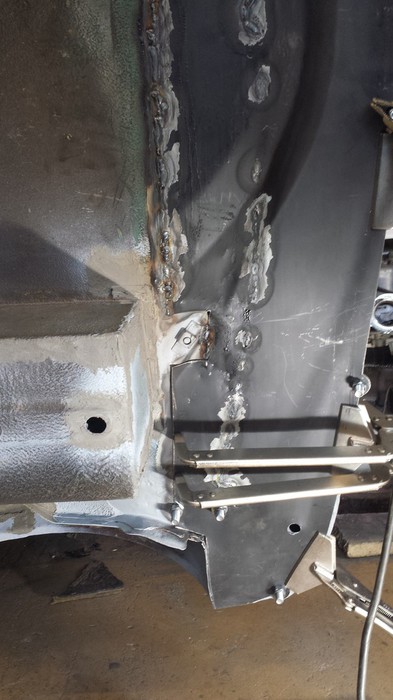
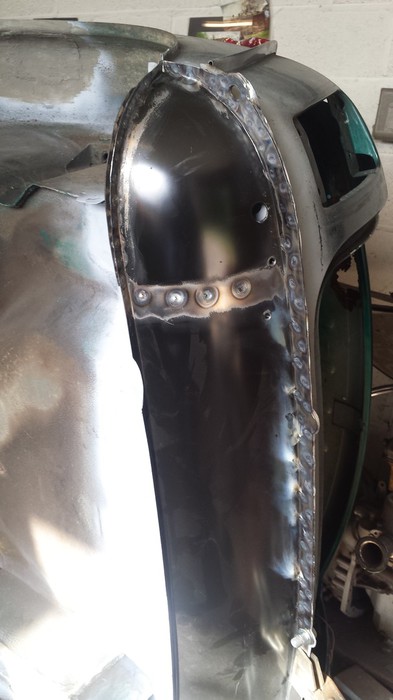
With the MIG welding finished I start spot welding the boot floor to the hinge panel, I put a single spot weld each side of the bumper mount holes, this is just to hold the panels in the correct position so they don’t move before I get the new real valance fitted, this will be spot welded through all these layers
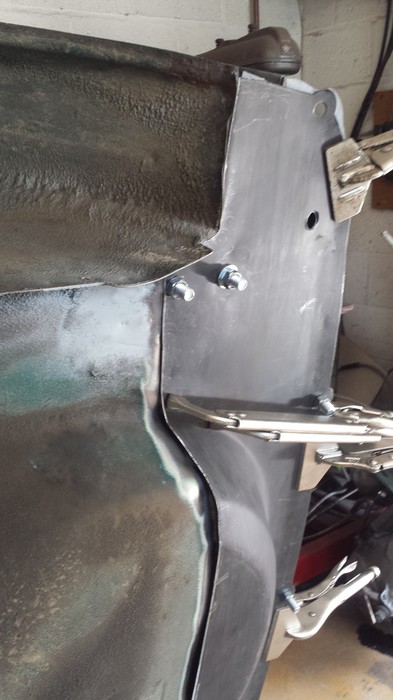
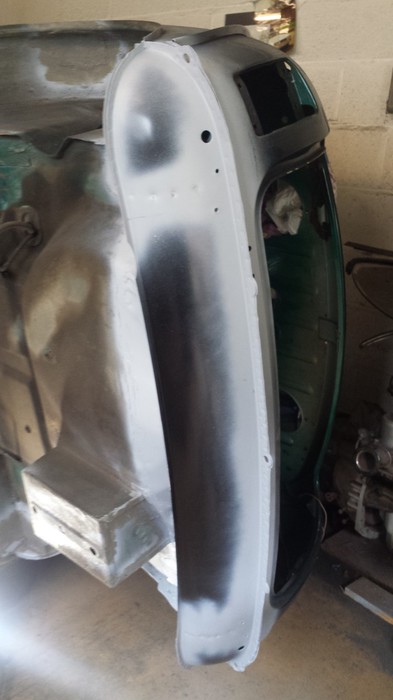
In this picture you can see the spot welds on the passenger side of the boot floor repair panel bumper flange, I only spot weld either side of the holes in the flange because this will get done properly when the rear valance goes on.
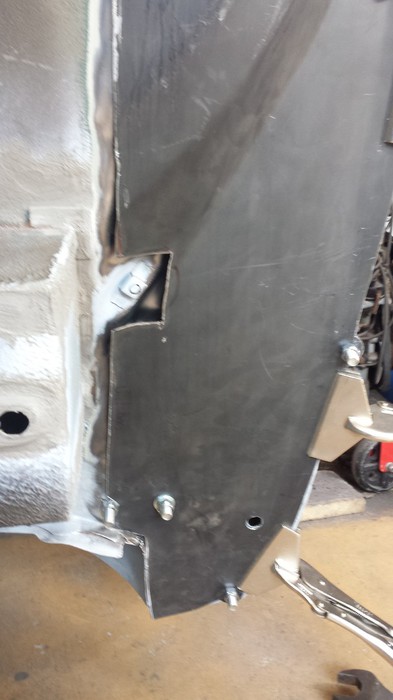
I finish off the spot welding on the drivers’ side of the boot floor repair panel.
I think that was a good day’s work the boot floor is now in place.
That’s it for today, time to put all the tools away, clean up the workshop and make my way home.

Sunday, 31 May 2015
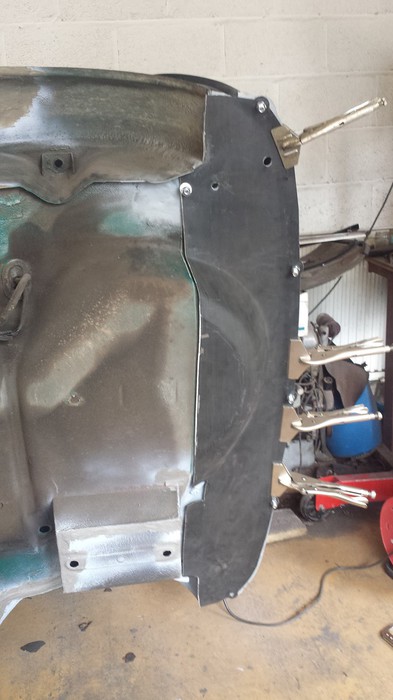
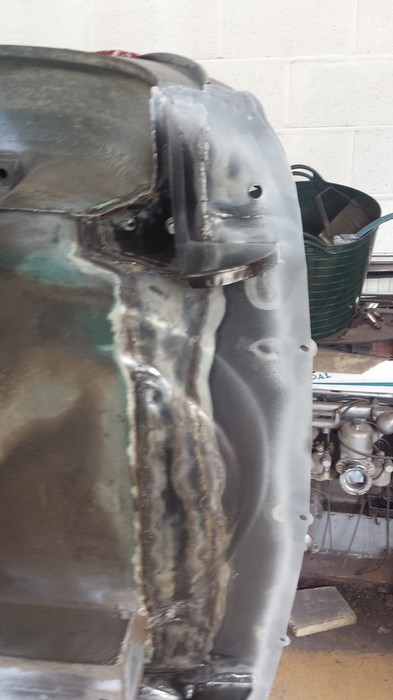
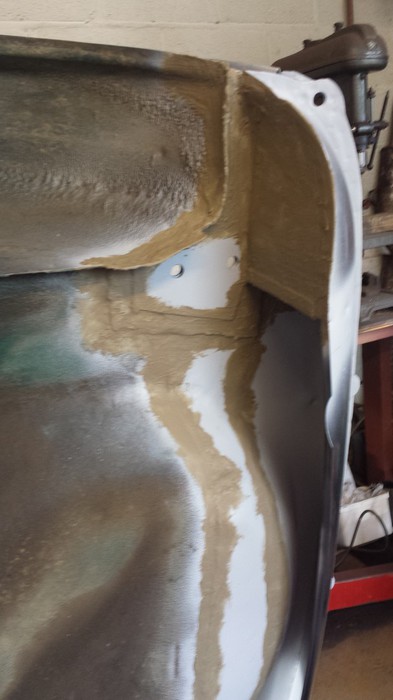
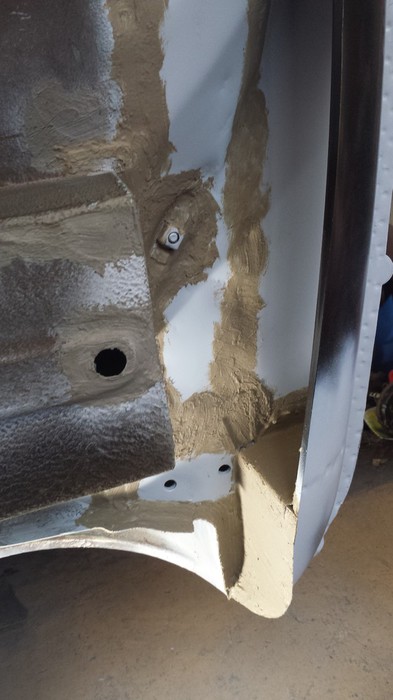
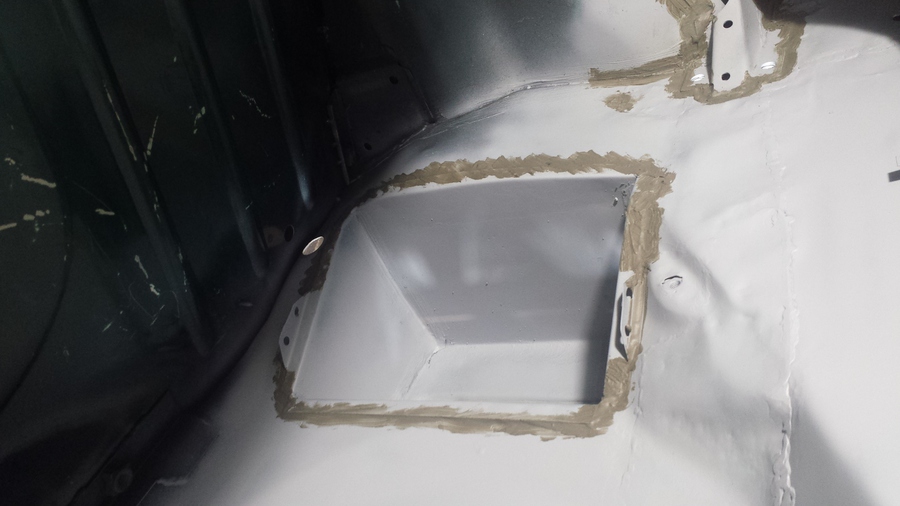
I start today by grinding back the welds on the floor where the stiffening/valance closing panels are going to be installed, this takes me a little while to do, trying to get the new panels to fit as well as possible, this is not that easy as there is now a joint in the middle of where the new panels fit. I get there eventually, I think the fit is not too bad at all, that is the difference fitting genuine panels.
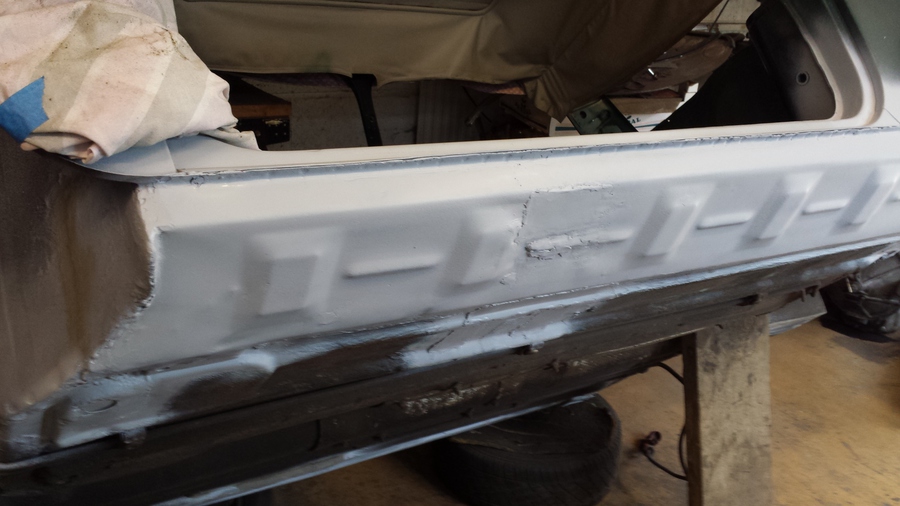
With the stiffening/valance closing panels bolted into place I do a test fit of the rear valance, I am quite pleased with the fit of it. I remove the valance again ready to weld the closing panels in.
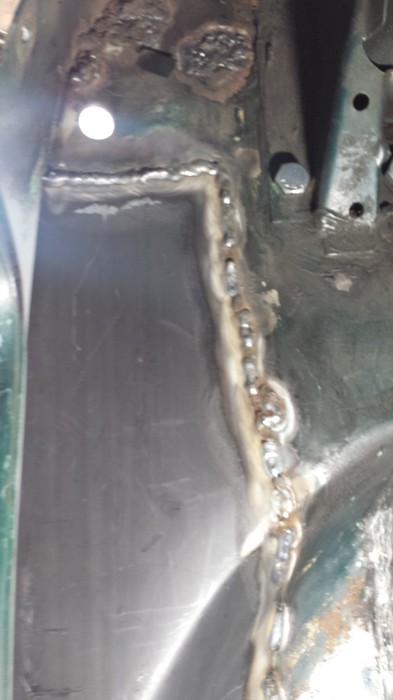
I begin to weld the stiffening/closing panel along the bottom edge first, clamping the panel down or holding down the panel with the long handled screwdriver, I then just work my way round the panel. The edge there the stiffening panel meets the wheel arch I spot weld that as much as possible and MIG weld the rest of the panel.
I weld in the stiffening/closing panel on the other side, this is a bit more difficult for me as it is so close to the floor and I have to crouch down to do the welding, and I am not exactly a small bloke.
It looks like I have done very little today bit in reality I have put in quite a long day, I am quite happy with what I have got done today, anyway it’s time to pack everything away, clean up the workshop, lock up and go home.

Sunday, 7 June 2015
I start today’s work by doing another test fit of the rear valance, this time it’s so I can mark out where I need to remove the paint from the new valance ready to weld it in. I also need to adjust the part of the closing panel that goes under the valance this is not welded to the boot floor yet on either side. I carefully mark the floor where I need to finish welding the closing panels in.
I complete the same work on the other side, I then take the valance back off and start removing the paint from the areas where I am going to weld.
I complete the welding of the closing panel to the boot floor on the drivers’ side aligning the panel to the mark made while the valance was in place.
I also finish off the welding of the closing panel on the driver’s side, I use one of the long clamps the help to hold it in place while I weld it.
I spend the next few hours grinding back and cleaning up all the welds on the boot floor inside and out, I am doing this now so I can put some primer on the boot floor, I am doing the inside as well because if I do it later it will burn the paint off the other side.
I paint the very edge of the boot floor with weld through primer and paint all the rest with etch primer, I make sure to get primer in all the areas round the closing panels where it will be covered over by the rear valance when I fit it.
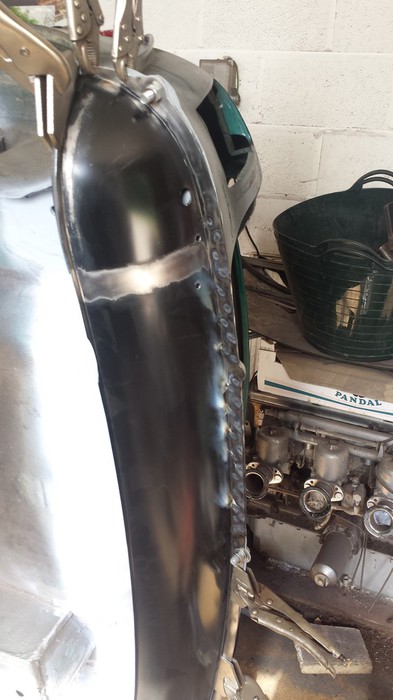
I refit the rear valance with the bolts through the rear bumper holes and adjust the fit with clamps. I begin spot welding the rear valance in the center and work my way out towards the wheel arch, I put the spot welds back towards the body I end up putting in a double row of spot welds all the way along to make the seam tighter.
I use some clamps to hold the closing panel to the valance so I can get some spot welds on it, I decide to put four spot welds on it as that was how many there were on the original.
I spot weld the seam between the closing panel and the rear valance.

I finish spot welding the other half of the valance and the closing panel.
This has taken me a lot longer than I expected, it’s time for me to clean up and get off home.

Sunday, 14 June 2015
First job today is to finish off the last little bit of spot welding on the seam at the bottom of the boot floor to rear quarter right at the bottom of the wheel arch, there are also some little bits of MIG welding to be done on the closing panel to rear valance. With this little bit of MIG welding done I smooth off all the MIG welds and spot welds around the rear valance.
There are a few bits where I have to MIG weld the bumper flange where the spot welder has burnt some of the metal away and where the bumper flange was a little bit thin due to rust. I clean up the whole area with the wire brush and smooth the spot welds off with a grinding disc.
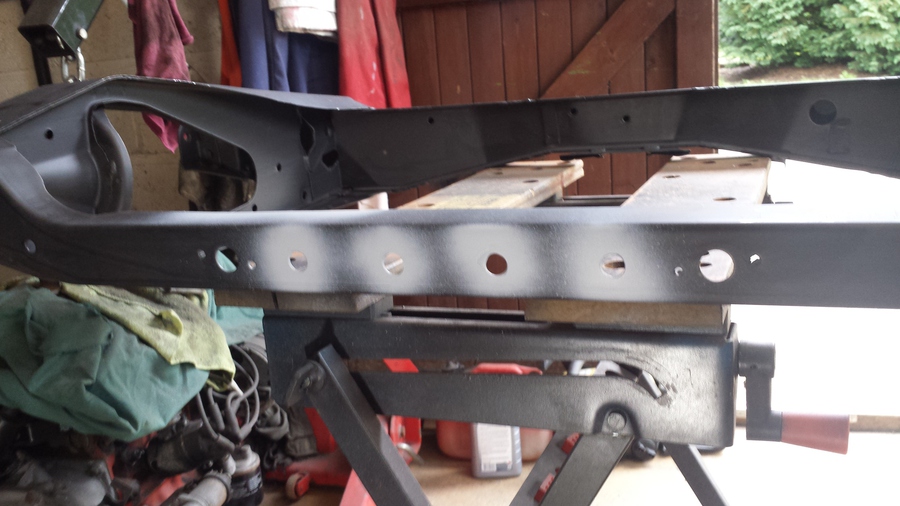
I have had another parts delivery which includes the tow bar, the rear sub frame needs to be drilled for the attachment holes for the tow bar. The existing two holes in the sub frame are not quite in the right place for the support bracket so I open them out with a carbide burr in the die grinder, when the holes are opened out into the right place I finish them off with a hole cutter in the drill. I then put the mounting bolts through the two center holes and mark where the two outer holes need to be drilled.
I use a 4mm drill bit as a pilot for the outer two holes then open them out with the hole cutter, I also usr the hole cutter from the other side of the holes to de-burr them.
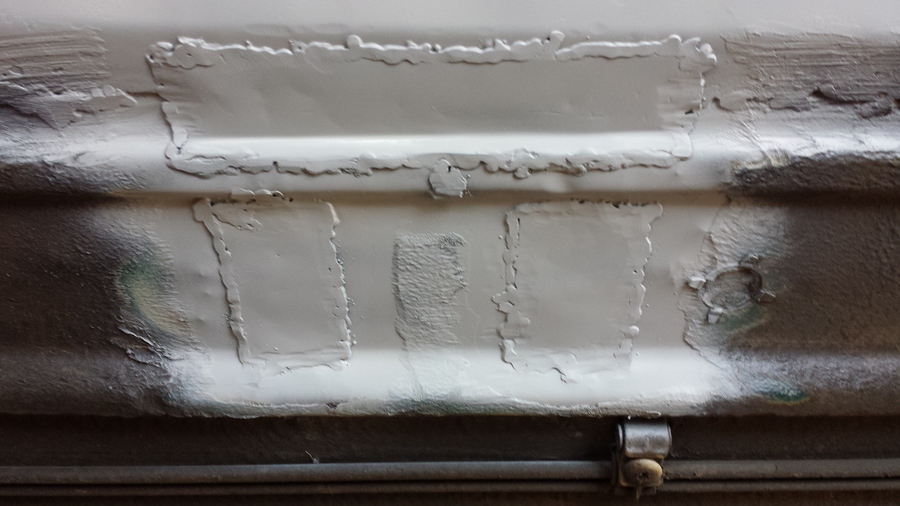
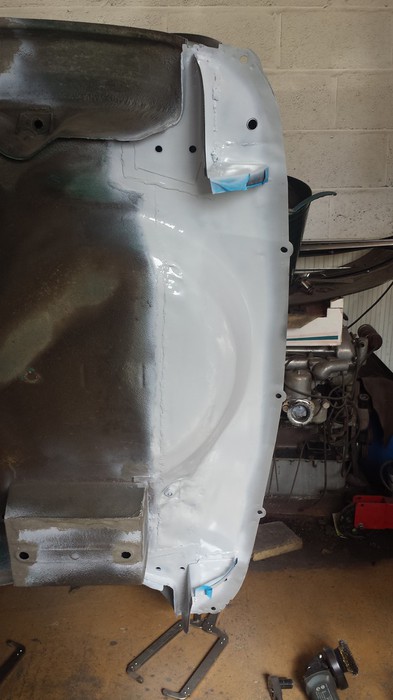
With the welds cleaned up on the boot floor I treat the passenger side with etch primer.

I work my way down the boot floor treating the whole area with etch primer making sure I get some paint in the seam between the boot floor and the new rear valance panel.
I also treat all the bare metal areas of the outer side of the rear valance, bumper flange and rear panel with etch primer.
The holes I have put in the rear sub frame for the tow bar are also given a coat of etch primer inside and out to prevent rust from getting in. The sub frame will be painted black at some point before building it up and fitting it.
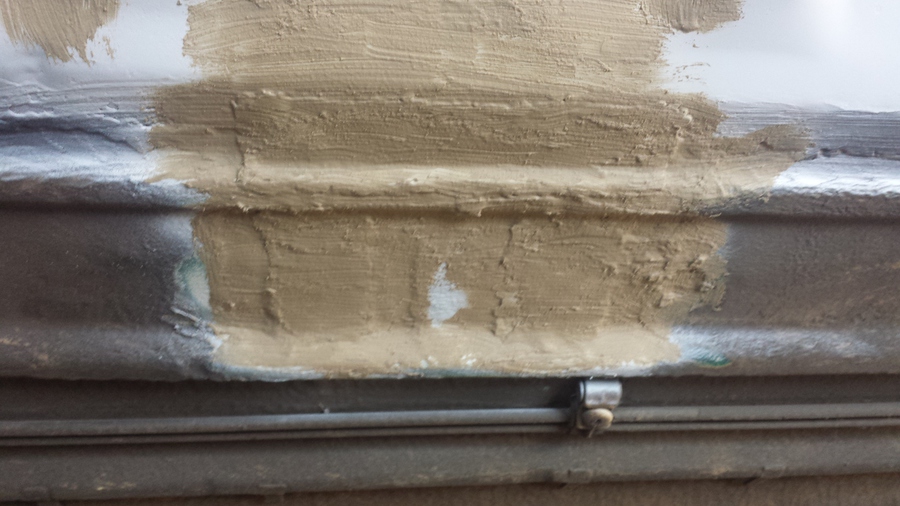
Starting with the passenge side I coat all the joints, welds and high impact areas with seam sealer.
I continue down towards the drivers’ side treat the areas with seam sealer, the only bit I haven’t done is the seam between the boot floor and the rear valance, this is because the seam sealer I had in a tube for use with the mastic gun has gone off in the tube and I can’t use it, I will have to get some more and finish that job off next time.
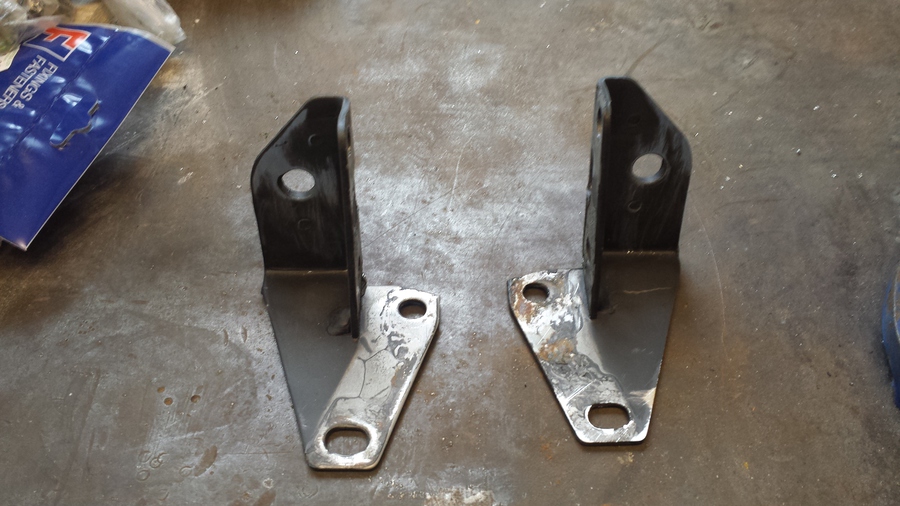
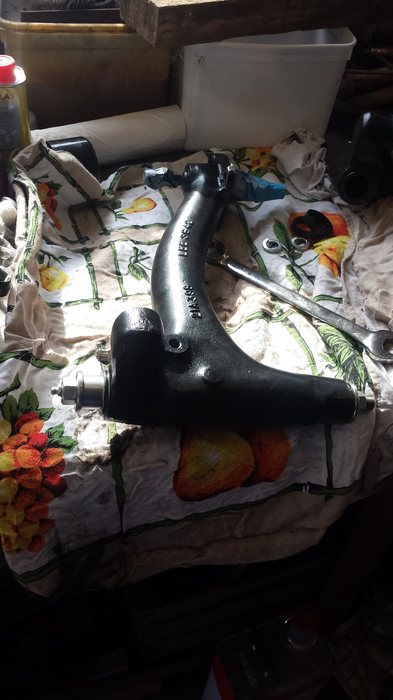
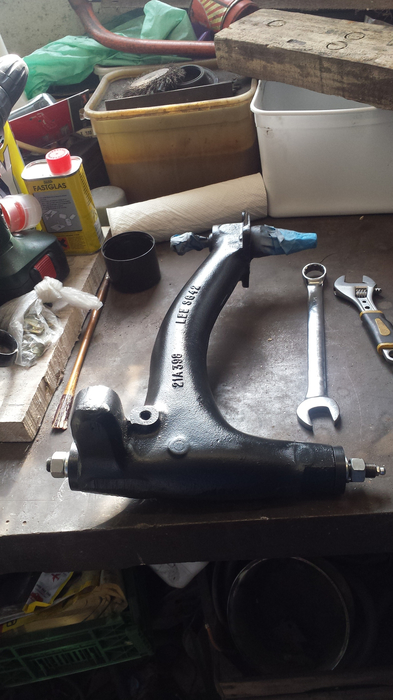
The last job I do today is remove the radius arm bracket from the rear sub frame, I had noticed previously that the holes for attaching the radius arms need to be de-burred before I can fit the radius arms. When I take the brackets off the sub frame there is rust that has already started on the brackets where they were bolted on. I will clean these up later and paint them black, I will also replace the bolts the came with the sub frame for these brackets with stainless steel ones that I bought from Mini Sport.
I have run out of time again today, I put all the tools away, clean up the workshop and make my way home.
Sunday, 21 June 2015
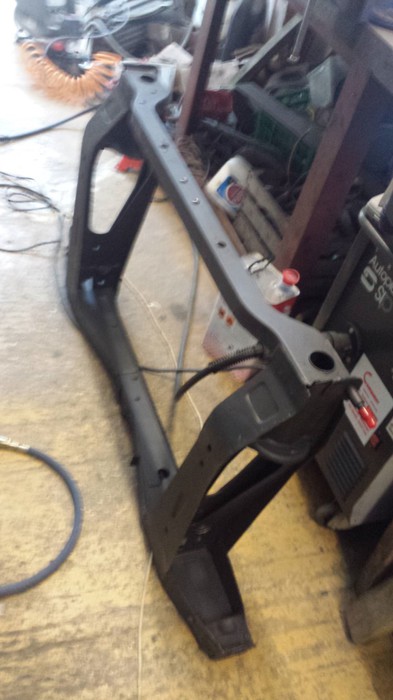
Today I start work by flatting the new sub frame, there are a number of places on it that need attention, some of the spot welds need the sharp edges taking off and where the holes are for the radius arm mounts there are some burrs that need taking off.
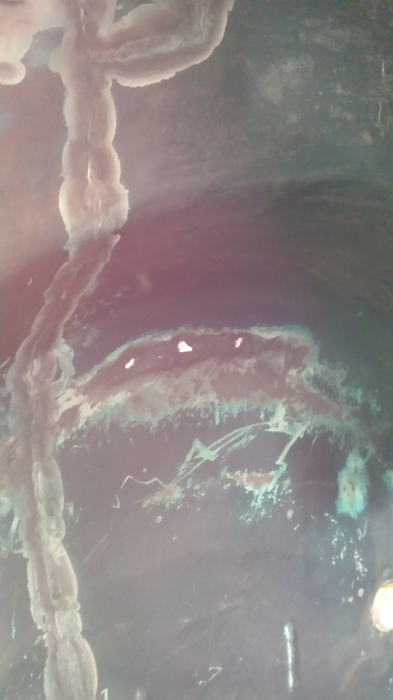
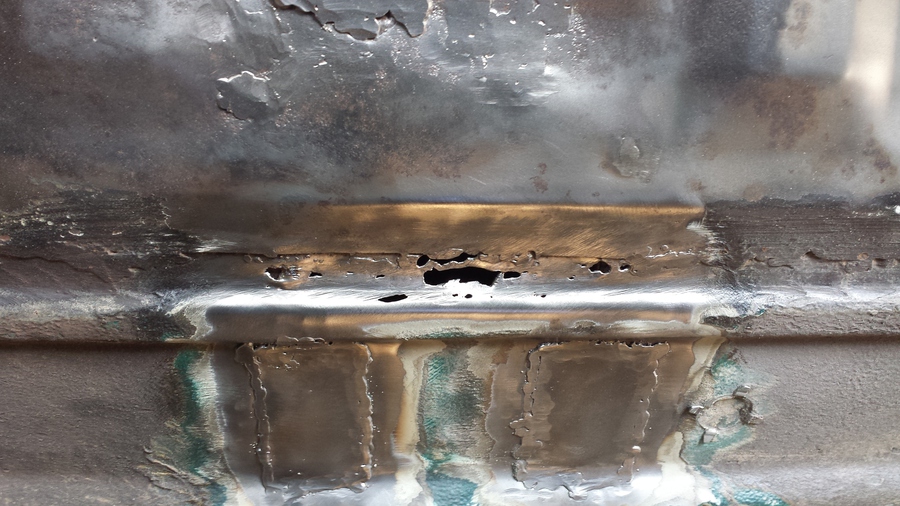
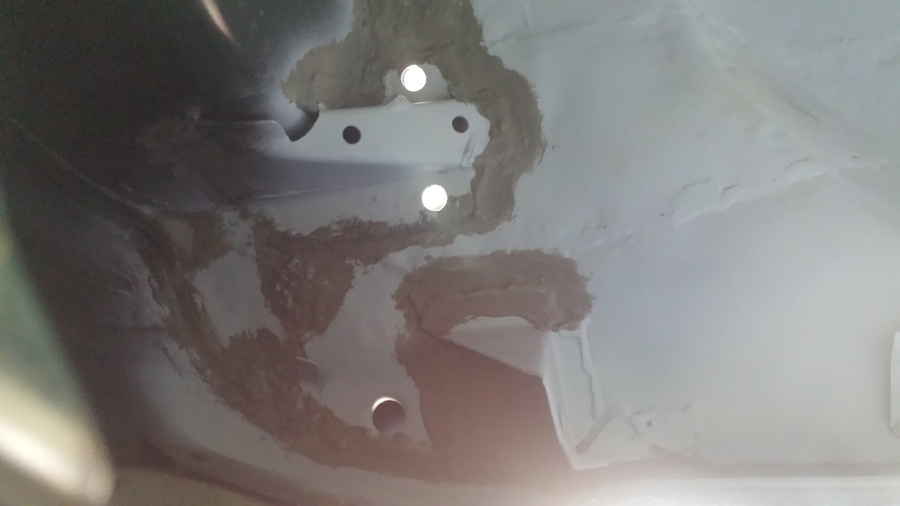
The next job today is to clean up all the welds inside the boot floor where the repair panel has been welded in. I start at the passenger side and work my way down to the drivers’ side as the car is on it’s side. As I get to the spare wheel well I see some deep pits in the metal, after running the wire brush over them they turn in to holes.
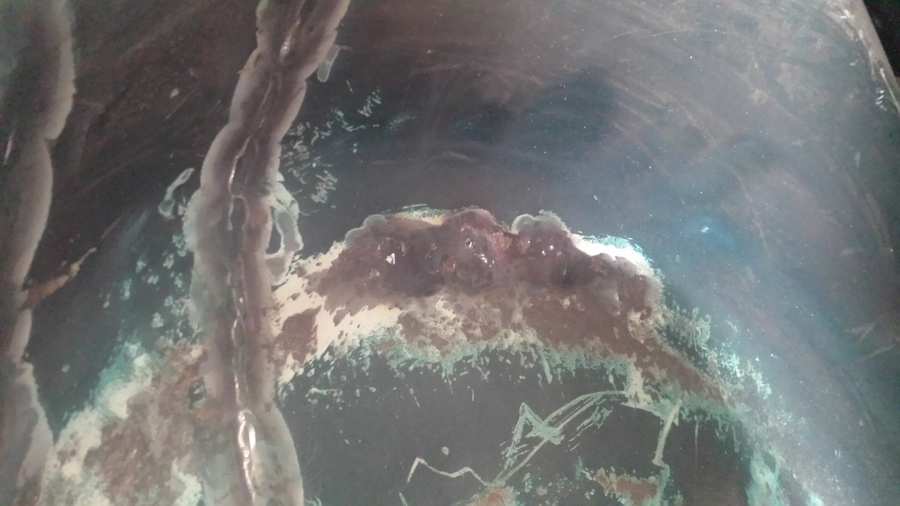
I thought I was all done with holes in the floor, guess not. I get the MIG welder back out again and weld the holes up from the outside. I then grind off the excess weld from the outside and the penetrated weld from the inside.
With the rest of the boot floor all cleaned up and the debris all vacuumed out, I go over the whole area with panel wipes. When the panel wipe has dried off, I treat all the bare metal areas of the boot floor with itch primer paying particular attention to the joint between the boot floor and the rear panel.

I also treat the battery box with etch primer.
While I wait for the primer on the inside of the boot floor to dry I seam seal the joint between the boot floor and the valance on the underside. I was going to do this last week but my tube of seam sealer had gone hard, I picked up a new tube yesterday. I apply the sealer using a caulking gun but I can’t get to the section in the middle as the caulking gun won’t fit so I apply the sealer with my finger. I also apply seam sealer over the area of the boot floor I repair earlier.
I apply seam sealer on the inside of the boot floor round the strengthening brackets where I had removed the old sealer to install the replacement boot floor section. I also apply seam sealer around the battery box.
I continue to apply seam sealer to the other side and squeeze some sealer into the joint between the boot floor and the rear panel.
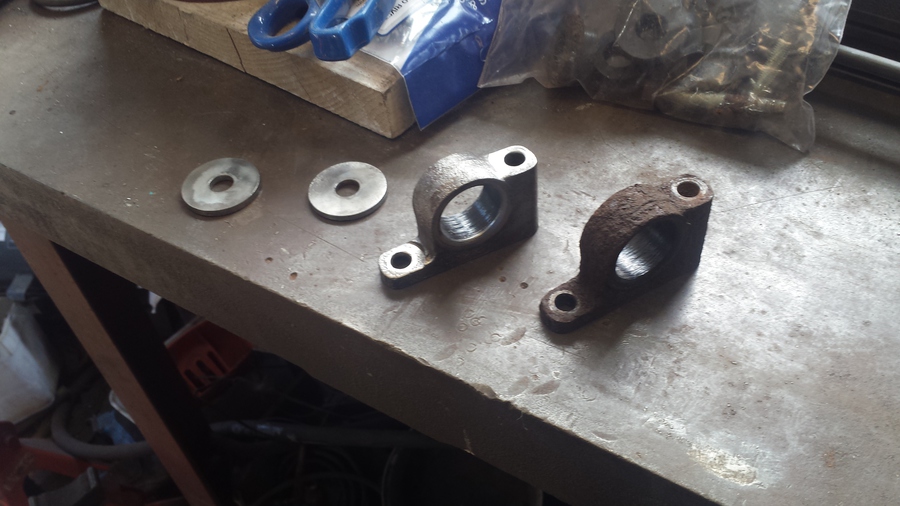
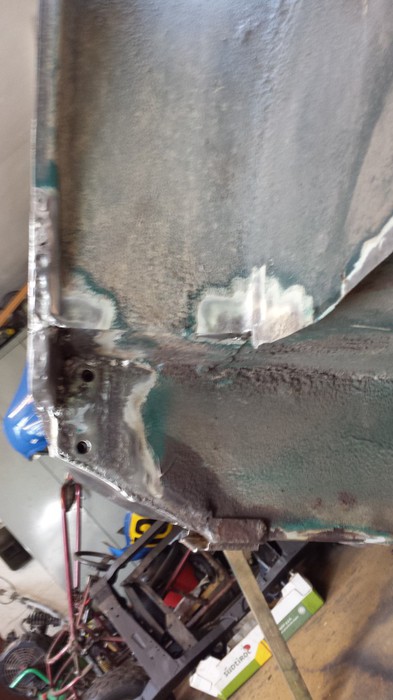
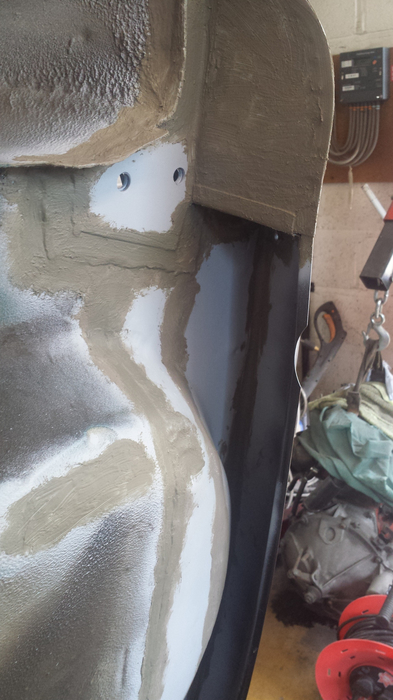
As you can see from this picture I have cleaned up one of the rear sub frame mountings and I took this picture before I cleaned up the other so the difference can be seen.
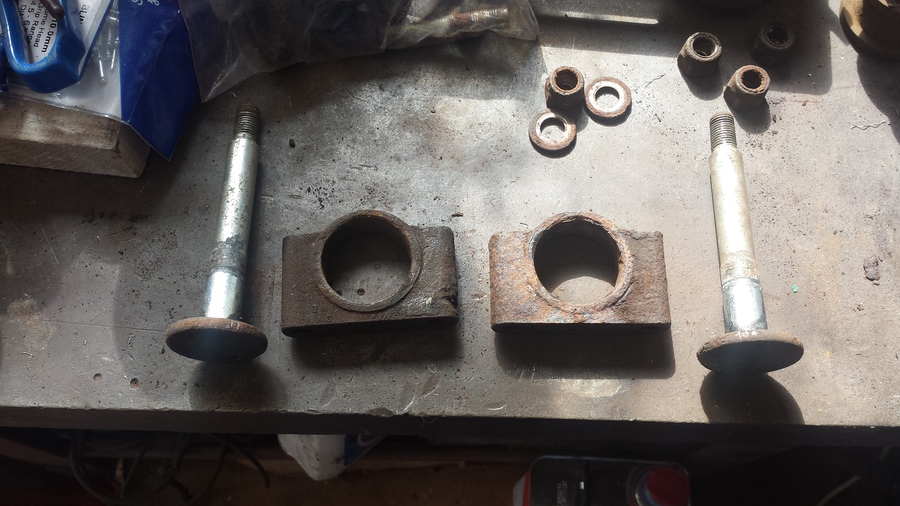
In this picture you can see the rear front sub frame mount brackets and the trunions, these are quite rusty and will be the next items to get cleaned up.
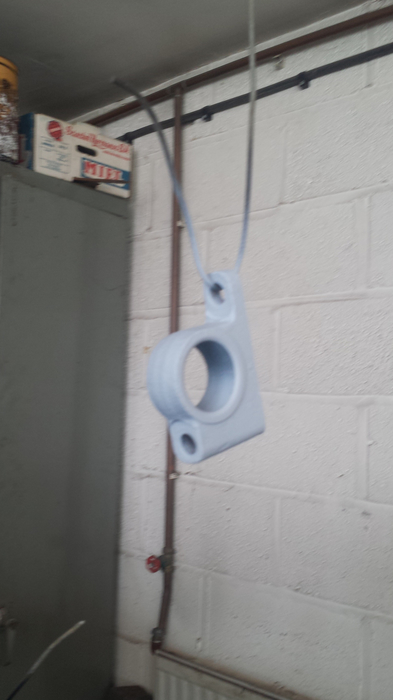
In this picture you can see one of the rear of the rear sub frame mount bracket that has been painted with etch primer, the other has been painted as well.
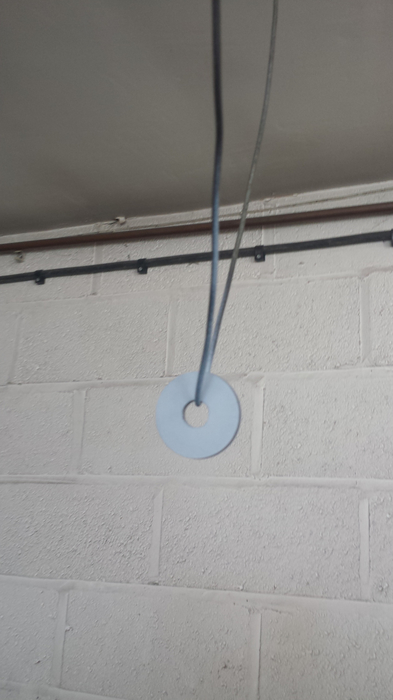
This is one of the washers from the rear of the rear sub frame mounts, this washer holds the rubber bush in place, they were quite rusty so I decided to paint them, the sub frame mount kit that I bought did not come with new one of these.
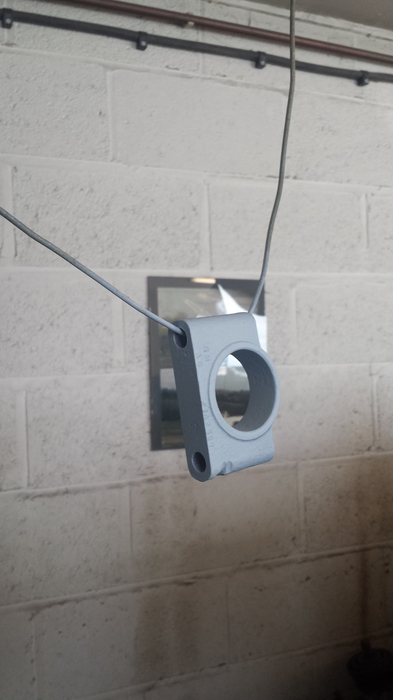
This is the mounting bracket from the front of the rear sub frame both of them have now been painted with etch primer.
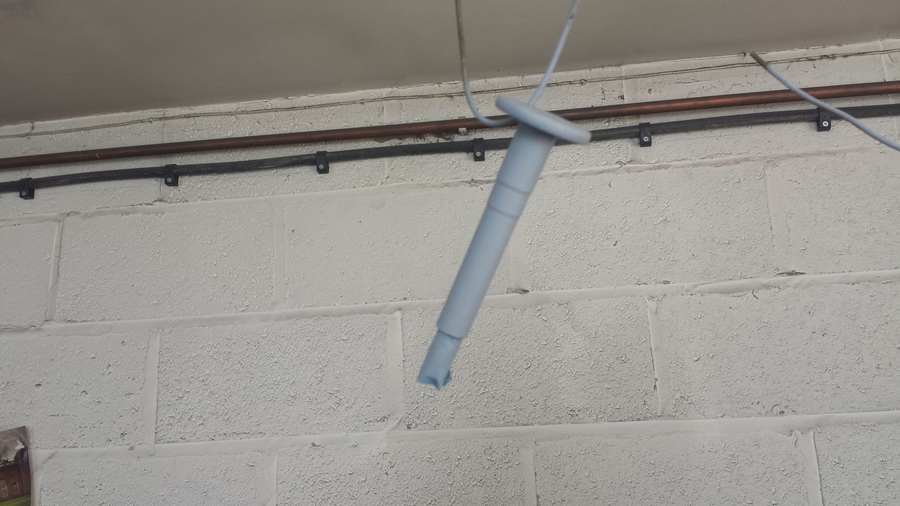
In this picture you can see one of the rear sub frame mounting trunions, both have been cleaned up with the wire brush and painted with etch primer.
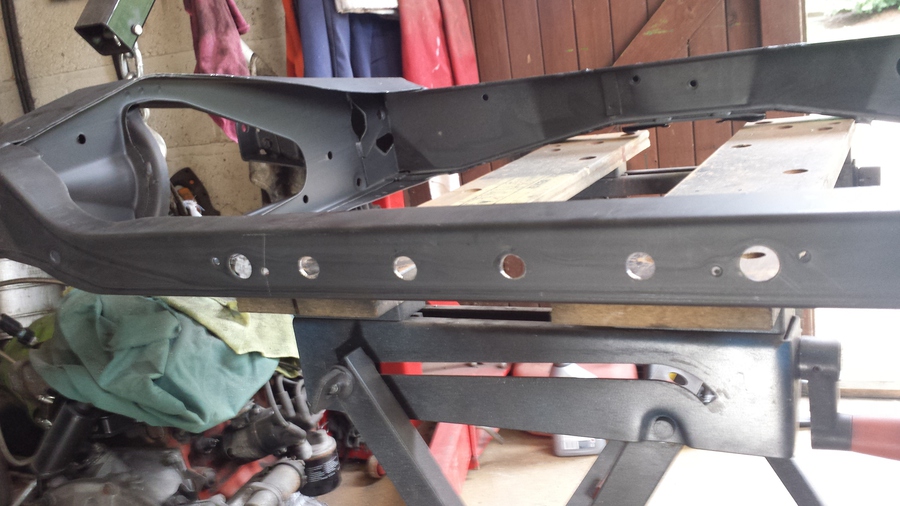
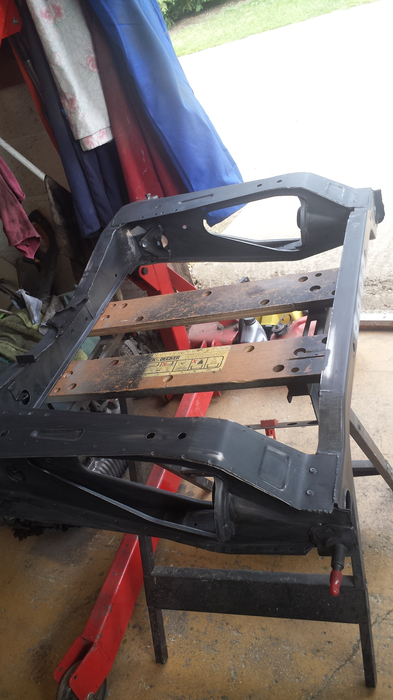
Last job today is to put a coat of Hammerite Smooth black on one side of the rear sub frame, this paint comes out very fast and I may have left a couple of runs in the paint, the paint is also quite thin but it seems to leave a fairly good finish. I paint what I can get to, I'll turn it over next time and put some more paint on it, it will need a few coats to give it a good protective cover.
It's getting quite late now, I clean up the workshop, lock up and make my way home.
Sunday, 28 June 2015
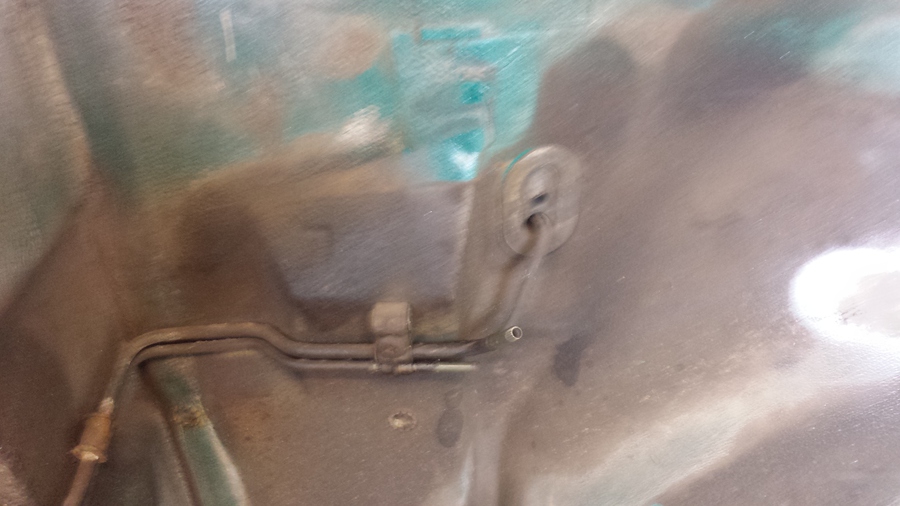
I started work today by removing the fuel tank breather pipe and the last bit of the fuel line, I also washed all the underside ready to start undersealing it.
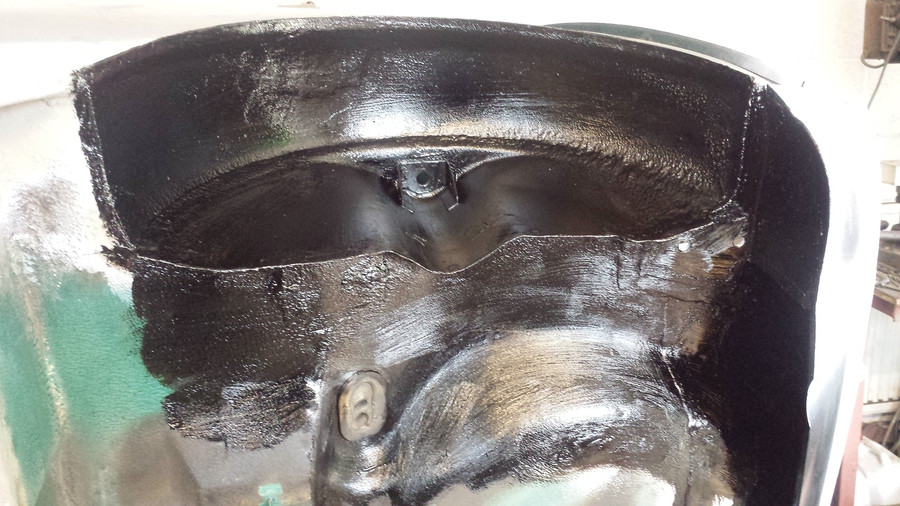
Once the floor had dried off I started the underseal work, firstly I apply underseal to the area between the spare wheel well and the rear valence as this is the tightest part and I don’t want to get under seal all over myself, I then work up from there to the passenger side wheel arch. I then work down to the drivers’ side wheel arch, I am unable to under seal the drivers’ side wheel arch as Sasha is on that side, then work my way round the battery box towards the heal board. The old bolts that go into the heal board to hold the sub frame in I put back into the holes a few turns so I don’t get under seal in the threads.
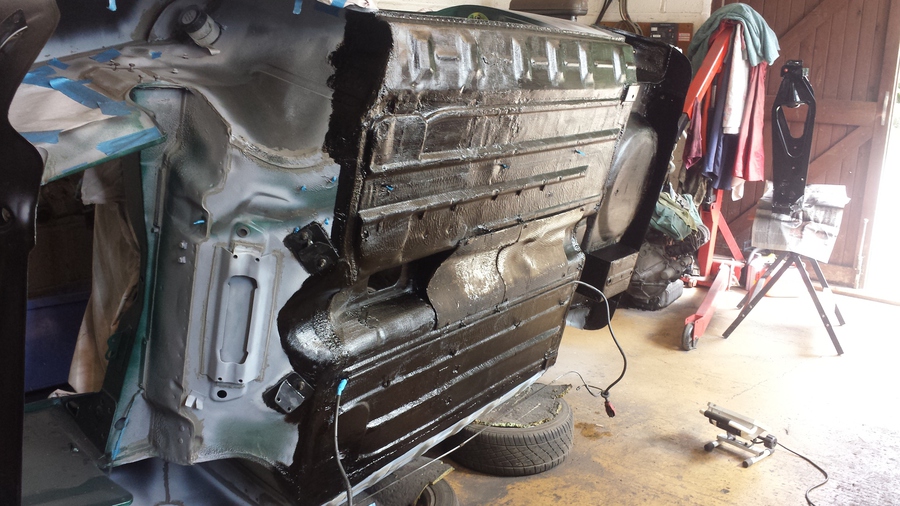
I then remove the fuel lines and the brake line so I can get a coat of under seal on the floor pan, it will need at least one more coat, I continue until all the floor has a coat of under seal. I manage to do the sill on the passenger side but can’t get to enough of the sill on the drivers’ side to under seal that as well.
While I am waiting for the paint on the rear sub frame to dry I start to fit the rear radius arm rebuild kits, I don’t normally do this I normally get exchange radius arms where someone else has already done this job. I start by fitting the bush bearing by using the rotary tool to clean out where the bearing sits then I use my copper and hide hammer to drift it in, because the bearing has to be reamed to fit you can’t use the shaft to pull the bearing in. I did look round for some threaded bar to pull it in but couldn’t find any. Once the bearing was in I enlisted Brian’s help to ream the bush to fit, luckily Brian had a reamer just the right size but no proper tool to use it in, Brian comes up with the idea to mount the reamer in the lathe and the head stock to push the radius arm with installed bush on to the reamer. With that one done the process is repeated with the other radius arm and bush.
The next step is to install the needle roller bearing in the other side of the radius arm, I did this by using the new shaft to pull the new bearing in by tightening the nuts either side, making sure to install the shaft the right way round and install the plastic tube before the bearing. Then repeat the process witht the other radius arm.
With that complete I just need to install the two rubber seals on both radius arms and that bit is ready to install. I will grease them when they are mounted in to the sub frame.
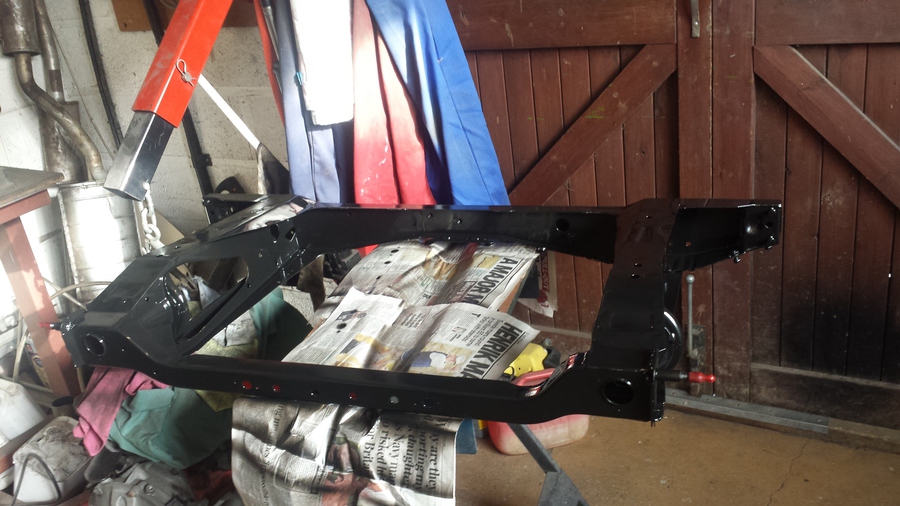
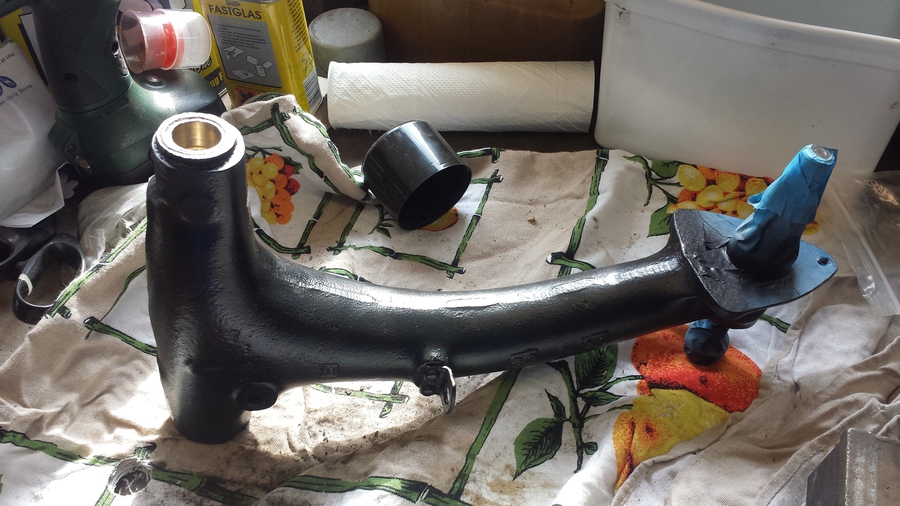
The last job before I lock up is to turn the rear sub frame over and put another coat of paint on it.
With that done it’s time to go home.
Sunday, 5 July 2015
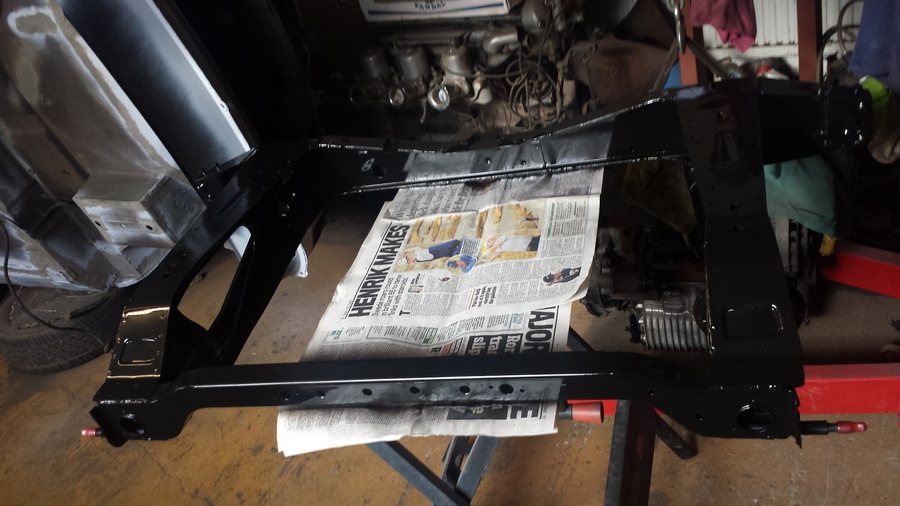
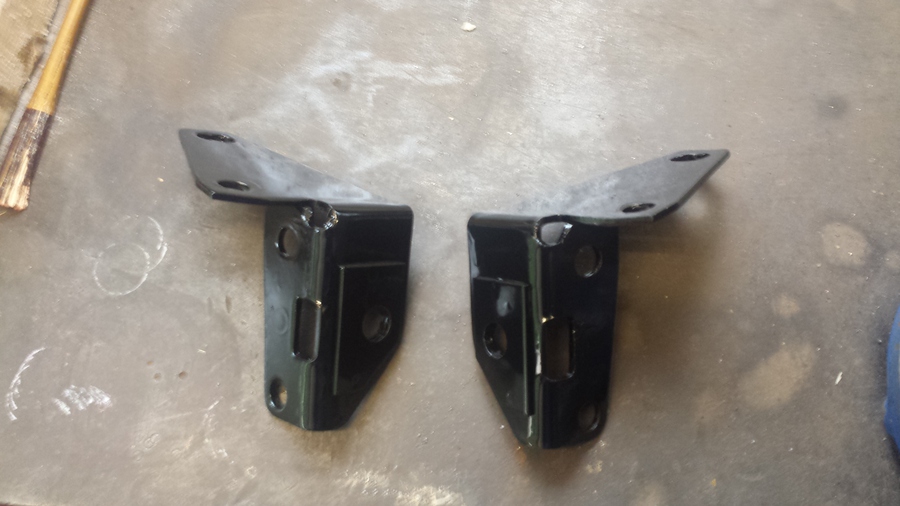
I start working today by putting away some of the parts that were painted last week, in this picture you can see the brackets that bolt to the rear sub frame to attach the radius arms. These have been painted with Hammerite smooth black the same as the sub frame.
We are located at:
Market Harborough
Leicestershire
Contact us
If you would like to contact us:
rod@howitt.org.uk
abi@howitt.org.uk
sasha@howitt.org.uk
Or use the contact form.