
Timeline 20 March to 2 April 2016
This is a continuation to the work done to Sasha
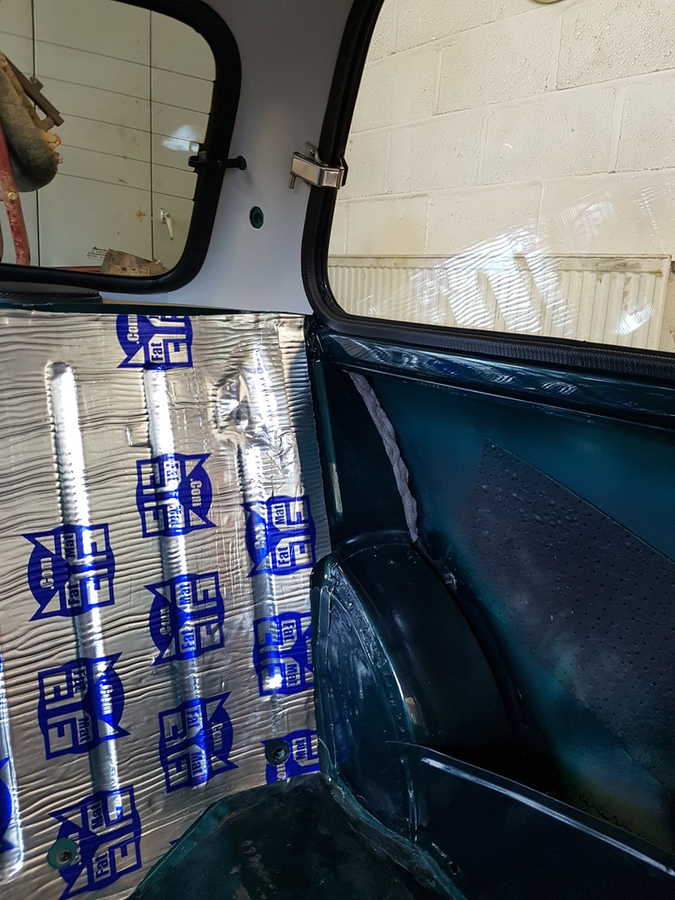
Next job is the fit some foam rubber in the gap between the rear seat and the rear quarter panels, the original foam was a bit crappy so I replaced it on both sides.

The next step is to fit the new covers over the rear wheel arches, these are normally glued in place but I intend to just sit them in position and let the trim and seats hold them in place.

Next I install the trim cards into the rear quarter sections, before that I put the cardboard bottoms into the rear storage pockets then install the rear trim cards, these just push into place at the bottom and locate in the locater under the rear side windows, I make sure the wheel arch cover is located in the correct place before doing the same on the other side.
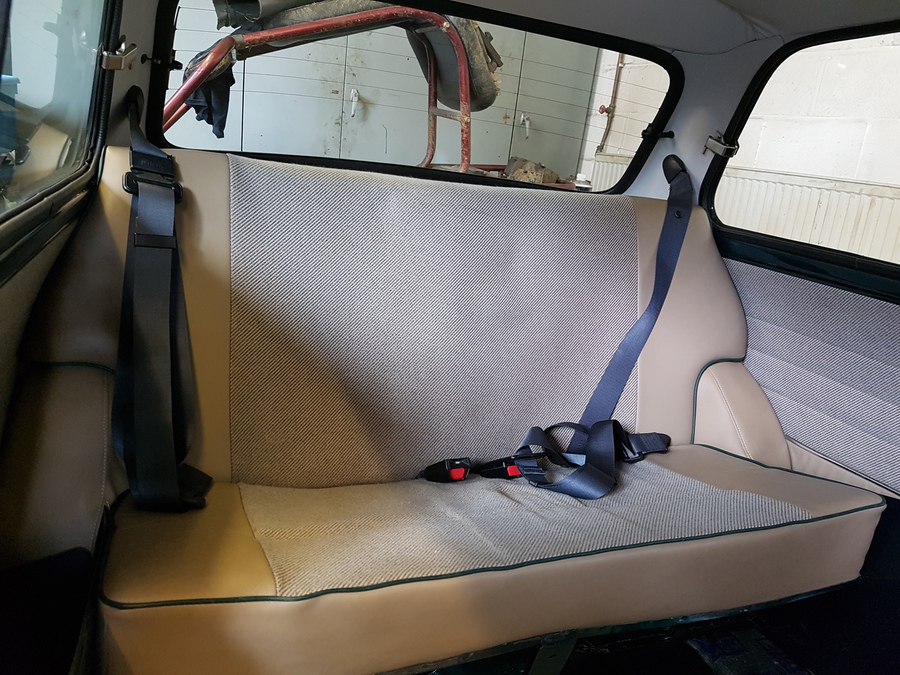
Before installing the rear seat back I install the rear seat belts, these just bolt onto the rear firewall/seat back. I the install the rear of the back seat, this secures into place with four screws, two at the top installed from inside the boot and the other two at the bottom of the seat back. Lastly I install the base of the rear seat, this just pushes into place, it should be attached at the back with the same screws that hold the bottom of the seat back but the loops on the seat base are a bit weak so I don’t use them.
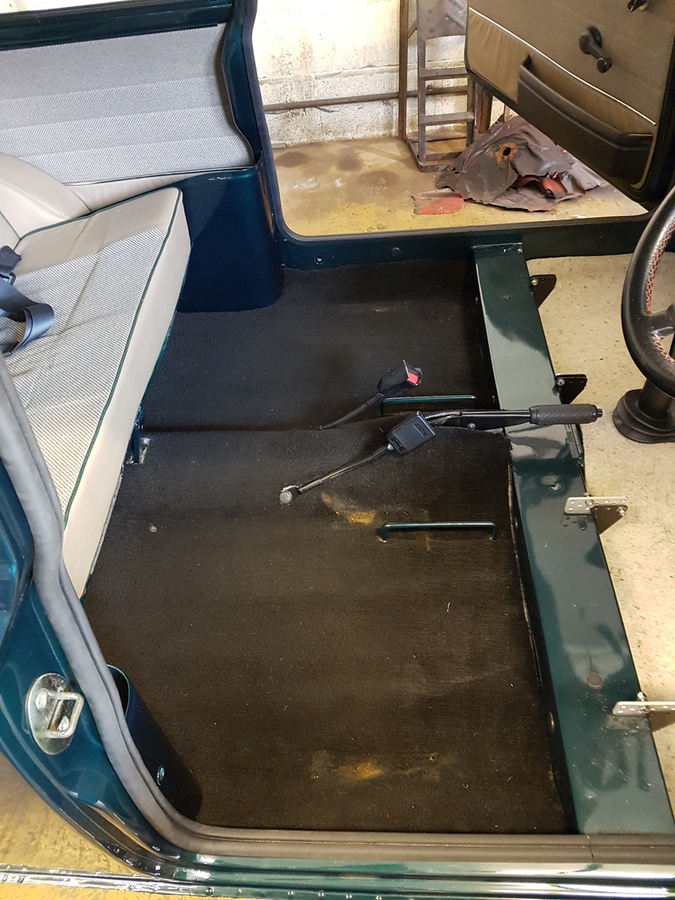
Next I install the new under felt into the rear of the car then refit the rear carpet.
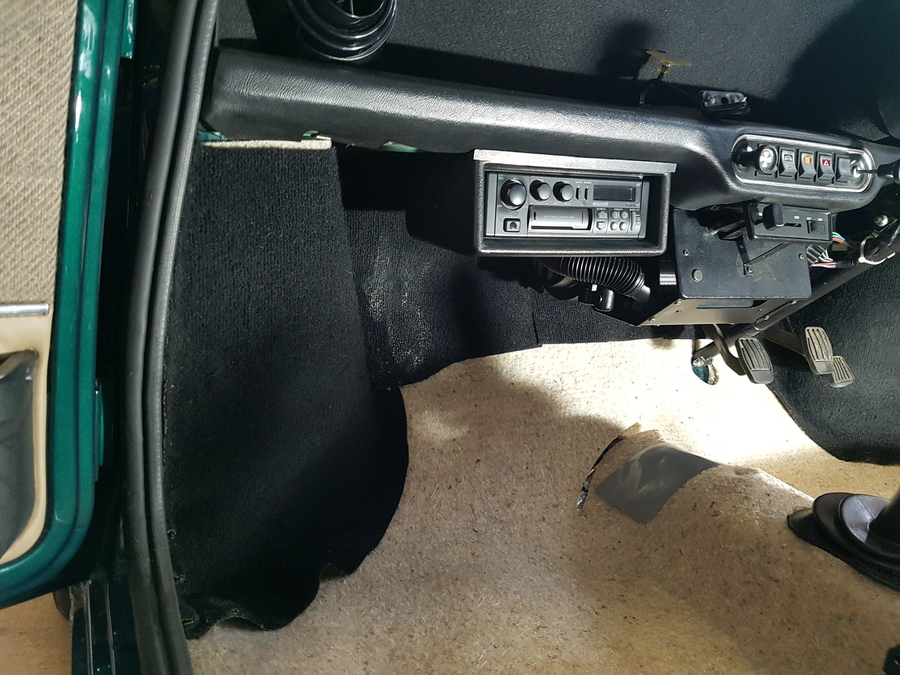
Then I install the under felt into the front of the car, the piece on the baulk head is held in by the metal tabs, the under felt on the inner front wheel arches is also held in by the metal tabs. The carpet on the front wheel arches is glued into place. I have take the screw out of the heater to get the carpet behind it.
Next I install the front carpet.
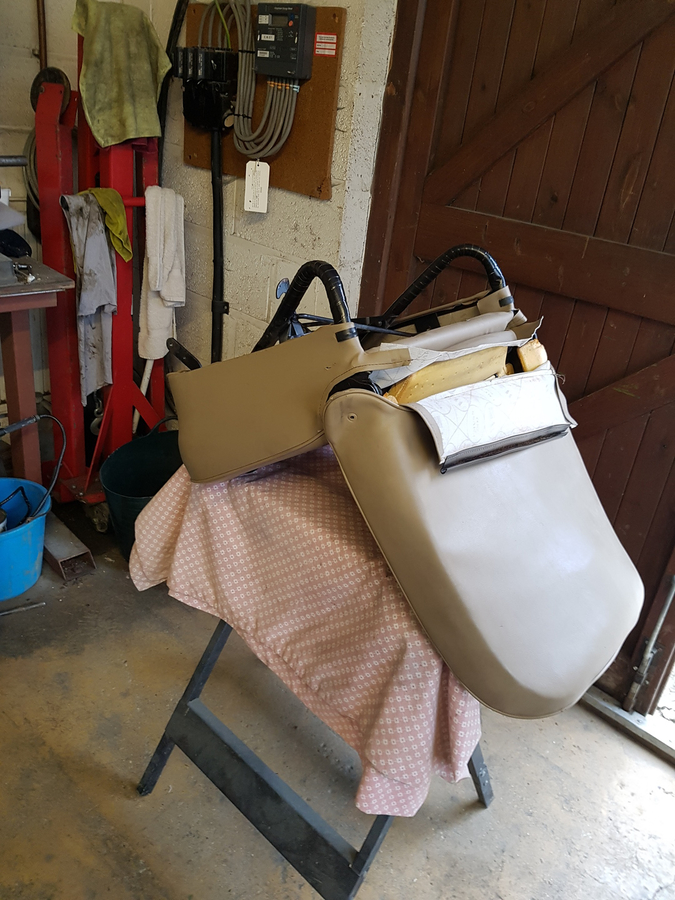
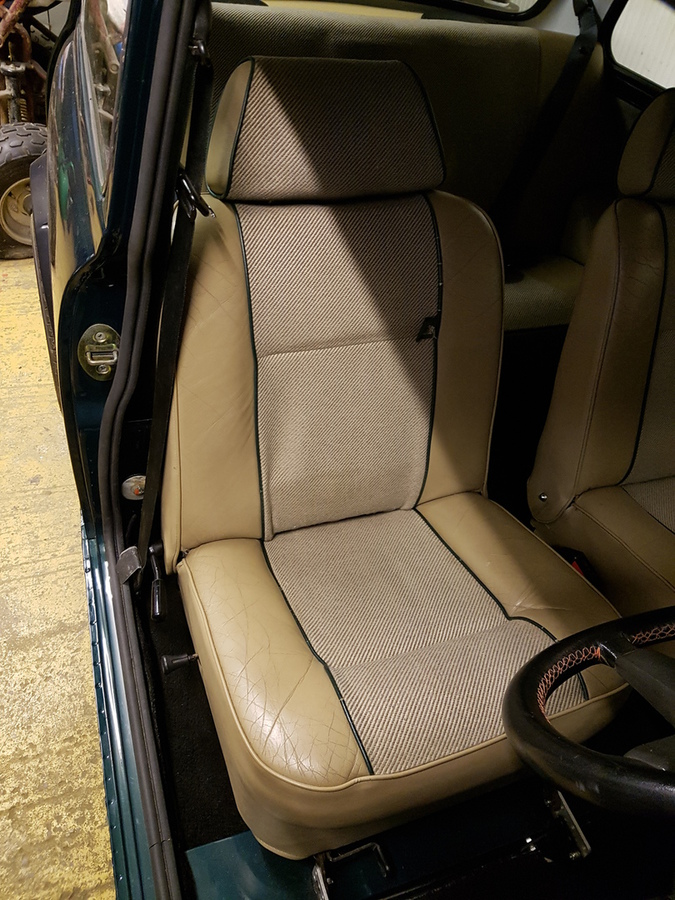
I get the passenger seat ready to install, I cover both rear legs with some tape to try and prevent rust in the future, and then I reinstall the seat covers. Installing the seat covers takes some time but with some perseverance I get it finished.
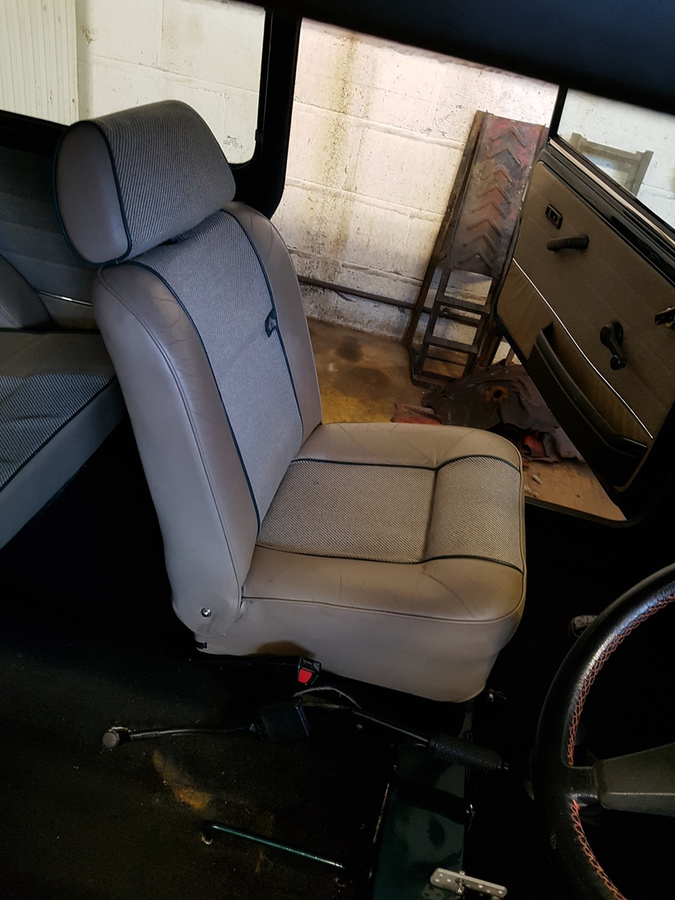
The seat just bolts into place with two bolts.
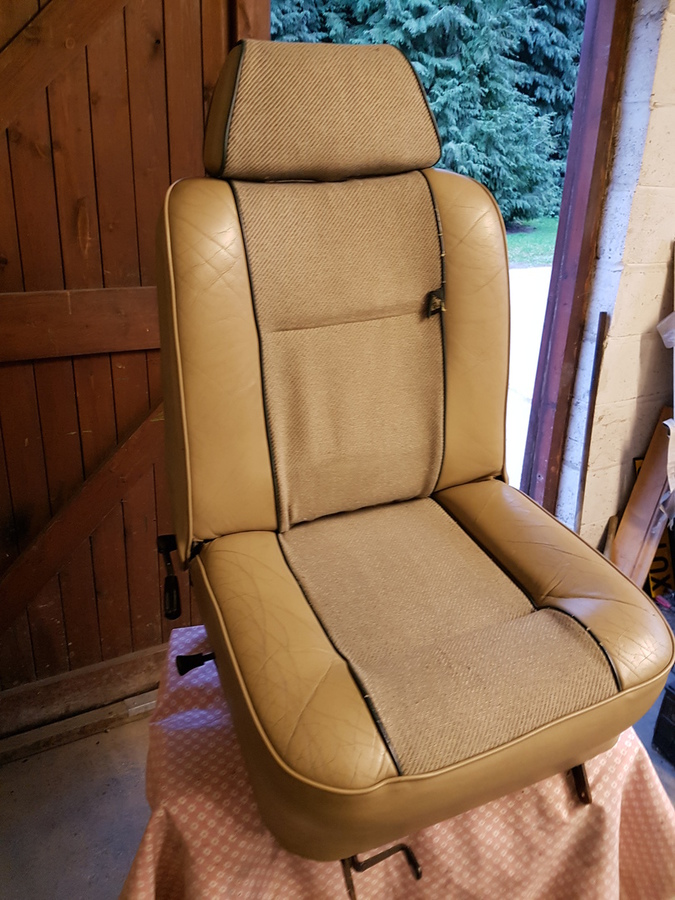
I put the drivers’ seat back together the same as the passenger seat, with the exception that I have to replace two springs that are broken in the back of the seat.
I then bolt the drivers’ into place with it’s two bolts.
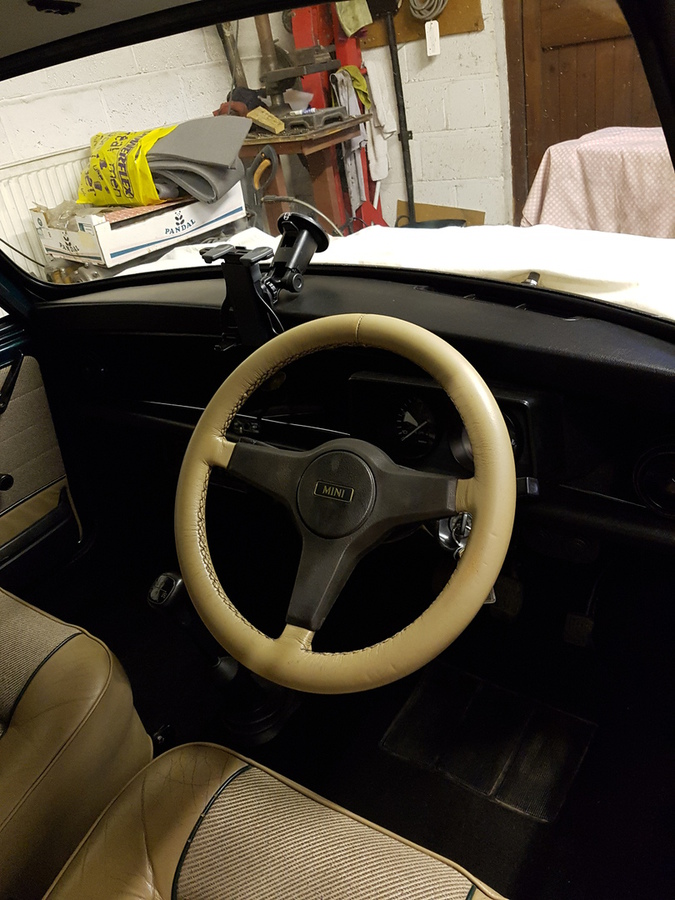
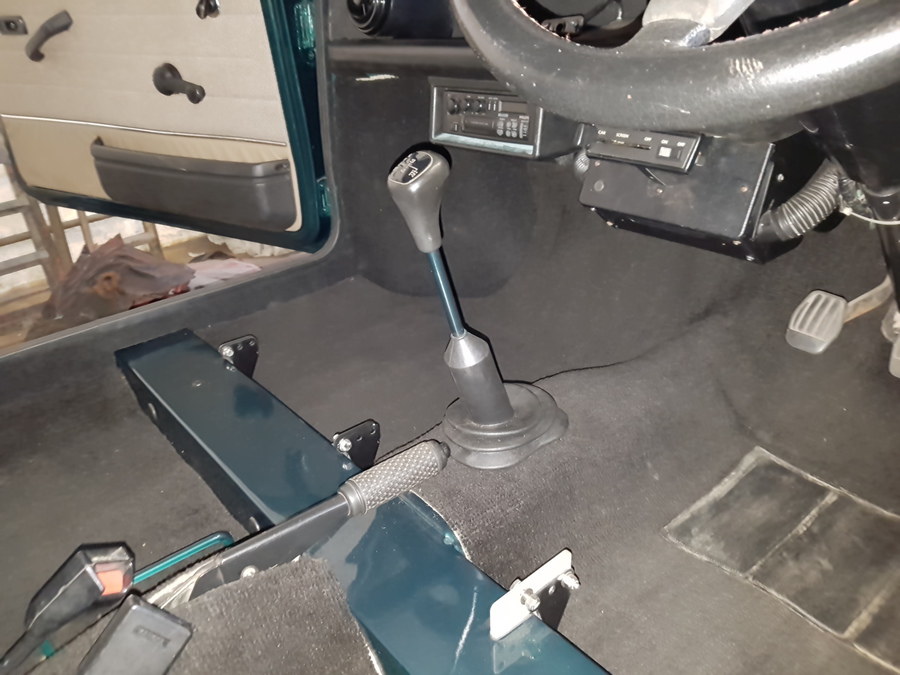
Next I install the proper British Open Classic steering wheel.

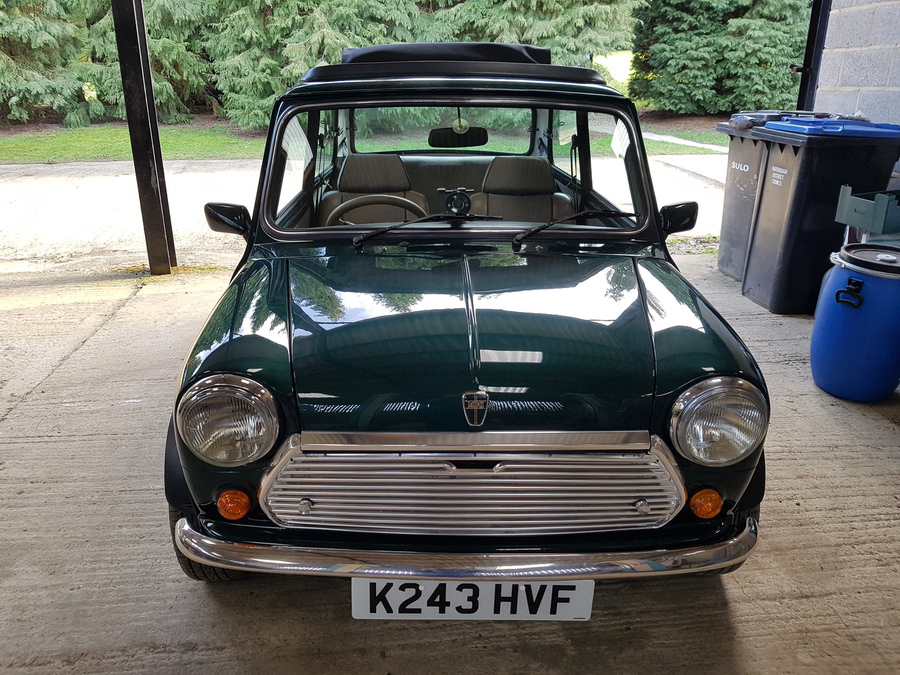
Isn’t Sasha looking pretty!!
Anyway it’s now quite late, I put all the tools away, lock up the workshop and make my way home.
Friday, 25 March 2016
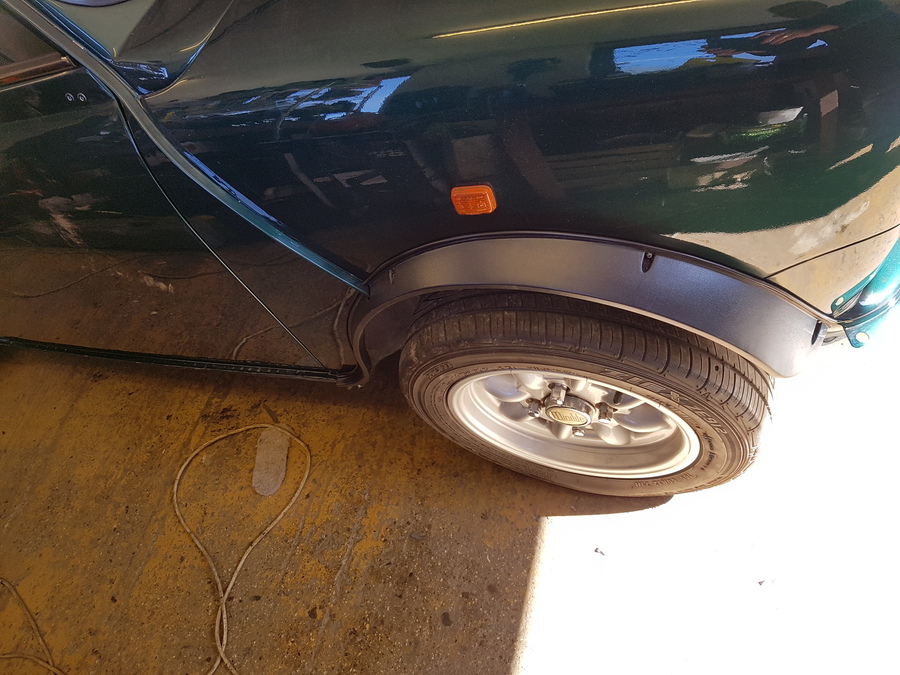
Bank Holiday Friday, not a great deal to do today. Firstly I fit the front wheel arches extensions, I prepare the rubber trim that will sit under the wheel arch extension then pop rivet the wheel arch extension into place making sure the rubber trim is in the correct position.
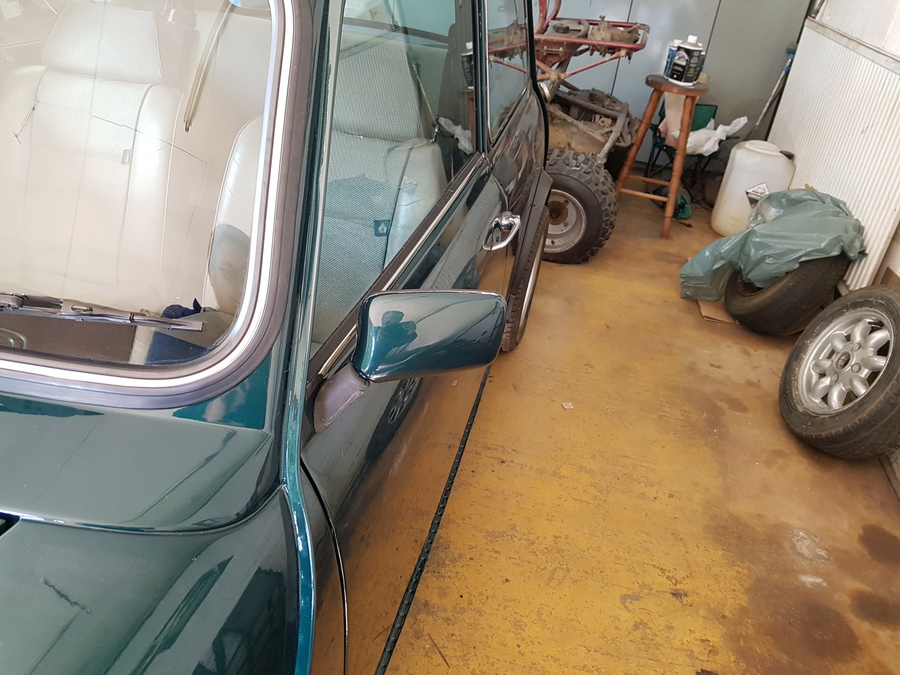
Next job is to fit the door mirrors, these are secured to the doors with two screws, I do make a gasket to go underneath them to protect the paint.
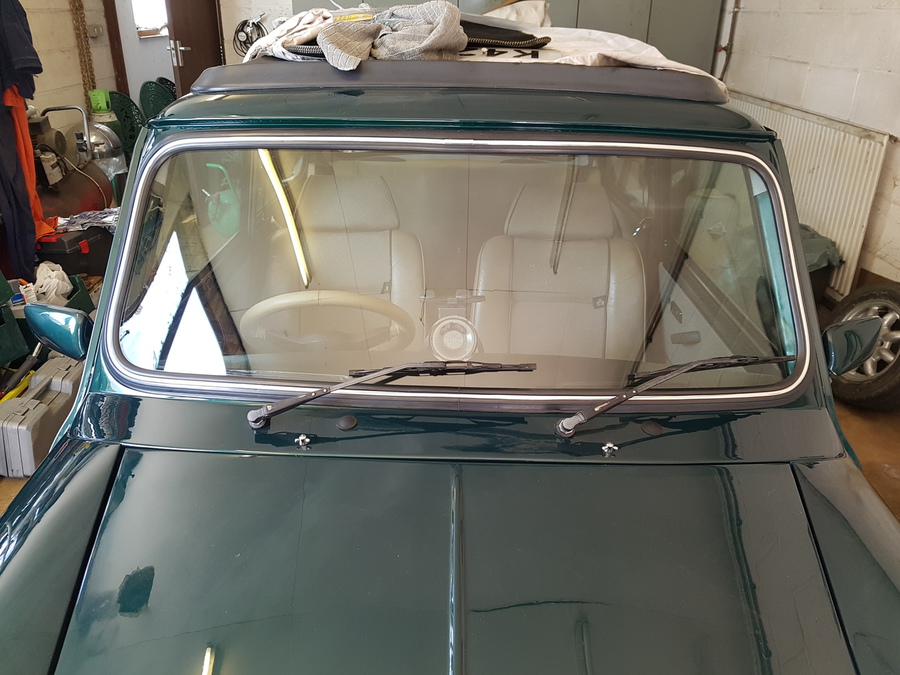
I install the wiper arms and wiper blades, these just push on.
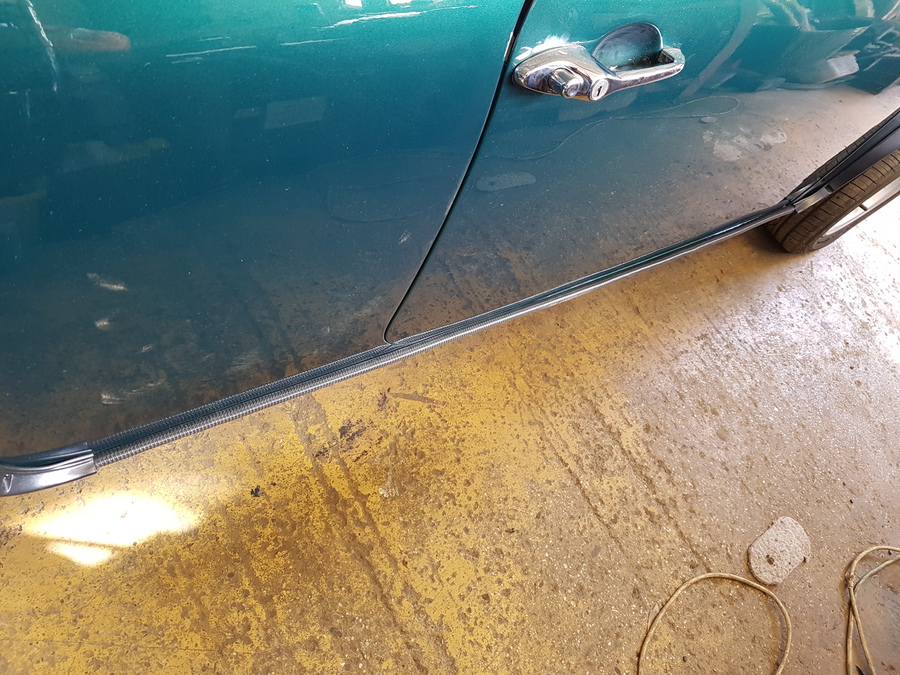
Now that the front wheel arches are re-installed I install the new sill seam rubber trim, this just pushes on and I trim off the excess.
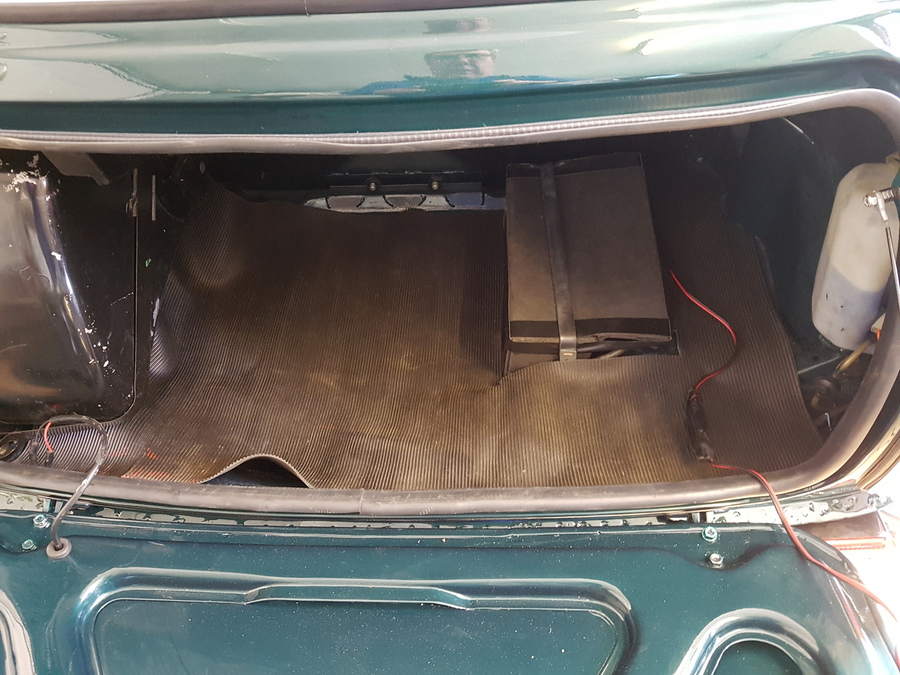
I use some rubber matting to cover the boot floor, this should protect the boot floor fron the spare wheel moving around and damaging it.
I use some primer and a small paint brush the put some paint on the machine screws that hold the boot lid hinges in place. While the paint dries I fit the rear number plate using some sticky pads.
I put another coat of primer on the boot lid hinge machine screws, while that dries I fit the front bumper. The front bumper is held in place by 3 bolts, to stop the bumper rubbing the paint of the mounting flange I put some gaffer tape on the mounting surface to protect it. Now the primer is dry I apply the first coat of British Racing Green on the machine screws, while that dries I fit the front number plate. This is held on by two plastic nuts and bolts.
I put another coat of green on the boot lid hinge screws, while that dries I refit the roof trim then fit the rear bumper.
That was the last job, tomorrow Sasha is booked in for two new tyres for the front and to get the tracking sorted out. So I park my car outside Matthew’s house and take Sasha home ready for tomorrow.

Saturday, 25 March 2016
Well Sasha was parked on the drive last night for the first time in nearly two years, first thing this morning a trip to Parr Automotive the installer for Black Circle Tyres to get two new Yoko’s installed on the front and get the tracking done. Tyre installation was a little bit of an issue as the outer edge of the wheel does not allow weights to be added and if they are put in the wrong location inside the wheel the brake calliper will knock them off again. Sid at Parr Automotive gets there in the end and manages to balance the wheels, doing the tracking is also a bit of an issue as the laser equipment doesn’t fit very well onto Sasha 12 inch wheels, but with a small adaptation Sid gets the job done.
Now it’s off back to the workshop to put her away until next week when it is M.O.T time.
Friday, 1 April 2016
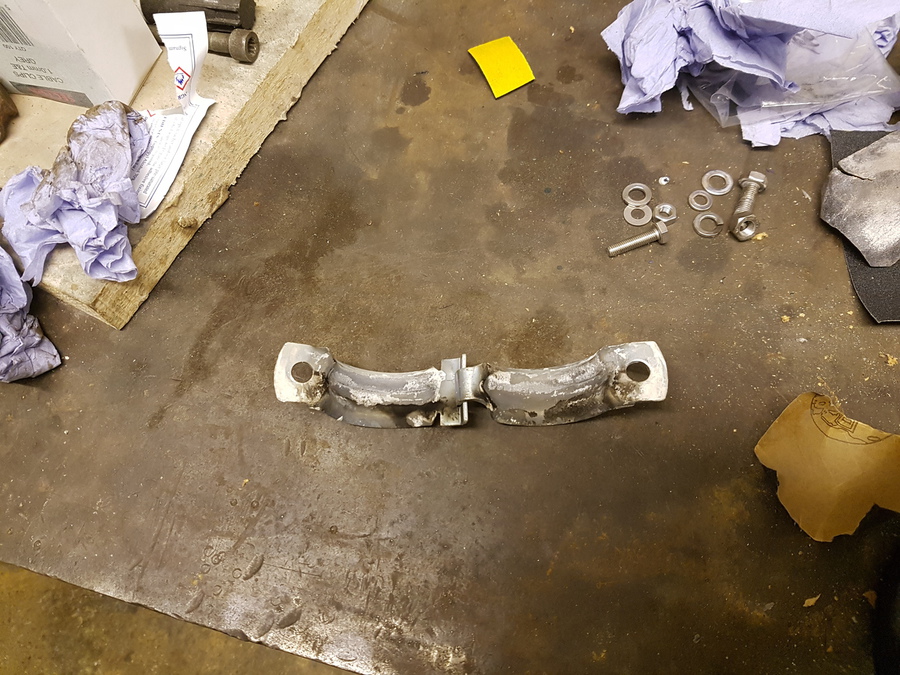
We had a slight issue with the exhaust manifold clamp on the way back to the workshop last week, the dam thing started blowing. I went everywhere in Market Harborough to try and find a replacement but no one had one so I ended up having to order a replacement from Mini Sport. The one that was installed came from Mini Spares, I didn’t want to refit the same one or a new one the same so my only choice was the cast version and I could only get that from Mini Sport. I took until Friday 1st April for it to arrive due to the Bank Holiday weekend. So Friday night after work I have a quick bite to eat then straight to the workshop to fit the new clamp.
I remove the carburettor first then get the front up on my two small trolley jacks, I undo the bracket that hold the exhaust to the bottom of the gearbox. I then undo the clamp from the manifold, as you can see from the picture it was blowing quite bad.
I clean all the old assembly paste off the exhaust and the manifold ready for re-assembly, for good measure I use some wet and dry paper to clean the surfaces of the exhaust and the manifold to get a good seal when I put it back together.
I apply fresh assembly past to the exhaust and the manifold, then its underneath to get the down pipe located in the right place, I hold it in place with another trolley jack. I put some assembly paste onto the new clamp and fit it round the manifold and exhaust joint, then tighten the bolts up. What I should have done is made sure the bolts ran side to side as it would have been easier to get spanners in to tighten it up, instead I put them in front to back which was a bit of a pain, but I get it done eventually.
Put the carburettor back on and refit the bracket to the gearbox and we are good to go.
I clean up and head off home in Sasha ready for tomorrows M.O.T. This is the first time I have driven Sasha in the dark and I don’t remember the headlights being this bad, main beam is not as god as dip on my Peugeot 308SW. So I turn round and head back to the workshop and change the LED headlight bulbs back to the standard H4 ones. This is much better, I get home at about 23:00 and I have the M.O.T. at 07:30 in the morning.

Saturday, 2 April 2016
Up early, I get Sasha down to Parr Automotive on-time for her M.O.T.
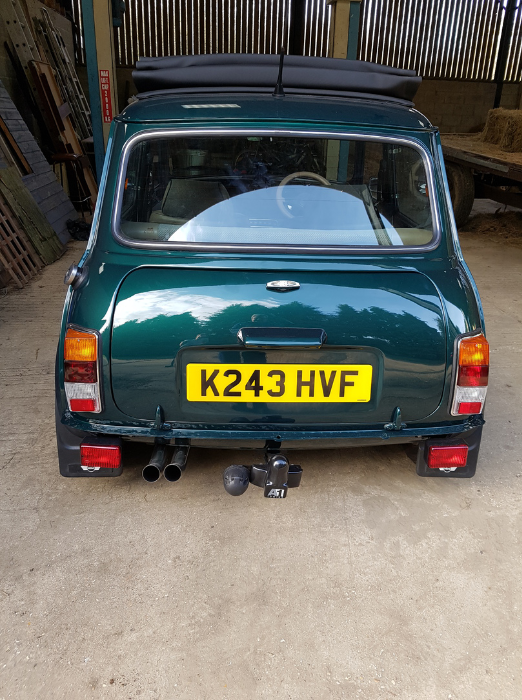
Sid puts the registration number into the computer to start the M.O.T. to find out that the number plate is wrong. The number plates the Halfords made for me are K243HVF and Sasha number is K423HVF, once the right number has been put in the computer the rest of the M.O.T. goes smoothly, only minor adjustments required to the headlights.
With new M.O.T. in hand I pop in to home to pick up the Halfords receipt and go back to Halfords to get the correct number plates made. This take ages as the number plate printer is doing a terrible job, after plenty of destroyed plates they get there and we got outside to fit the correct plates to Sasha.
After I get home I quickly sort out Sasha’s road TAX and now she is all legal.
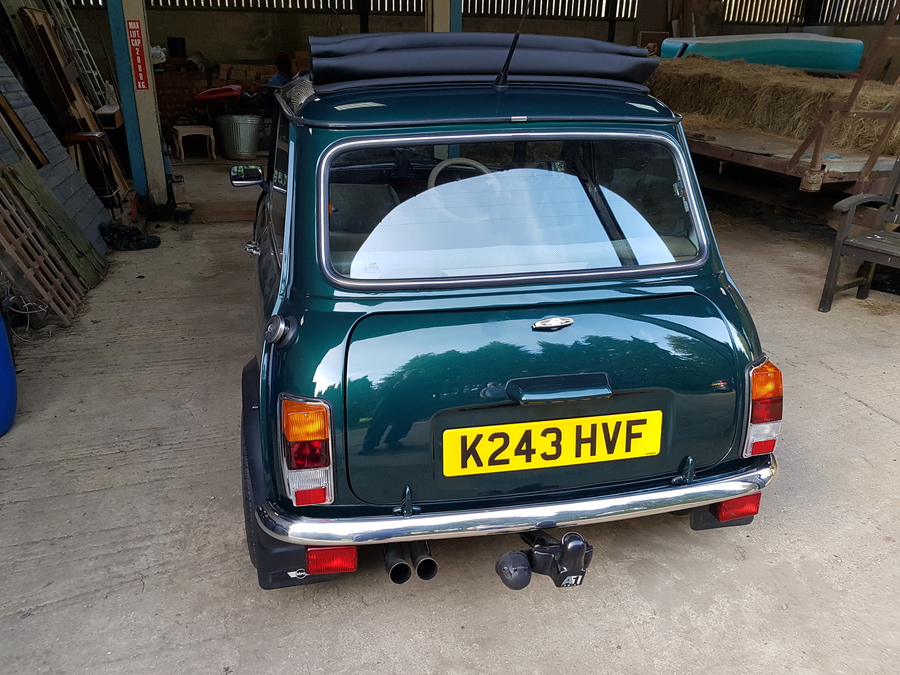
Ten days short of two years and Sasha is back on the road, and doesn’t she look sweet.
We are located at:
Market Harborough
Leicestershire
Contact us
If you would like to contact us:
rod@howitt.org.uk
abi@howitt.org.uk
sasha@howitt.org.uk
Or use the contact form.